Photo Clipping: Alternative Photoshop Techniques
When it comes to image enhancement, photo clipping is unavoidable in most of the cases. This image optimization technique helps in removal of existing background and applying of any other background according to the preference.
In fact the process consumes a lot of time and is tiring. Also the expenses of relying on a professional service provider for the job are too high. However being acquainted with certain alternatives for this can be helpful to stay spared from the pitfalls of normal photo clipping process, by minimizing the efforts and costs involved. These alternatives can be used quite easily and you don’t need to be an expert for the same. Have a scan on few of them.
Photoshop quick selection tools
With this tool, a single click creates the object selection. There are two separate features that are to be noted for this tool- Magic Wand and Quick Selection. Based on the discourse, both versions work well. By using this tool, tremendous time saving is assured.
-
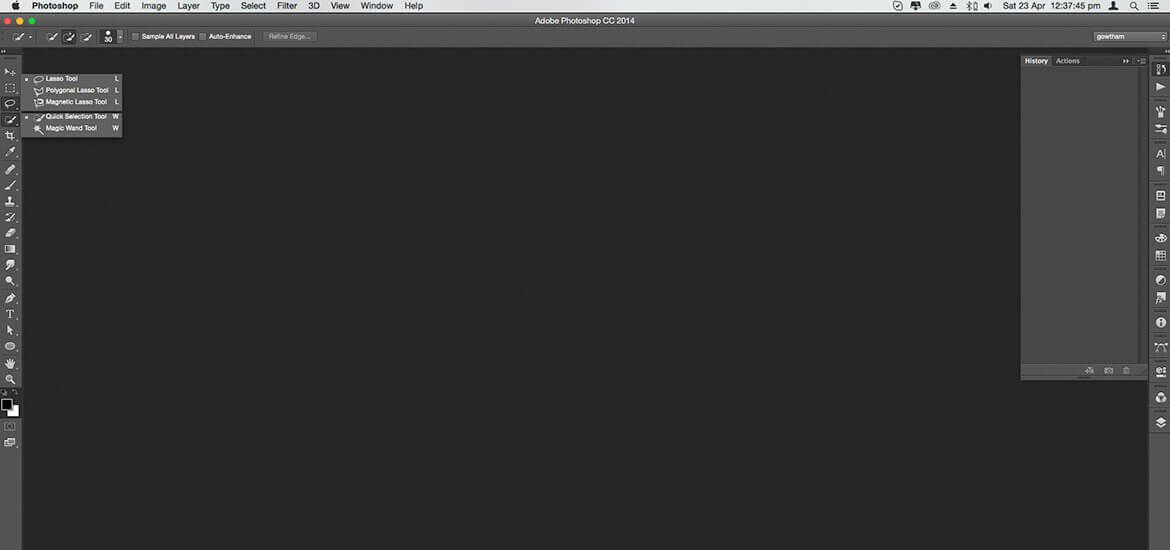
Lasso tool
This tool has three different versions- Magnetic Lasso, Lasso Tool and Polygon Lasso Tool. These three versions are excellent for selecting different image types. It is also very quicker when compared to normal image clipping.
Colour separation
In this technique, modification of colours is done so as to make the product colour different from the actual background. After that quick selection tool is used for selecting the foreground. It has to be assured that accuracy is peek high in colour adjustment for making the process highly effective. The whole steps are carried out with least effort and within minimum time.
-
Background Eraser
Background eraser is a tool in photoshop that works to eliminate the background of an image. The tool also comes with various other functionalities. There are two ways to delete the background using this tool: automatic erase and custom erase. The automatic erase mode works automatically on your selected area while you perform other tasks in the other window. The custom eraser mode allows you to choose areas of the image to be erased specifically.
Step 1: Open a photo and use the background eraser

Open up your picture with the background you want to erase, and then open the background eraser from the tools tab on top of your screen. You can usually find it in the same area as your healing tools, clone stamp, and quick selection tool.
Step 2: Choose your brush size
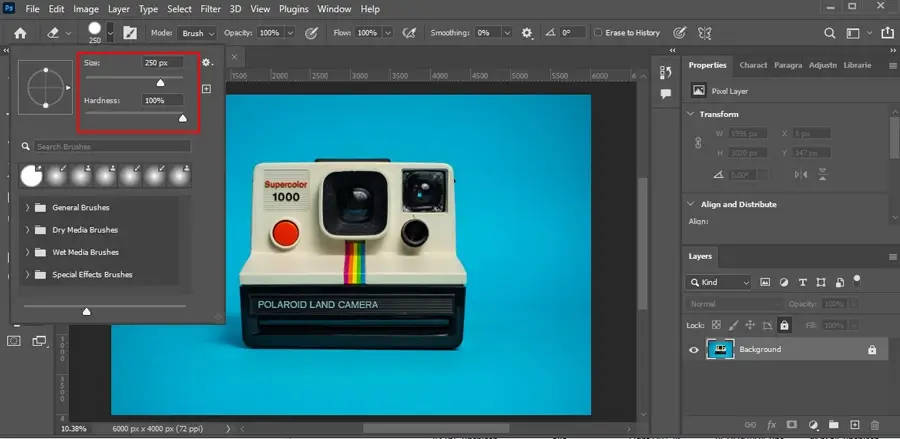
Then just make sure you change the brush settings to what you want them to be on the left side of the screen. In most cases, I like to have a large brush size because that makes it easier for me to get into the small crooks and crannies of the photo.
Step 3: Make your background transparent
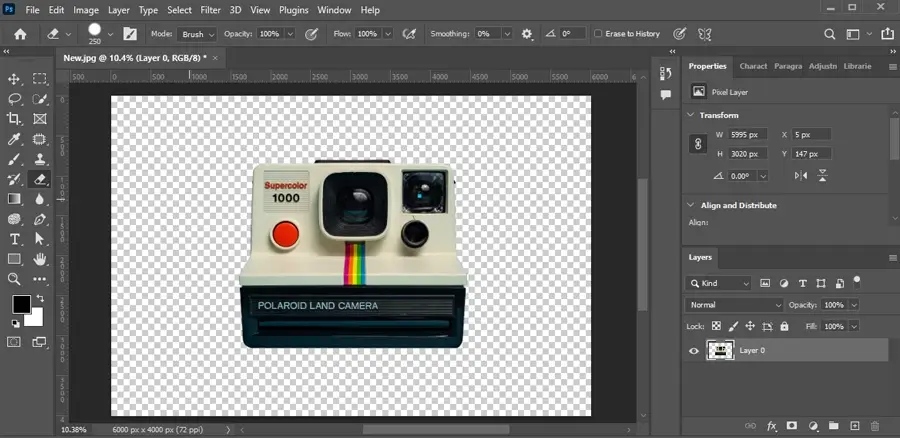
Once you have chosen your brush settings, you just click around on the background with the photo clipping eraser tool to erase that area from your picture. The main thing that I like about this tool is that it allows you to easily fix up your picture without having to redo all of the work that went into getting it in the first place.
Step 4: Save your file
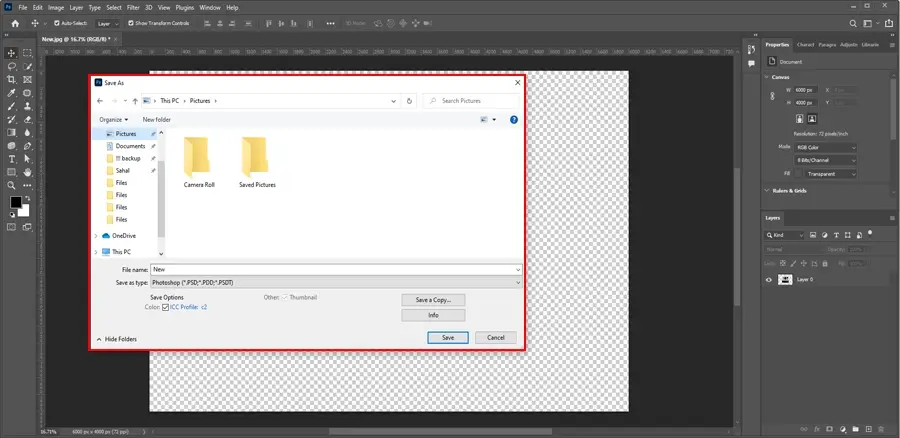
This way, if something goes wrong, you can go back and erase things over again until you get them just right.
-
Magic Eraser Tool
The magic eraser tool in Photoshop can be used to remove unwanted background or other objects from an image with precision and ease. It removes everything, and you have complete control over how much of it you want to remove and where you want to remove any elements.
It's important to understand that the magic eraser only affects pixels exactly like your brush color, so if you have any areas you want to retain, make sure they're not the same color as your brush.
If you choose a tool with too much contrast, you can always modify your selection using other tools in Photoshop before removing it.
Also, remember that because this tool is so precise, there will be some (very small) blank space around what you erase and artifacts along edges where adjacent pixels don't match perfectly.
-
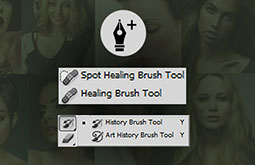
Pen Tool
The pen tool is used to draw a path for a shape. So the first thing that we should know about a pen tool is its workflow. The easiest and accurate way to draw a straight line in any direction with a pen tool is by clicking and dragging it out from the starting point to the endpoint of the line.
If you draw a line with the pen tool by clicking and dragging vertically from bottom left to top right direction. Overall, it is one of the best Photoshop techniques for clipping paths.
Conclusion
Though the above mentioned alternatives and tips for image clipping magic can be of great help, they can be regarded as just limited substitutes because of the restrictions these have. Handmade clipping path only guarantees you the best quality and this has to be understood. These substitutes can be effective in case of certain images only.
If your image background removal requirements demand remarkability, handmade clipping is the only choice you have. Relying on the shortcut methods may do harm. You can use these background correction techniques in case if the images are of lesser importance and they are not vital for your profession or business.
Else, the best thing to do is to select a professional clipping path services provider for getting your entire photo editing requirements addressed.