Graphic design is more than just creativity; it's a structured process that allows designers to create meaningful, impactful, and memorable visuals. Whether you're designing logos, websites, brochures, or branding materials, the design process is crucial to ensure the best outcome. Here, we'll guide you through 13 critical steps for developing an effective graphic design process that helps turn your creative ideas into tangible designs.

What is the Creative Design Process?
A creative design process refers to the series of steps a designer follows to create a design that is unique, functional, and impactful. The process involves understanding the client's needs, brainstorming ideas, researching, and refining the concept until it meets the client's goals. A successful design process results in designs that stand out, attract attention, and reflect the client's brand essence. It’s more than just producing an aesthetically pleasing image—it’s about creating a solution that serves a purpose.
The Importance of Following a Structured Creative Design Process
Following a structured design process ensures that you work efficiently, avoid common mistakes, and deliver high-quality work. Whether you're working as a freelancer or part of a design team, having a defined process will help you maintain consistency, meet deadlines, and produce designs that exceed client expectations.
13 critical steps to improve your creative design process
-
Gather up the brief
![Gather up the brief]()
It is obvious that the client will provide you the brief or generic information about the project. The information will be mainly concerning the client’s business, target audience, project specification, etc. Apart from that, there might be a whole lot of other information regarding the project.
As a graphic designer, you’ll most likely get the information during client-meeting. The client will discuss what they want from you and then, share all the needed data that is required for covering the project. This is the first and the most important creative design step.
-
Perform a market research
![Perform a market research]()
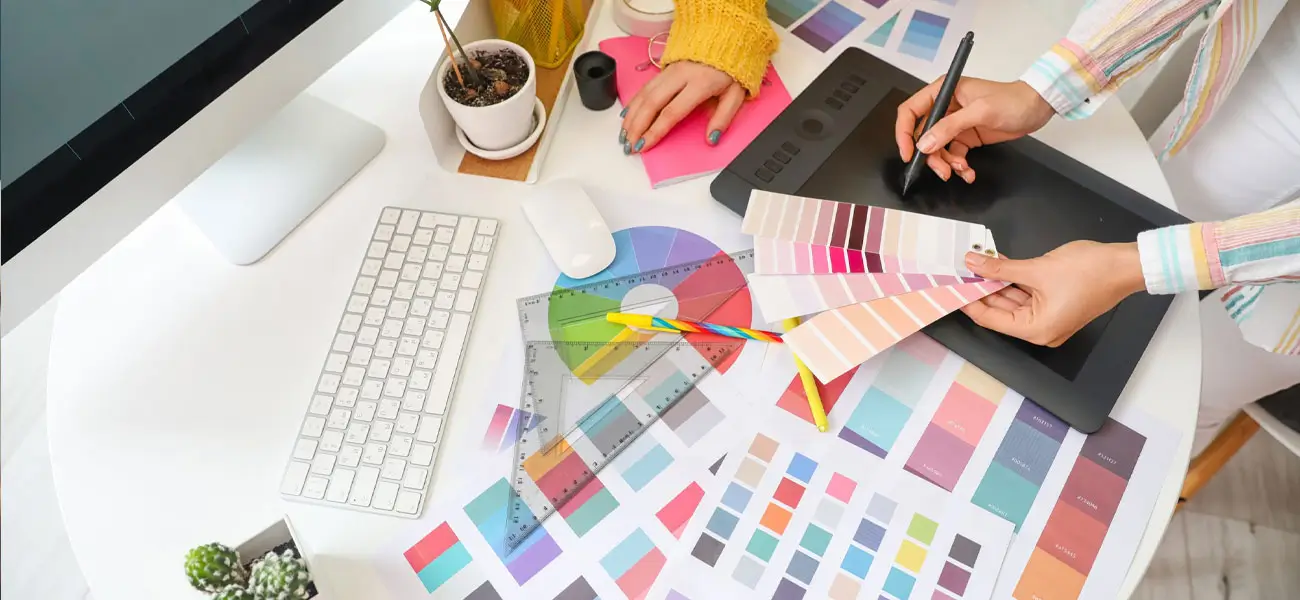
This is the second step of the creative or graphic design process. After you’ve received the brief, you should not just settle down with it and start designing. Before doing that, research everything you can about the product or service for understanding it better.
Try to get a clear and conclusive idea about the objective of the design, preferences of the targeted audience, design outlook of the competitors, primary features, key-value propositions, etc. You can only get the desired results you expect and make your designs appeal to the customers by understanding the brand inside out.
-
Make use of moodboard
![Make use of moodboard]()
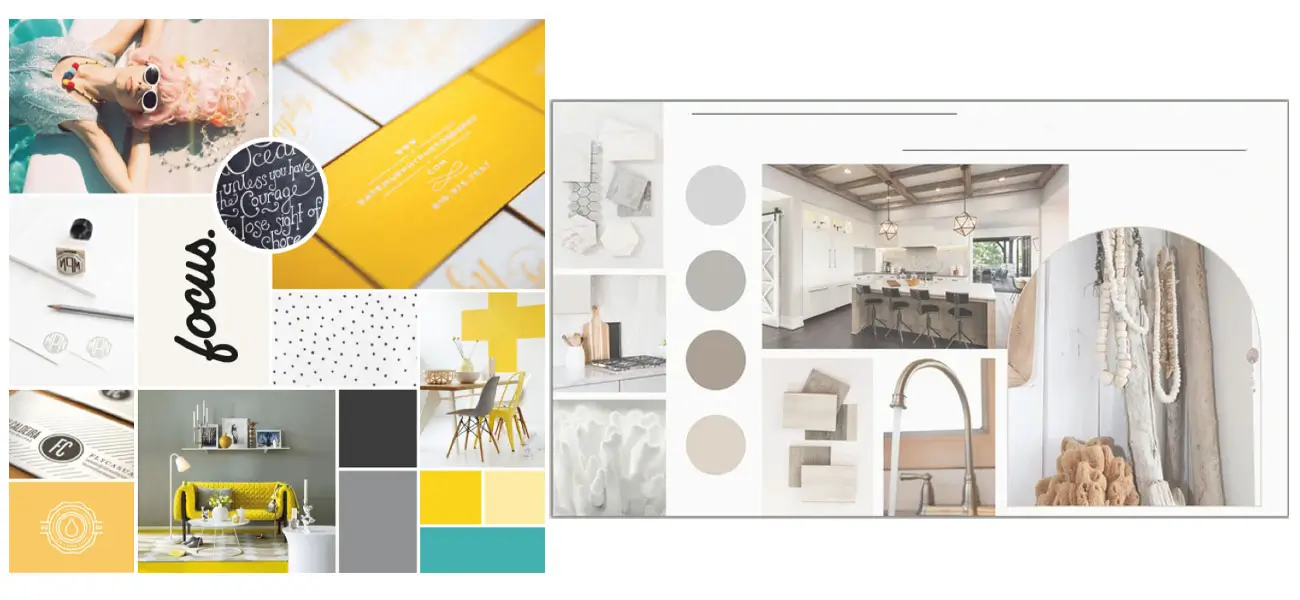
This is another research step and will help you to determine the mood of the brief. Moodboards are usually a group of visual materials that can help with understanding the brief, client, demographics, and competition. By using it, you can determine anything, starting from the color of the design to typography.
Moodboarding can help you to make good decisions regarding your project design. However, once you’re done moodboarding, make sure to put them out and label them in order. Later, you can also use it as a reference while designing.
-
Define the design structure
![Define the design structure]()
After having a good discussion with the clients, designers, copywriters, marketers, and business heads, you should arrive at the conclusion of creating your design structure. Draw a clear guideline regarding what to include in the concept, color, design, imagery, and content. Also, consider different factors like the client’s requirement, time, budget, target audience, resources, tools, design relevance, market trends, etc.
-
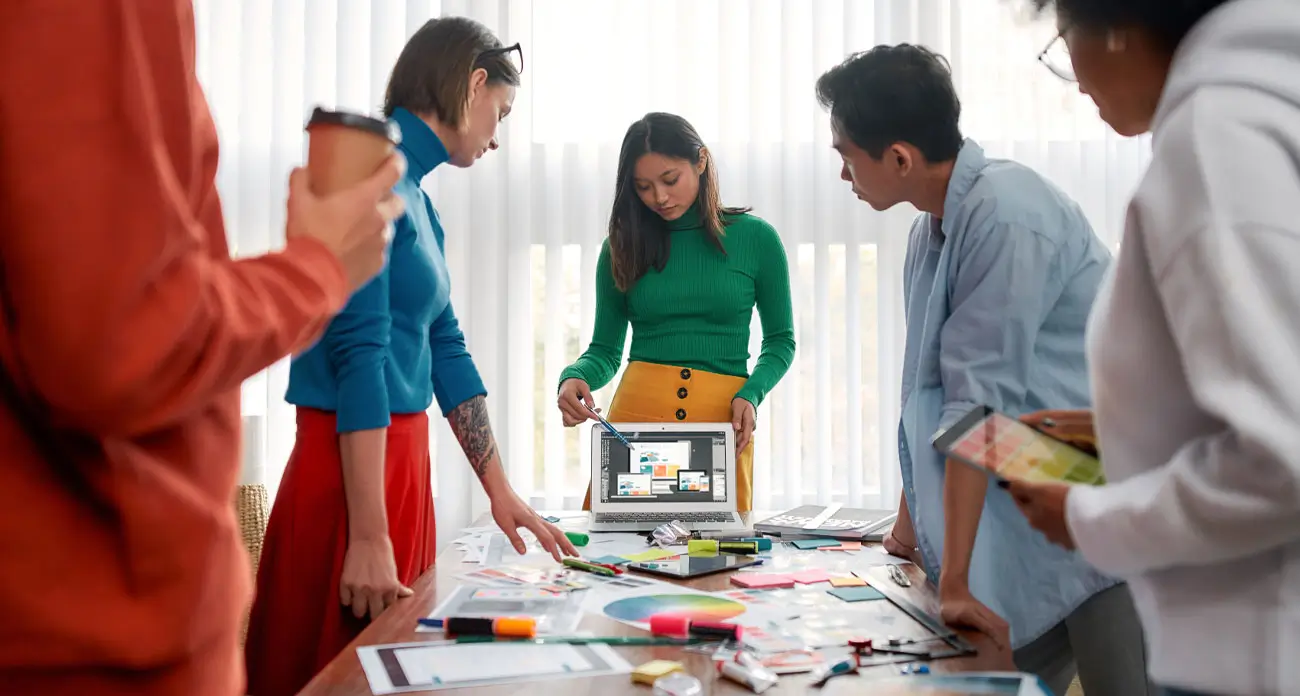
Brainstorm and create different concepts
![Brainstorm and create different concepts]()
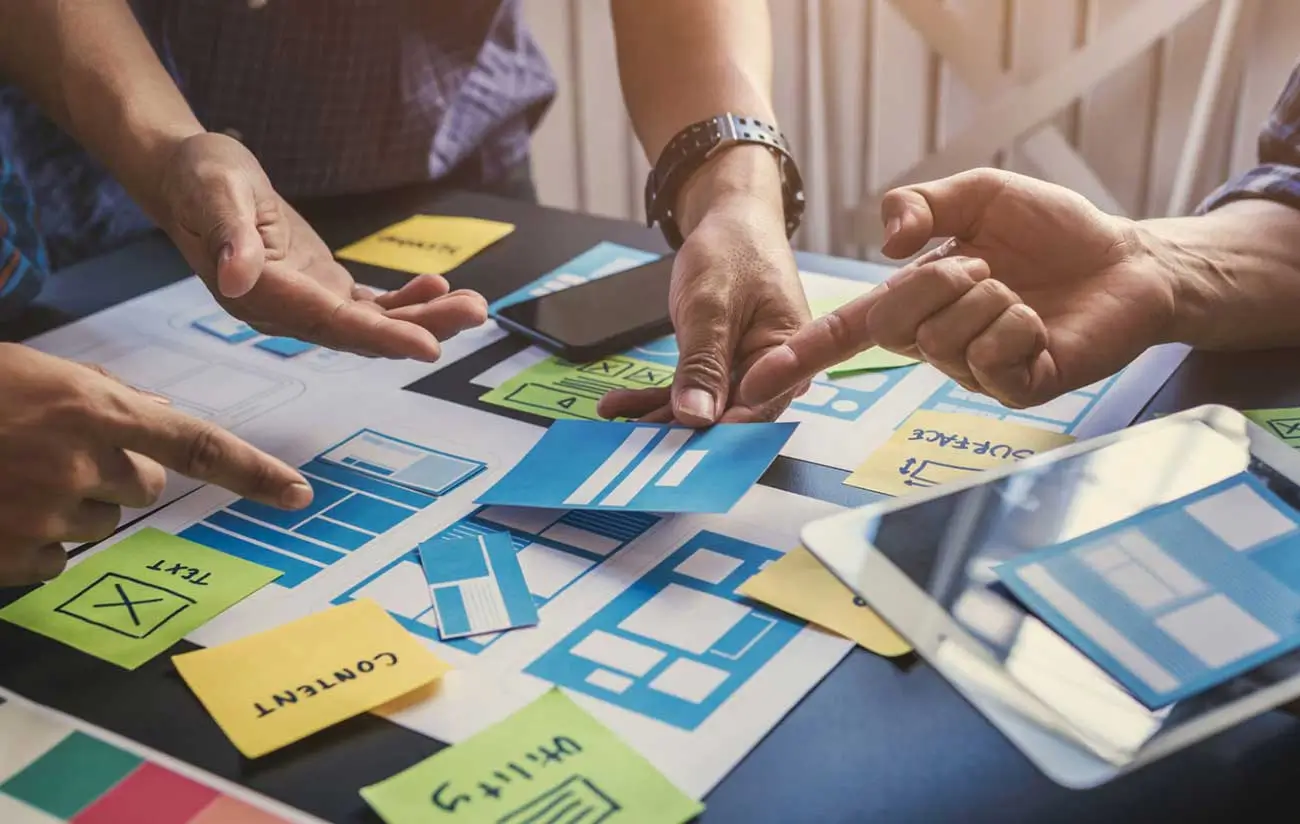
After you have concluded the different structures and combinations to include in your design, pull your spontaneous ideas together, and start sketching your different ideas or concepts. This process gives excellent results when done with a team. The more people you have in your team, the more ideas you’ll have.
You can start by creating motifs and symbols, suiting the needs of the project. Don’t forget to explore and test the typefaces. Also, stay updated with the latest logo and graphic design trends while working. If you are running a company offering graphic designing services, then distribute the designing tasks to your resource staff and ask them to create multiple designs and concepts for the client’s project.
-
Try out thumbnailing
![Try out thumbnailing]()
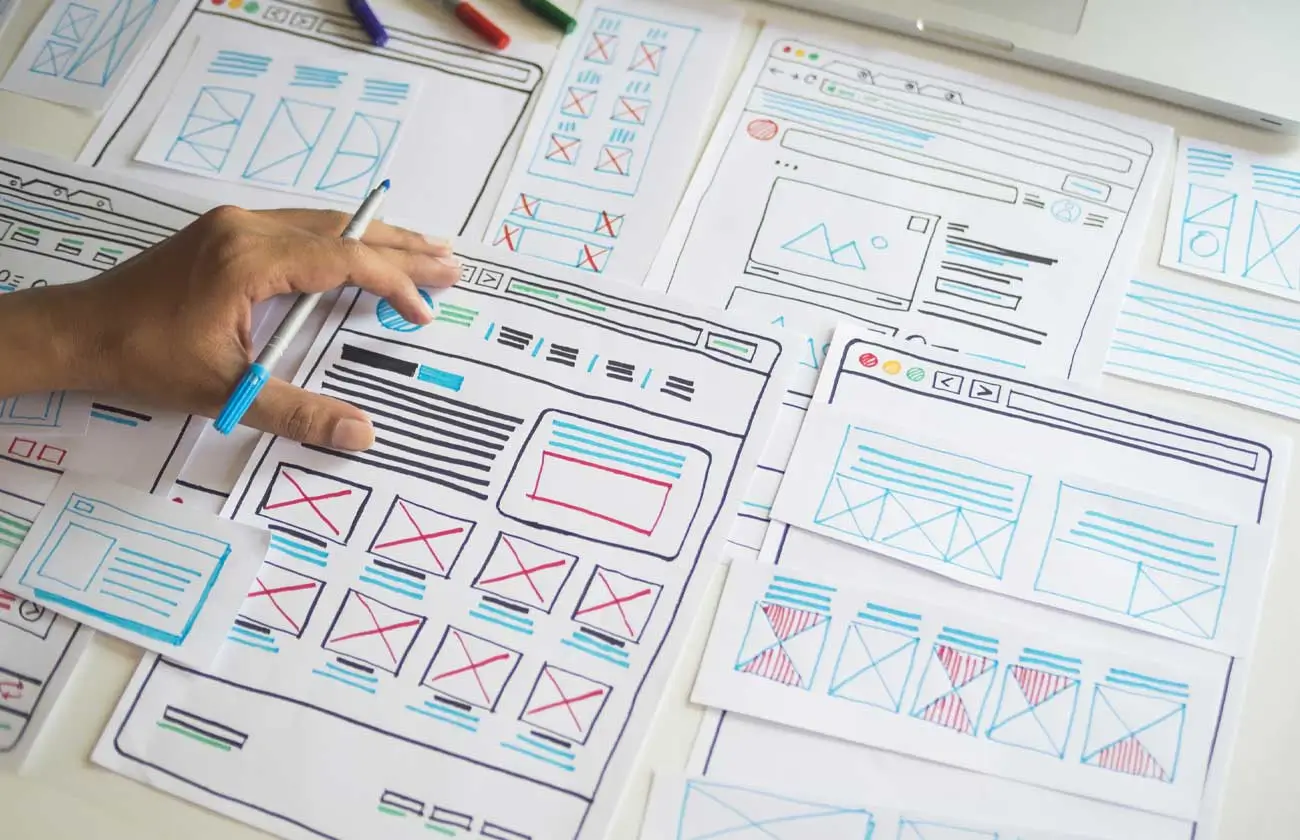
In this step, your design will actually start looking like a design. You can carry out thumbnailing once you’ve sorted out your ideas during the brainstorming process. So, grab your pen and notebook again and sketch out all the elements, such as pictures, margins, body content, etc. to create your design. By sketching again and again, you’ll get an idea of what works best and how you can shape your design.
-
Develop the design concept
![Develop the design concept]()
After brainstorming and thumbnailing, you can find out what works best to meet the project needs of your client. Go through your choices once again and find out one concept that communicates the client’s brief and stands out from the rest.
Also, make sure that your concept is unique and is not already present in the market. It should also be very personal and memorable to the client. In addition to that, it should be appropriate for the client’s target audience.
-
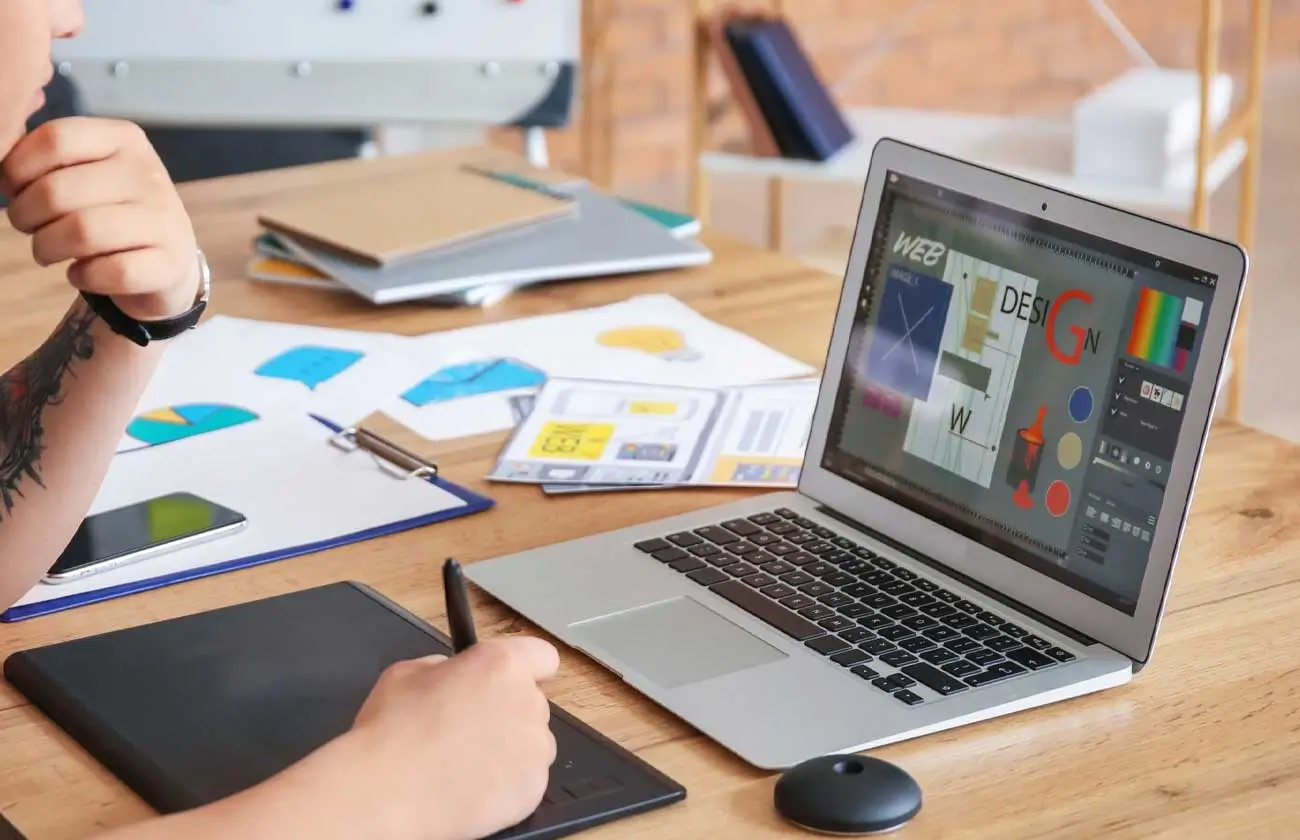
Start creating the design
![Start creating the design]()
As per the chosen concept and the elements developed in the thumbnail, start developing the design. Employ the needed graphic design software and tools that you think appropriate. There are many Adobe Creative Cloud programs available that can help you with the task, such as Photoshop, Illustrator, and InDesign.
Apart from that, you can also use digital design programs, such as Sketch, or analog tools, such as paints and paintbrushes depending on the requirement of your project.
-
Refine the content
![Refine the content]()
Refine the content in your design before presenting them to your client. You can start by becoming a self-critique. Look at your designs and see if all the steps that you have carried out so far align with the brief given to you by the client.
Also, compare and see if the design aligns with your market research, target audience, and whether the design stands out from the client’s competitors or not. After you’ve found the answer to your questions, go back to your design program and continue refining until its looks perfect.
-
Work with the client
![Work with the client]()
Give importance to the feedback of clients and work with them at every stage of the designing process. It will increase the client’s trust in your work, which in turn will motivate you to create unique and effective designs. So, always remember that whatever ideas you are having, you can present them to the client in the meetings or discussions so that they can give their feedback.
-
Compare and find the best
![Compare and find the best]()
After you have received the feedback, start creating multiple designs. Now, compare and select the one that looks the best. You can judge the designs according to their simplicity, aesthetics, feasibility, ergonomics, concept, relevance, business aspects, technical features, and more. Prepare the parameters in advance, which are needed for the judgment and give importance to the areas that can improve the quality of your project.
-
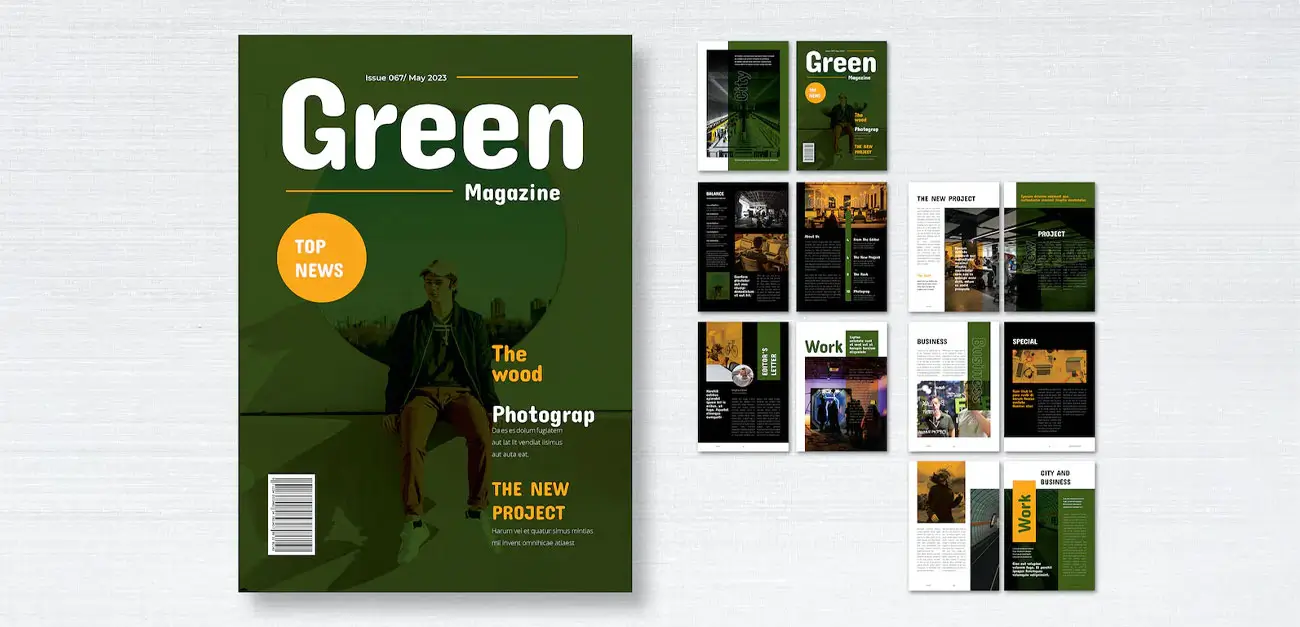
Design the presentation and wait for approval
![Design the presentation and wait for approval]()
Share your designs with the clients and provide them with all the information so that they understand why you have sketched a particular design. Now, let them take the final call. Sometimes, it may happen that the client will overlook your designs on virtual grounds. However, you need to justify the design by showcasing evidence or ideas. That is why it is very important to add crucial information to each design.
-
Final delivery
![Final delivery]()
After you’re done with designing, get it ready to send it to your client. For example, if it’s a print project, get the design ready to be printed by setting things like a slug, fold marks, crop, bleed, etc.
In case the client has an in-house design team, chances are that you’ll send over the files to them and they’ll use them for the desired purpose. If that’s not the case, then you’ll be sending over the files in PDF or any other format of their choice.


Conclusion
By following these 13 critical steps, you’ll streamline your graphic design process, reduce the likelihood of errors, and ensure that your designs are both functional and visually appealing. A structured design process allows you to efficiently transform ideas into reality, fostering creativity and ensuring client satisfaction. Whether you're working on a logo, website, or marketing campaign, these steps will help you create effective and impactful designs that meet your client's objectives. If you're looking for graphic design services to help with your project, experienced designers can guide you through the process, ensuring a final product that aligns with current graphic design trends. Additionally, understanding the different types of graphic design (such as branding, web design, print design, and motion graphics) can help you choose the right approach for your needs, enhancing the overall impact of your design.