Whittling down a set of photos quickly is the most critical skill a photographer should possess. The image selection procedure is the crucial step in a photographer's workflow. Choosing which image to work on is the critical point every photographer must go through.

Process of Photo Culling
The photo culling process can be defined as handpicking amazing pictures from numerous photos that the photographers take during an event or function. In the case of wedding photographers, they need to spend more time just selecting the best photos. Focusing on this culling activity can speed up the photographers' work to a large extent. Having the best system in place for selecting images is advantageous to your photography.
Culling can be done in two significant ways:
-
Additive/ Cull-In
Keeping stars on the images photographers want to keep are called keepers, and they are selected by going through all the images taken.
-
Subtractive/ Cull-out
Instead of picking the best ones, photographers focus on discarding all the ideas they don’t want.
Why is this process of photo culling necessary?
- Image editing time decreases
- You can present your best work to your clients
- Save the time of your clients
- You get an efficient and organized image library
What is the number of passes photographers should make?
One or two passes are sufficient for most experienced photographers, but those who use AI need only one pass. AI culling in advanced software helps reject closed eyes and out-of-focus images, making the activity more straightforward. Then they can select from the remaining.
How do cull photos quickly?
Without having a perfect system for selecting images, photographers will have to continuously scroll down and review the same set of photographs multiple times. This activity will not be a problem if you have a few frames, but if it's a large shoot, you will have to waste more time doing it. It becomes a discouraging aspect for a photographer and might make him decide to give up, leaving some of the best shots unspotted.
- No emotional attachment should be considered
- Culling has to be done before starting the image editing
- Start using AI
- Positive culling can be effective
- Shortcut keys can be real fun for this activity
- Most importantly, you should stick to one culling procedure
Follow this system to cull photos quickly.
- Isolate the set of photographs you are working on
- Remember, no distractions should be entertained.
- If there were multiple outfit changes, each outfit should be separated into a folder.
- Focus on your preconceived notions, which can help you speed up the process.
- Technical things can be much easier to identify as you have things, including exposure, focus, the absence of motion blur, etc., to be evaluated.
- Aesthetic faults depend upon our tastes. Spot out those photos, and your culling process gets easier.
Photo Culling tips
Every photographer needs to learn the photo selection process. Selecting the best photographs from numerous shots involves a lot of skills.
Editing
Selecting photographs is also referred to as editing. A photo editor is a person who will be the best option to choose for this culling process as they have the knowledge and the understanding of the different aspects of selecting the best photos. A photo retoucher can also be helpful in this culling process as manipulation of images will be possible.
Variety of tools
There are various tools available in Lightroom that can make the photo culling process easier. Here are some of the general features which can be used regularly
-
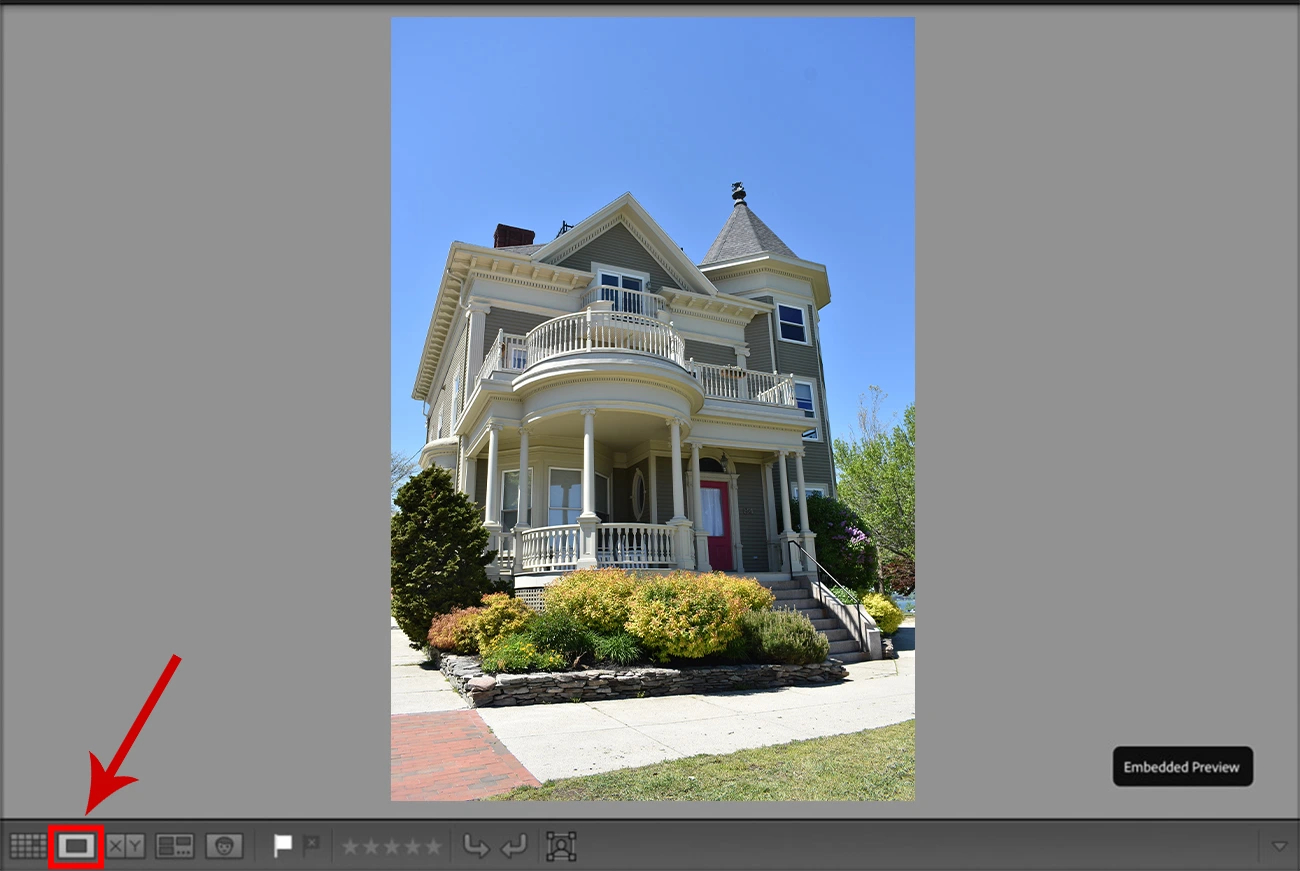
Full Screen

- This process can be much more accessible by viewing a single image at a time through full-screen mode.
- Distractions can be avoided by using the full-screen mode during the image selection
- Select a single image in your library module and press the “F” key
-
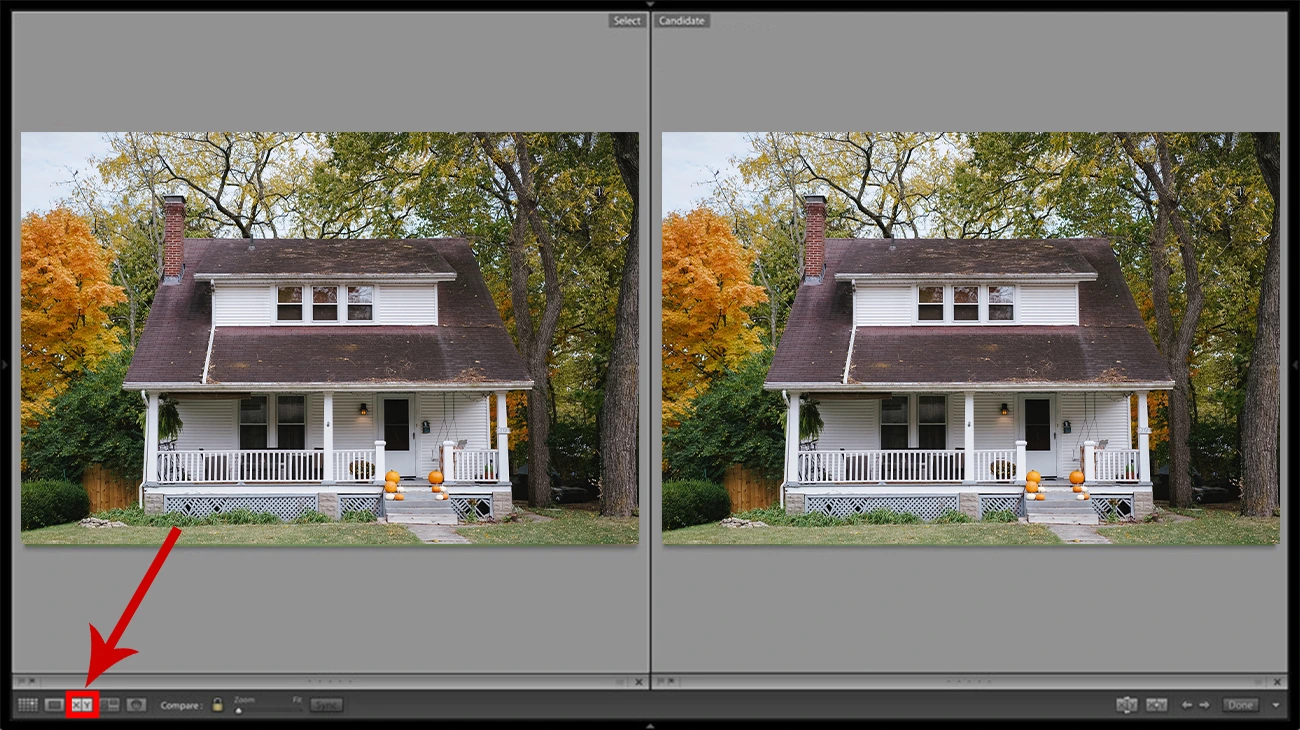
Compare
- Looking at two images side by side can help you select the best.
- Compare feature helps you choose the most appropriate image with minor differences.
- Select two images and press the “C”key.
-
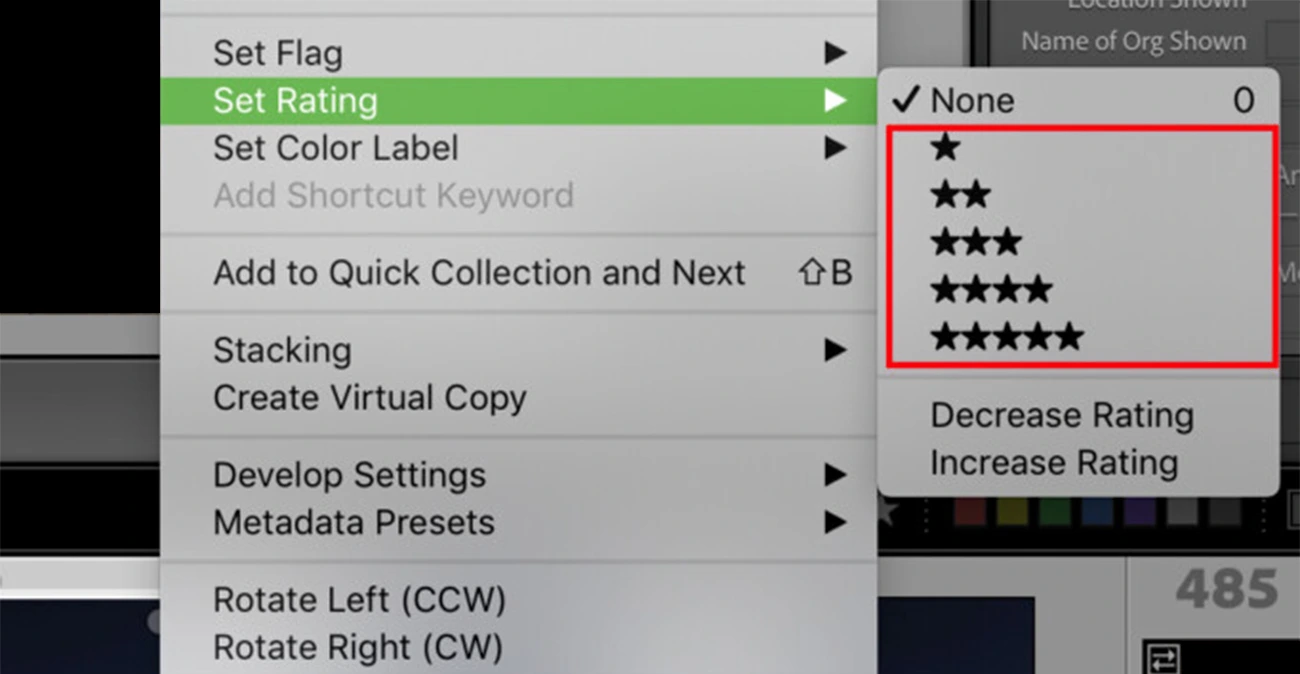
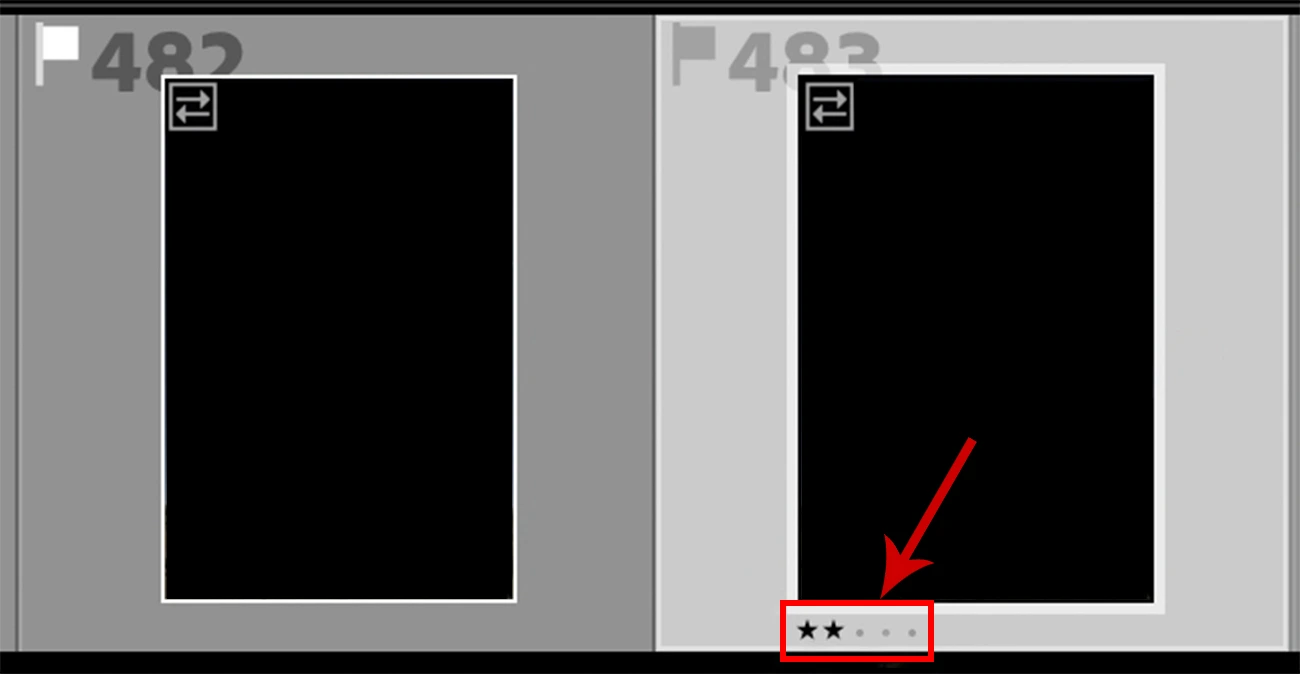
Star ratings
- Another quick way to annotate photographs is using star ratings.
- You have an option of marking the image with 1 to 5 stars.
-
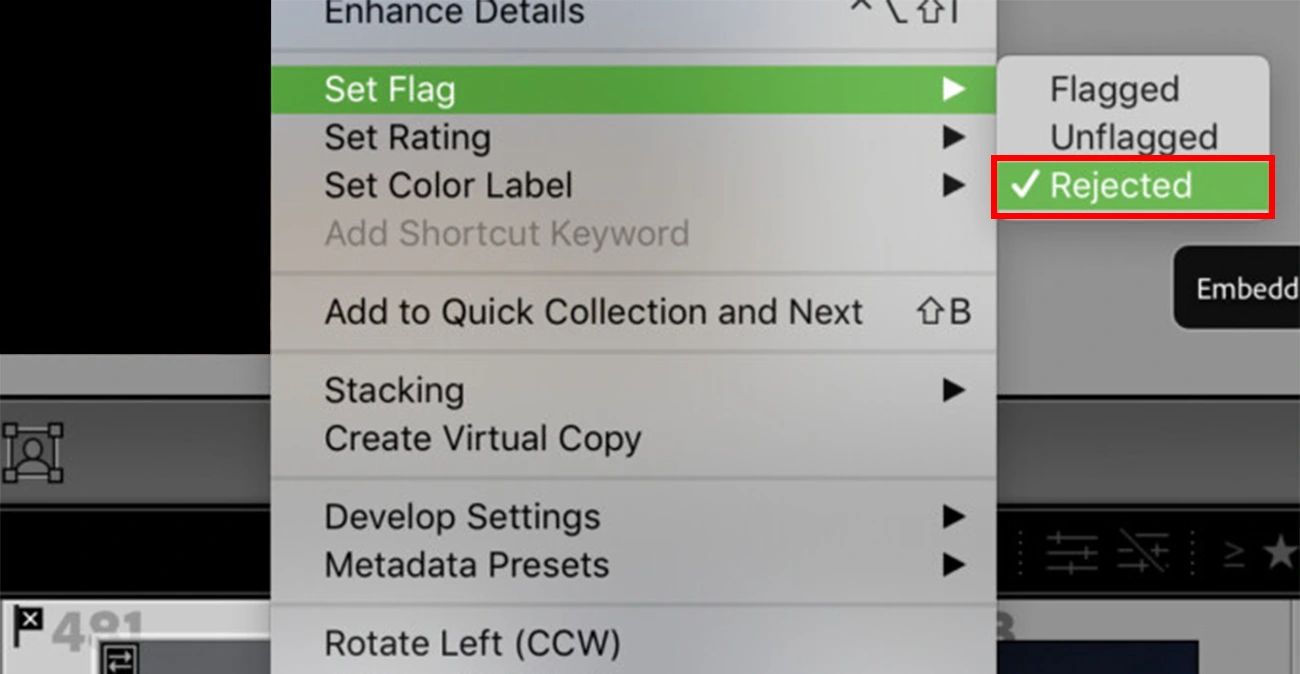
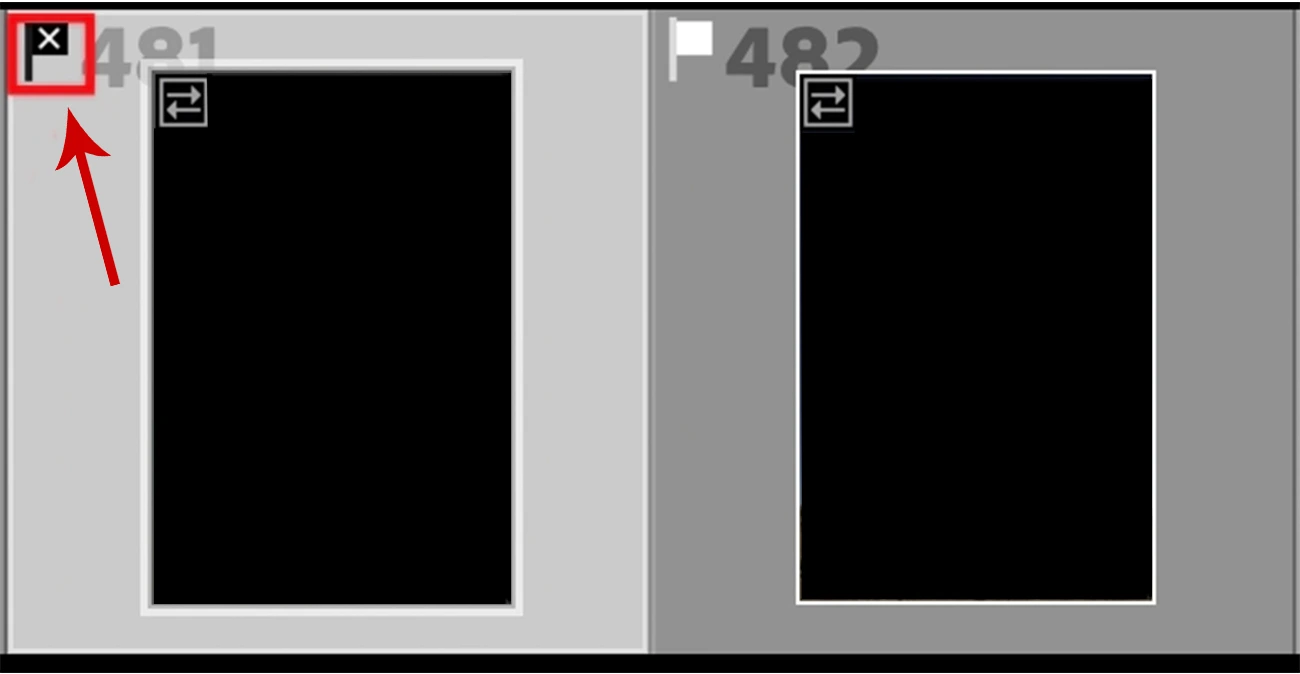
Reject
- When it gets rejected, a photograph in Lightroom will be grayed out and marked by a black color flag with an “X.”
- This helps in seeing which images have been marked and already reviewed
-
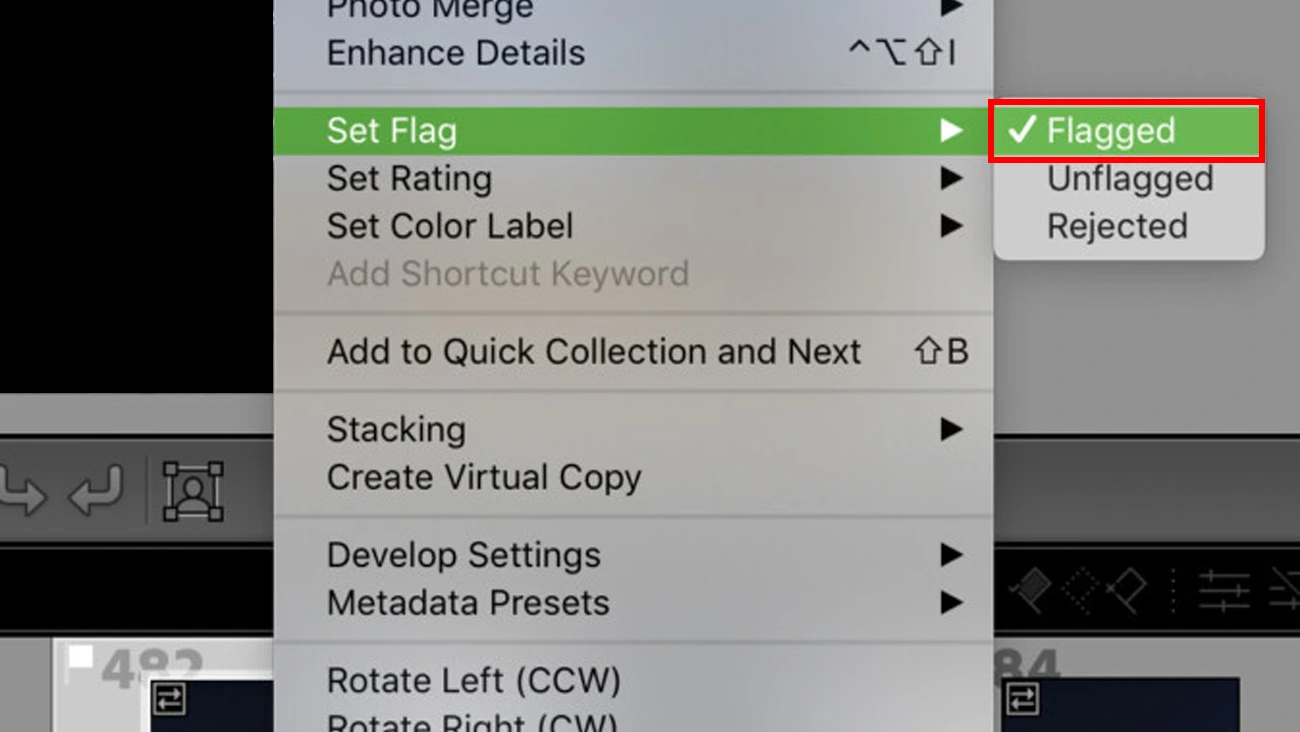
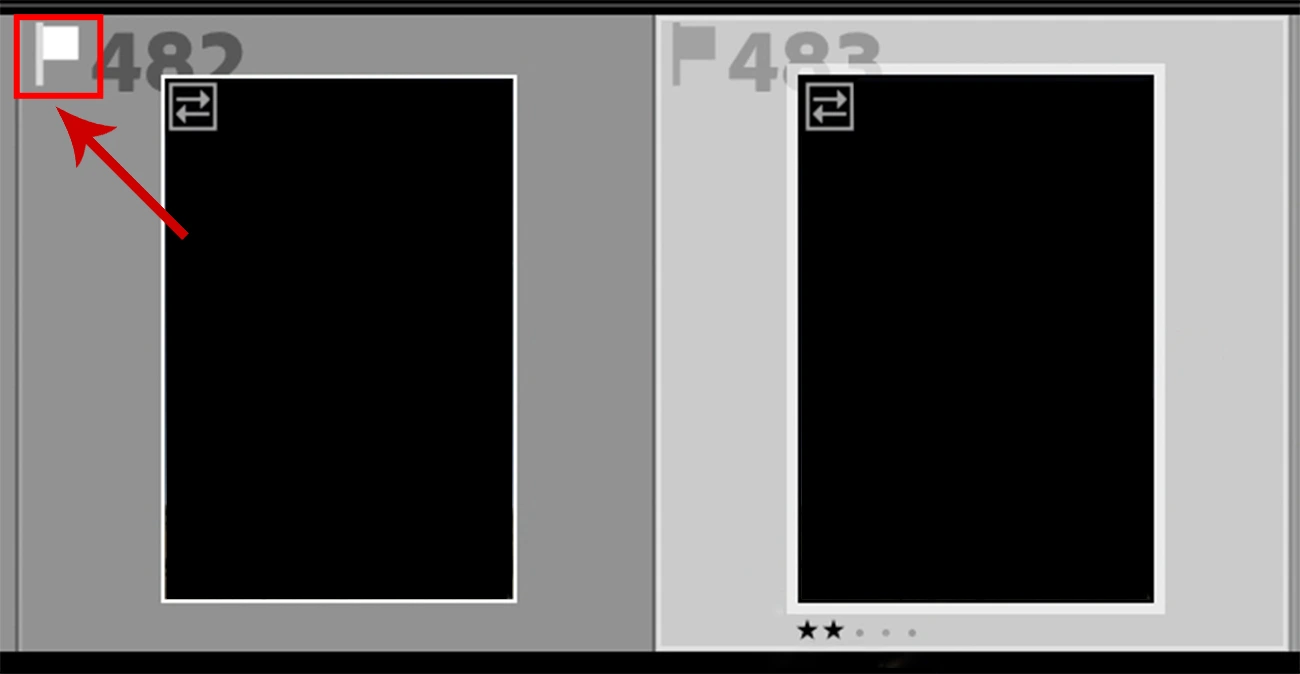
Pick
- While going through all the images, you will come across some unique shots and have to pick them up.
- Press the “P” key; to flag the image as a Pick.
- At the top left of the photograph, a little white flag icon will appear
Make a decision fast and start being ruthless
To get your best shots selected, you always need to be ruthless. If you feel that something is not right about an image, just reject it. Be keen on recognizing faults and reject those images immediately, giving them no chance to pinch your brain again.
Conclusion
This article has outlined the essential tools and the process. Lightroom has many features and could make your culling process more perfect and easier. Use them if you feel they suit your requirements. It's all up to you, how you use them and get your job done. This can be a complex process for a newbie and can waste time if not done correctly. Put your effort on the right track and make your work process profitable.
Outsourcing can also be the best thing for getting the best images for your other work process.
MAPSystems can be a reliable partner for all your culling needs. We have trained experts who are well versed in using different advanced tools to select the most attractive images for you through our photo culling services.