Photoshop has a few different tools to remove people from images, each being useful to its own merit. The trick is to select the best tool for your purpose depending on the kind of photo or photos you are working with.
Below are three of the most commonly used and handy tools recommended by any photo editing expert.
Tool #1: Clone Stamp tool
The first one to start with is the “Clone Stamp” tool, located at the left side of Photoshop in the toolbar. If it is invisible, use the “Window” option and click on the “Tools” option below.
This tool mainly copies pixels from one part of the photo to another, which might appear like a simple “cut and paste”. But in reality, it is more than just cutting and pasting pixels here and there; the photo editor actually pastes the pixels by painting over the selected areas.
This tool is most effective when one has to paint the exact detail between two areas by removing any object or replicating a part of the image that is damaged in some way.
So, how do you remove people in Photoshop with the Clone Stamp tool? Let's learn with the help of the following easy steps.
(Note: The keyboard shortcut for the clone stamp tool is S (Windows and Mac))
-
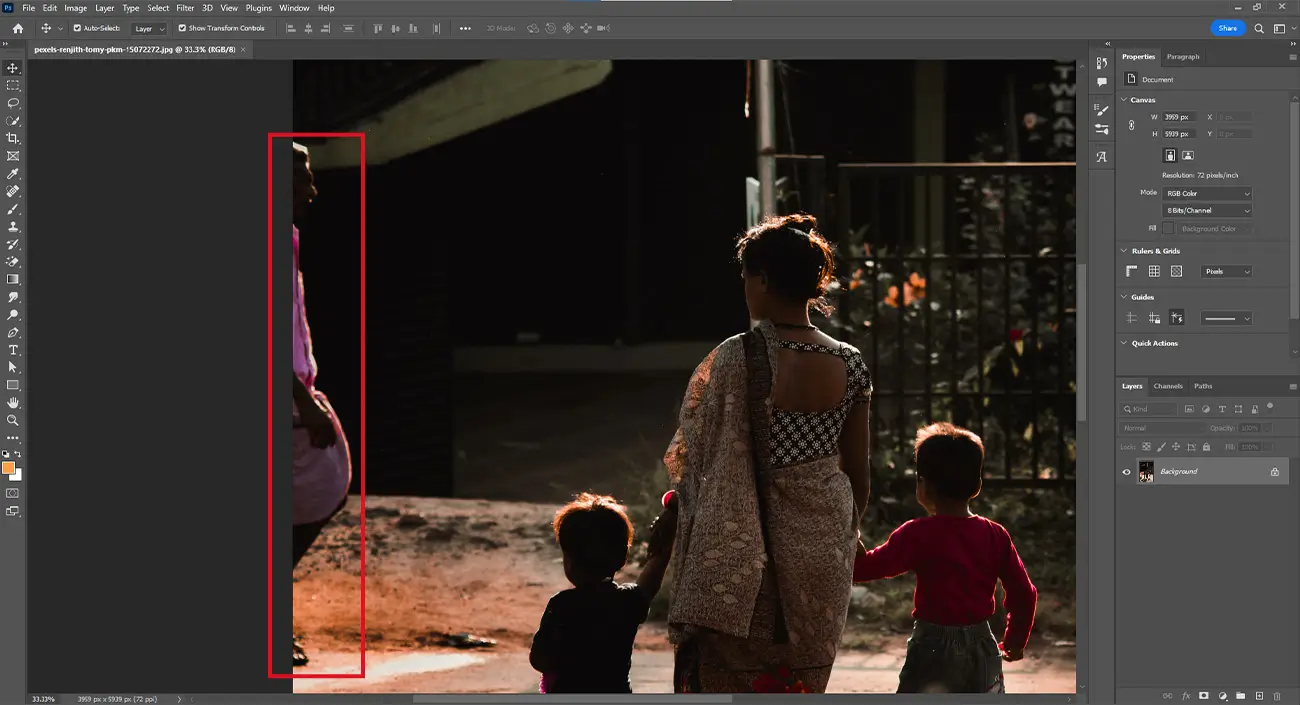
Step #1: Select the photo and zoom in
![Select the photo and zoom in]()
- Select and open the photo you intend to edit, and zoom in on the part you will work on.
- Duplicate the background to return to the original image quickly.
- Then on the left side, click the clone stamp tool icon in the toolbar.
- Right-click on the background layer and click the “Duplicate layer” option.
-
Step #2: Choose a clone source
![Choose a clone source]()
- Select a medium-soft brush and set the clone stamp size to cover the entire area to be removed and smoothen the edges while removing.
- Now, move your cursor to the part where you want to take the pixels and confirm the source pixels by clicking Alt+click.
- Once you click, the cursor will change into a crosshair for pixel-perfect precision and display the cloned pixels.
-
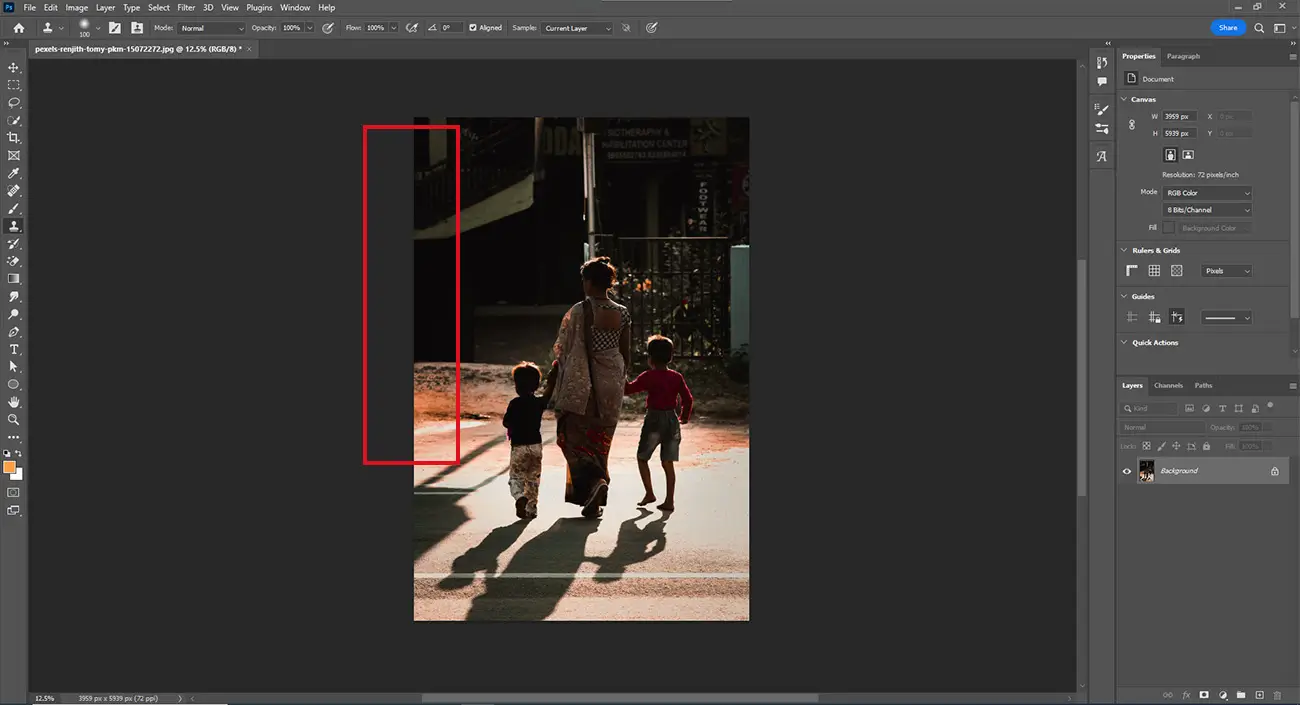
Step #3: Paint over the area to be removed
![Paint over the area to be removed]()
- Once the cursor changes into a crosshair, start painting over the area you want to erase. Be careful not to make the duplication process too obvious; and if it looks so, revert to cloning other pixels and keep painting.
- Repeat the process until the entire painted area looks natural. In case you need to go back a few steps, click Cmd+Z (Mac) or Ctrl+Z (Windows).
- Check for patterns indicating the cloned pixels and a removed object.

Tool #2: Pen tool
The pen tool is ideal if you have a simple object to remove. This tool is best for drawing a path or selecting the area around the human silhouette or an object with straight, hard, or curved lines and then erasing the path.
Want to learn how to remove a person on Photoshop using the Pen tool? Here's how.
-
Step #1: Open the pen tool
![Open the pen tool]()
- Open and select the pen tool from the toolbar on the left-hand side. Alternatively, use the keyboard shortcut “P”.
- Go to the top menu options and set the pen tool on “Path”.
-
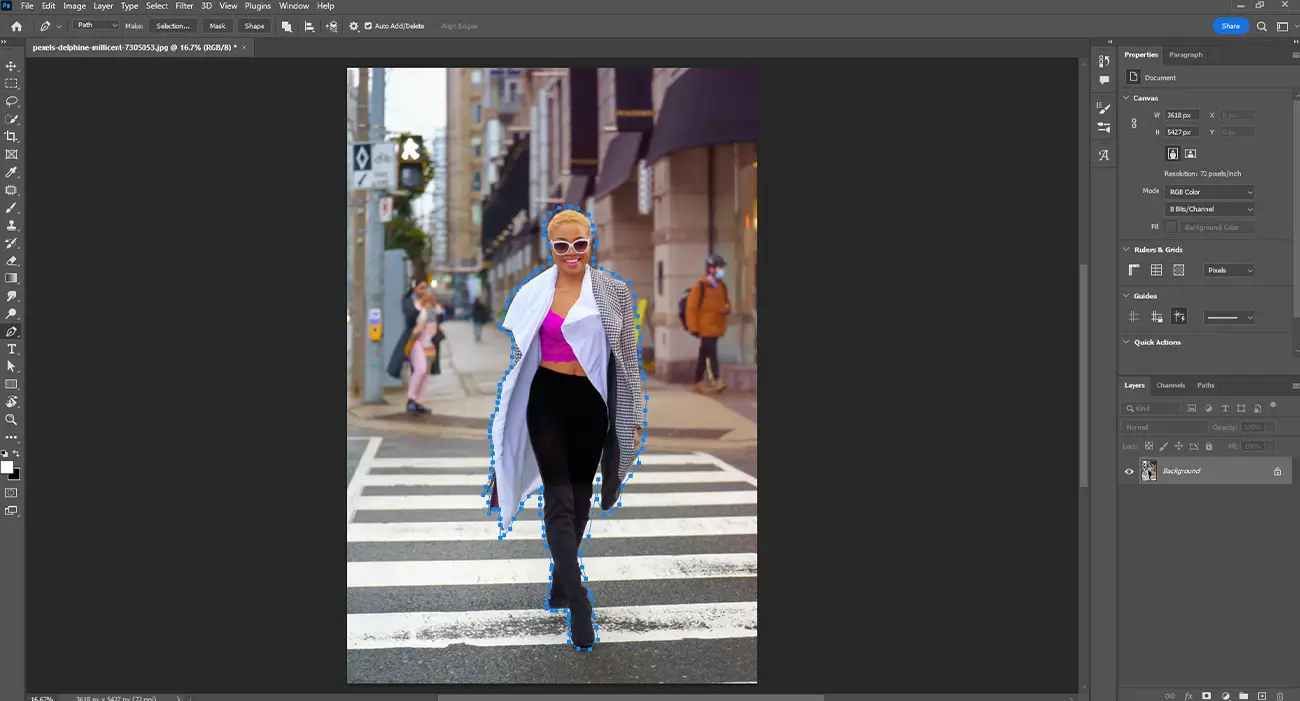
Step #2: Draw a path around the object
![Draw a path around the object]()
- Create an anchor point by selecting anywhere near the object’s edges. Then make a second anchor point by simply clicking. This will give you a straight line. If you need a bent or curved line, click and drag the mouse pointer. (Note: If you have a curved line, click on Option-click (Mac) or Alt-click (Windows) on the second (or last) anchor point to reset the anchor point and prevent the next anchor point from converting into an arc). For beginners and novices, this might seem tricky, but with constant practice, one can achieve precision and speed like professional photo retouching artists who offer advanced Photoshop services.
- Continue the anchoring process until you have created a path around the subject, and once you reach the first anchor point you created near the subject’s edge, click on it. This will close the path.
-
Step #3: Now convert the path
![Now convert the path]()
- Go to the “Paths” window and click the “Load path as selection” option.
-
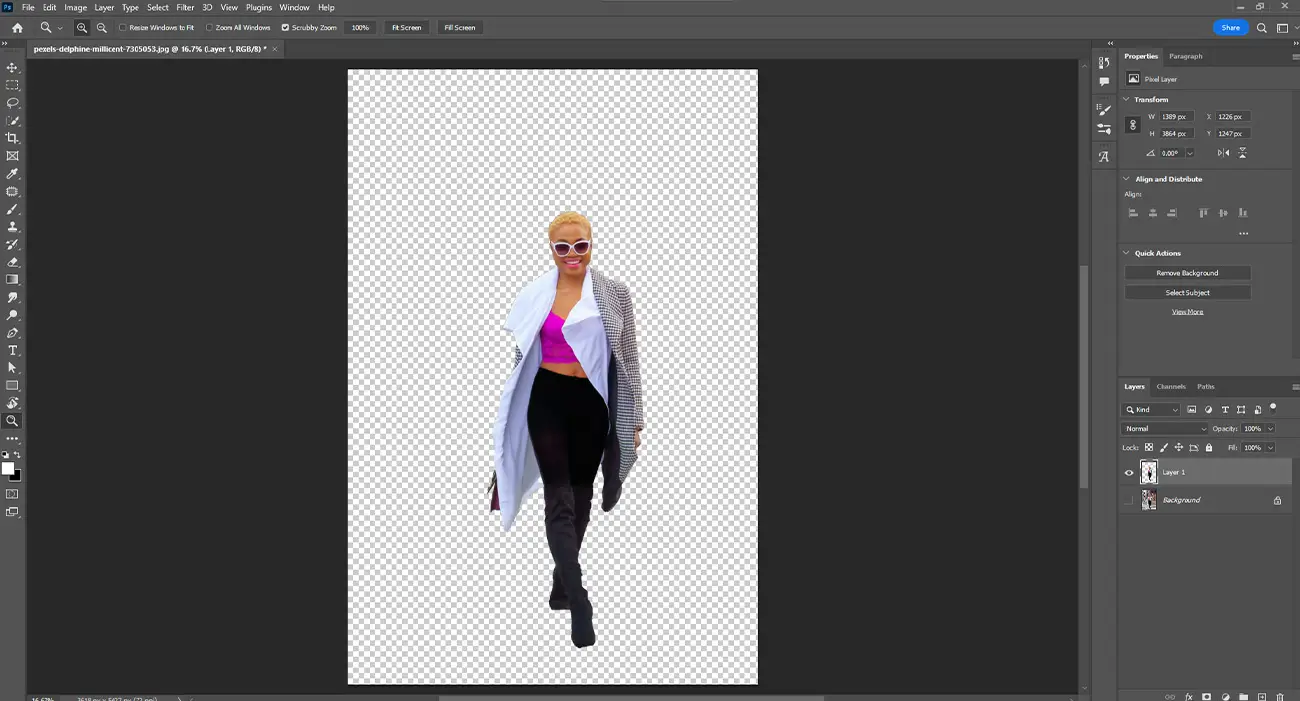
Step #4: Eliminate the background
![Eliminate the background]()
- As the final step, to remove the background, go to Select > Inverse and click the Delete key.
- As another way, you can avail yourself of the keyboard shortcut Cmd + Shift + I (Mac) or Ctrl + Shift + I (Windows).
- Alternatively, if you want to copy the subject and create a separate layer, simply click Cmd + J (Mac) or Ctrl + J (Windows).

Tool #3: Content-Aware Fill tool
Want to know the last Photoshop tool you can use to remove a person from photos? Yes, the "Content-Aware Fill" tool is the last tool in this insightful article today.
The content-aware fill tool is ideal for deleting an object if surrounded by multiple simple elements as smoothly and efficiently as possible. It is a potent and highly intuitive tool of Adobe Photoshop to remove unwanted objects from a photo.
The content-aware fill tool analyzes a photo and fills a selected part with similar pixels, textures, and colors from a relevant part of the image. It gives an interactive workflow experience to the user and has a constantly evolving AI. Most third-party photo editing agencies that provide custom image enhancement services leverage this tool within their workflow.
These experts in photo editing have access to all the latest features in Photoshop. Leveraging those advanced features, they can effortlessly remove a person in Photoshop without making the photo appear fake or unreal.
-
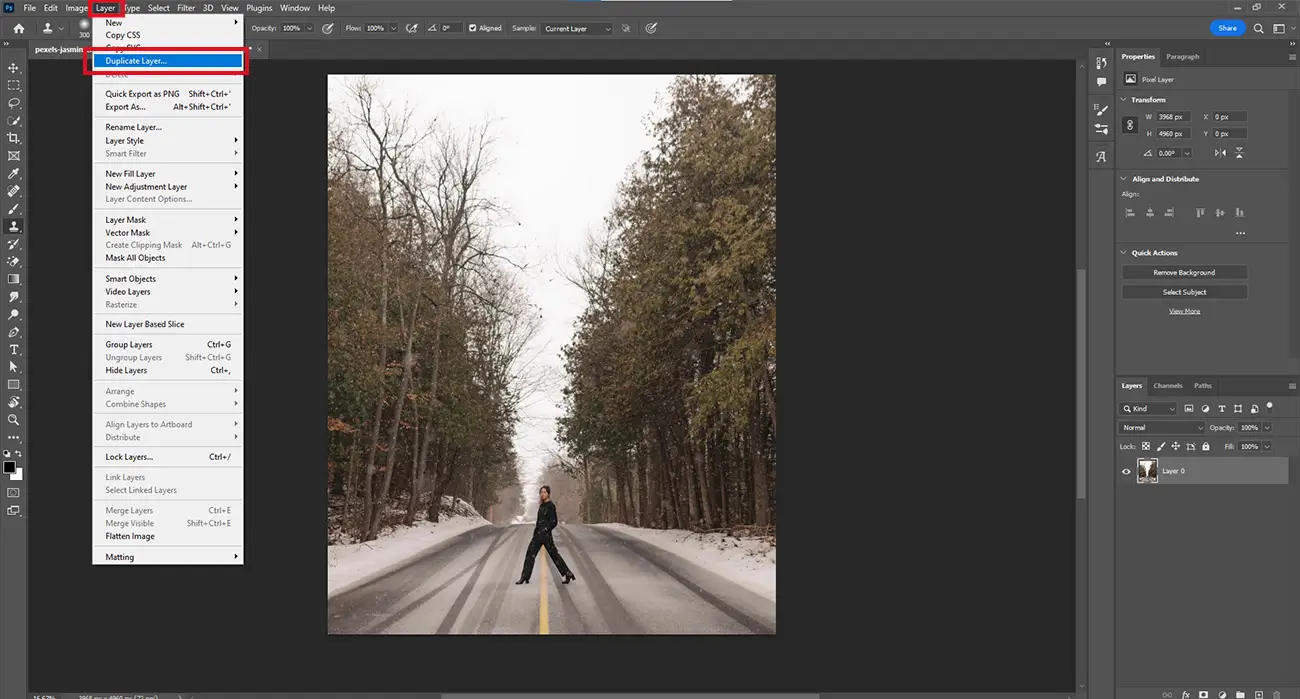
Step #1: First, create a duplicate layer
![First, create a duplicate layer]()
Note: Creating a duplicate layer of the original photo helps to prevent any permanent damage to it. So, before starting the removal process, ensure to create a duplicate layer.
- Keep the object you want to delete active in the Layers panel.
- Go to the “Layer Actions” menu at the top right corner of the Layers panel and choose “Duplicate layer”.
-
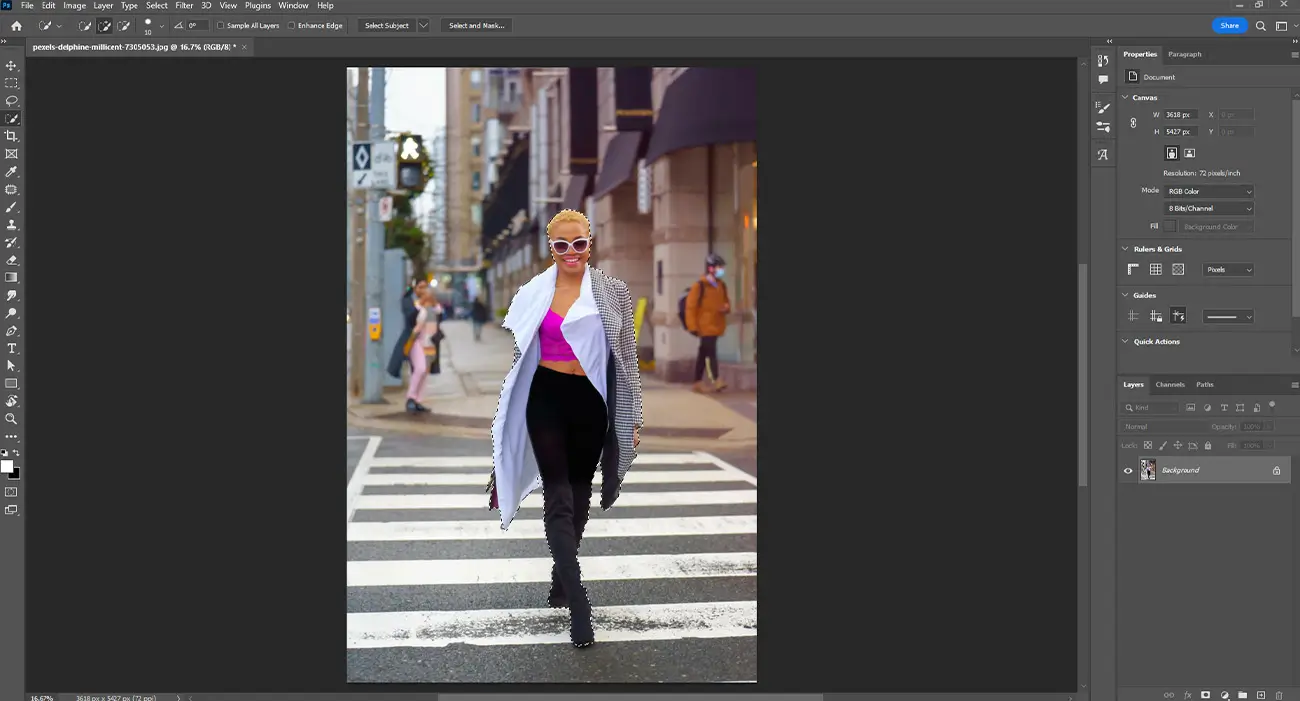
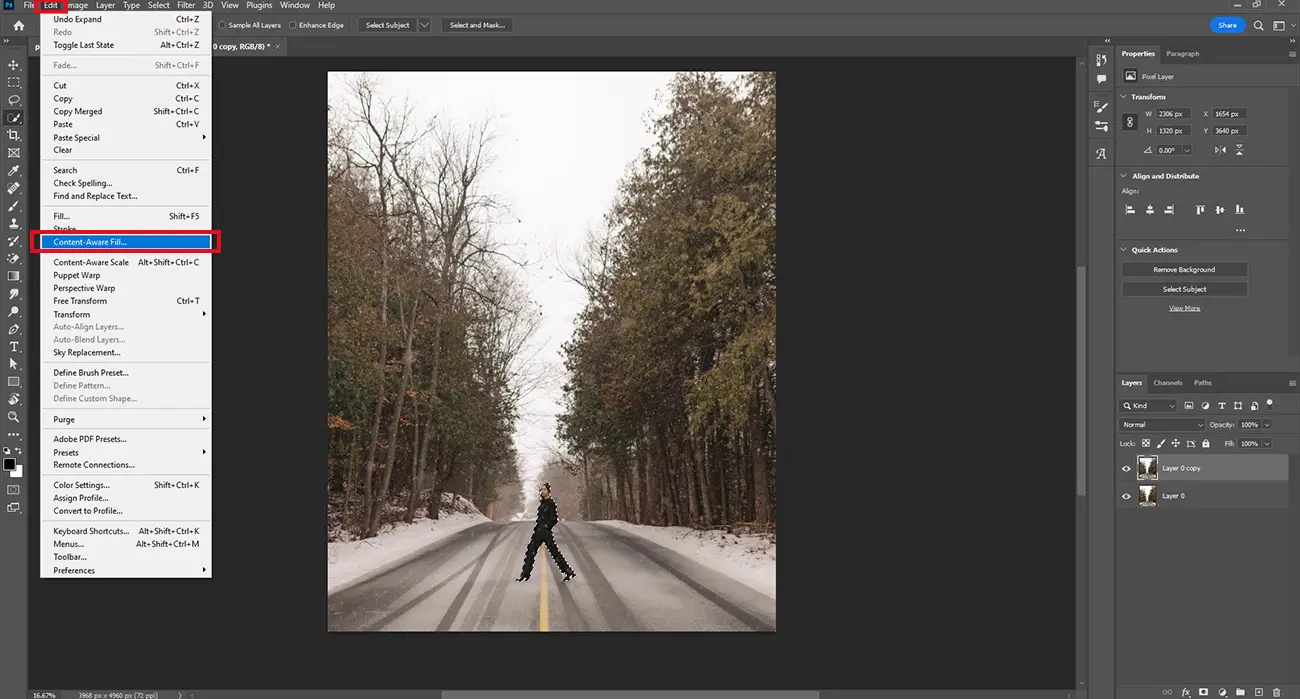
Step #2: Make a selection and trace around the subject
![Make a selection and trace around the subject]()
- Use a selection tool, for example, the Lasso tool in the toolbar, and trace around the subject you want to erase.
- Keep the edge close to the subject but also make sure to include some of the surrounding visual details.
- Go to the control bar at the bottom of the selection and click the Edit > Content-Aware Fill icon; this will automatically fill the selected area with other relevant and similar parts (pixels, colors, textures, materials, etc.) on the image.
-
Step #3: Check the preview and remove any unwanted portion
![Check the preview and remove any unwanted portion]()
- Check the preview on the right side; if you notice any unwanted areas within the sampling area, click on the “Subtract” icon from the “Overlay” panel (“–” icon at the above menu).
- Use the brush and paint over the green overlay area to erase the unwanted portions.
- If you are satisfied with the fill, click “Deselect”.
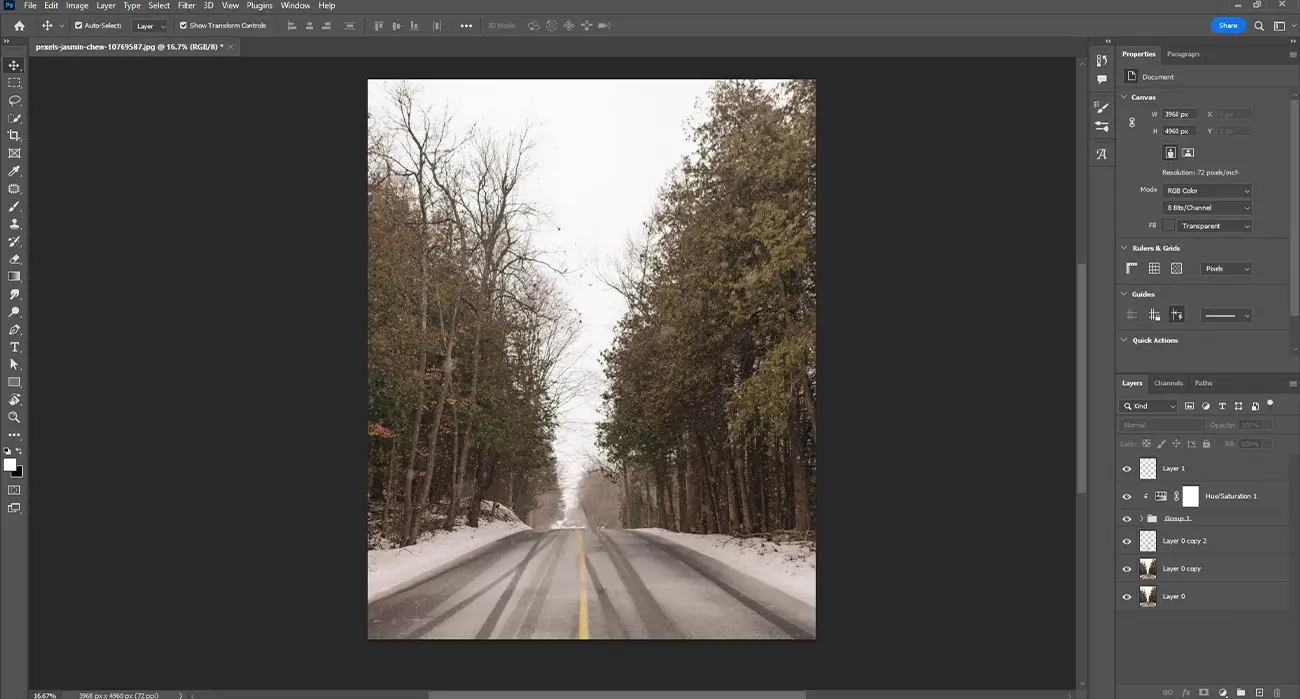
Thus, the content-aware fill tool creates a beautiful frame without any distracting elements present in the image. Start image decluttering your amazing shots with this super-intuitive tool.
If you are a beginner in photo retouching, the steps above can teach you the methods to remove persons from photos in Photoshop in the most hassle-free way.
Conclusion
If you need professional help to remove people from photos, team up with a photo editing partner. There are several expert photo post-processing and enhancing service providers who can deliver top-notch edited pictures in the shortest timeframe. In case they seem to be too challenging, get in touch with a professional photo editing services agency that can assist you with image decluttering services.