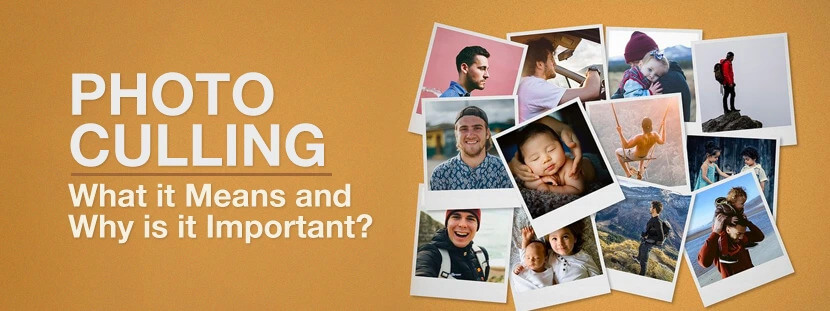
Every photographer, amateur or professional, wishes to produce the best quality images for their client. However, only a few are aware that photo culling plays a crucial role to make it happen.
No matter what type of photography you do, photo culling is a very useful step. So, if you are wondering what it is and how useful it can be to you, then keep reading!
This article will help you understand what the culling process means in detail, its importance, the photographer’s way to culling out images, the alternative to culling images, etc.
What is photo culling?
Photo culling is the process of selecting the best images from a photography session and discarding the ones that can’t be edited or shared with the client.
Culling is defined as choosing certain files from a large set of files in order to decrease the file size.
With the massive amount of pictures snapped during a session, editing all the images isn’t necessary or feasible. The task could be overwhelming to both the photographer as well as the client. That’s why pictures are culled out prior to editing so that the client only receives the absolute best images.
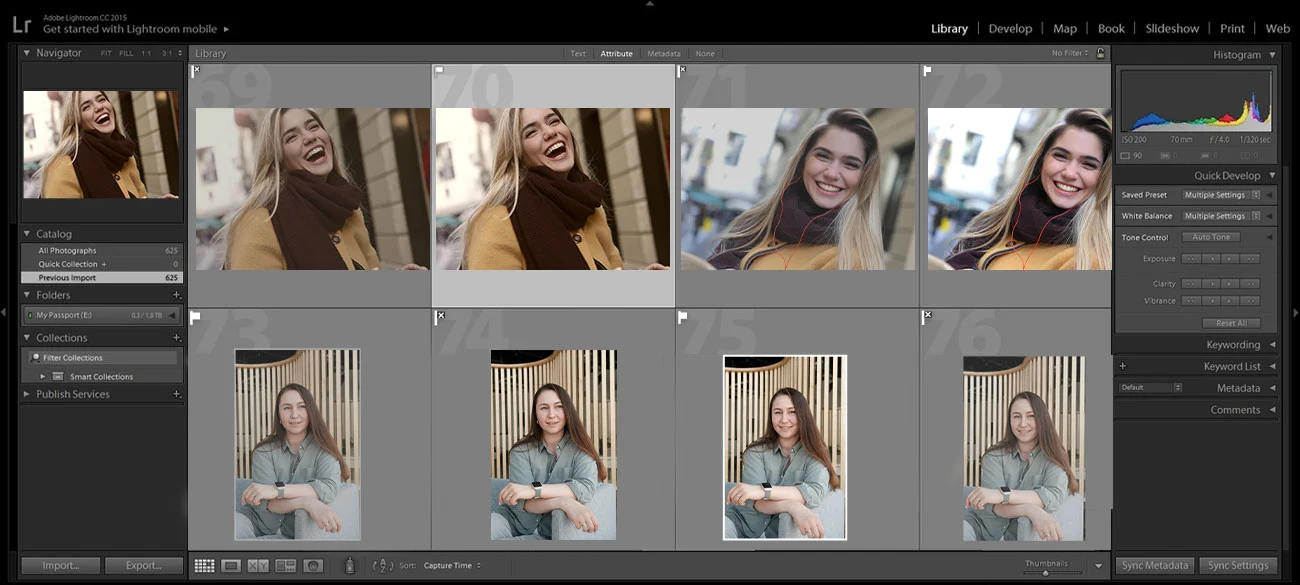
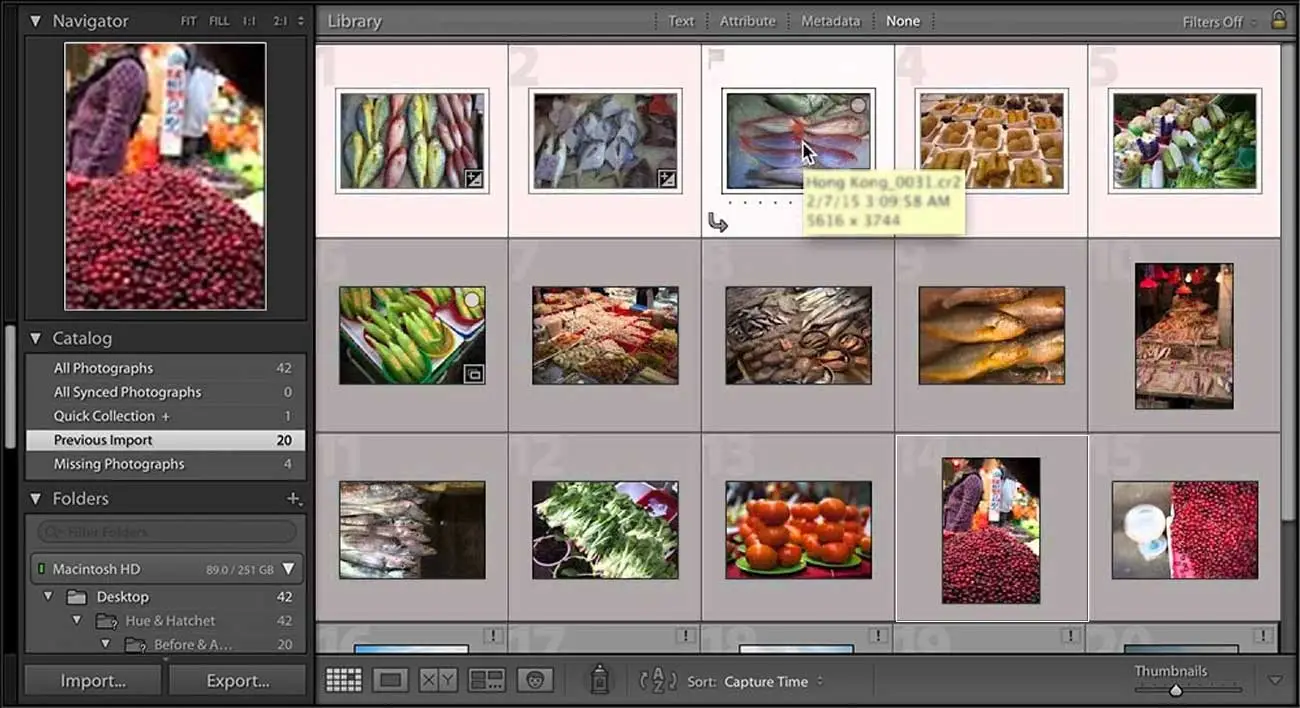
The photography culling process is usually carried out with the help of image culling software. If the session has a smaller number of images, it is possible to manually cull them out but it is often not the case.
Importance of photo culling in photography
Culling is more important than you realize in photography. It plays a huge part in delivering exceptional photographs to the client.
Usually, a professional photography session results in a large number of images. Editing all of them isn’t necessary or a smart move either. Just imagine the time you will need to edit those images and turn them into share-worthy ones. That’s why you need to cull.
Image culling can streamline your photo post-processing process by
-
Getting rid of bad images

There’s no doubt that you will get good images with professional photography. But a few images may also turn out bad. These are the snaps that don’t require a second thought to get deleted.
For example, the snaps with weird facial expressions, test exposures, blinking or poses that didn’t work out the way you want. There’s no need to edit these images and can be removed right away.
-
Eliminating duplicates
Getting a handful of images that seem identical is also common in photography. In that case, you don’t have to edit them. Outsourcing photo editing is a smart option to choose. Instead, you can only select a couple of images or even a single image from the set of duplicates and get them edited.
-
Saving storage space
As a photographer, you may have to shoot several sessions which will result in a large number of RAW files.
If you start storing all the RAW files from every photo session, your hard drive will be filled more quickly and you won't be able to use it for a long time. So, the best thing to do is remove the pictures you don’t need and save your storage space.
-
Optimizing the editing time
Once all the improper and duplicate images are removed, you will only have the good ones left to edit. Now, you can put all your concentration and efforts into making the good ones even better with editing.
It also means that you won’t be wasting time editing pictures that won’t even be used by the client at all. Furthermore, there will be fewer chances of burnout since you will only edit the images you find worthy.
-
Delivering faster results to clients
By weeding out bad images, you can deliver results much faster to clients. Besides, your client doesn’t have to see the images that make them look bad. Nobody likes that. As a photographer, it’s your job to identify the best-looking ones, edit them, and send them to your clients.


After learning the importance of image culling, you might be already planning to include the process into your editing workflow. At this point, you will only have an overall knowledge of the process, which is also useful. But getting insights into the actual workflow of a photographer would be more beneficial.
It takes us to the next topic, i.e., understanding how professional photographers take the approach for photography culling.
The photographer’s approach to culling images
Here are some tips and tricks that experts often use for culling their pictures.
-
Cull the entire shoot at once
You can start by culling the entire set of images in one go. If needed, repeat it 2-3 times. It is very important to finish culling before you start editing. You don’t want to waste time editing pictures that may not be used later.
-
Add metadata
It’s a good habit to embed the metadata or add a piece of brief information to the set of images. You can either include the name, time or place for the same. It will save your time when you want to revisit the pictures while editing or delivering them to the client.
-
Create your process
With each culling session, you will learn new skills. It may take time but you will eventually learn the tips and tricks to improve your process and cull images faster. And, when you know it, you can establish your optimal culling workflow.

Choose a culling system and stick to it
If you keep changing the way you cull every time, you will have to start over your learning curve again and again. In that way, you will never get used to the process.
That’s why it is advisable to stick to a certain culling system. It doesn’t mean that you should never change the process. It is okay to change it over time but not just after two weeks. Here are the different types of culling systems you can use.
-
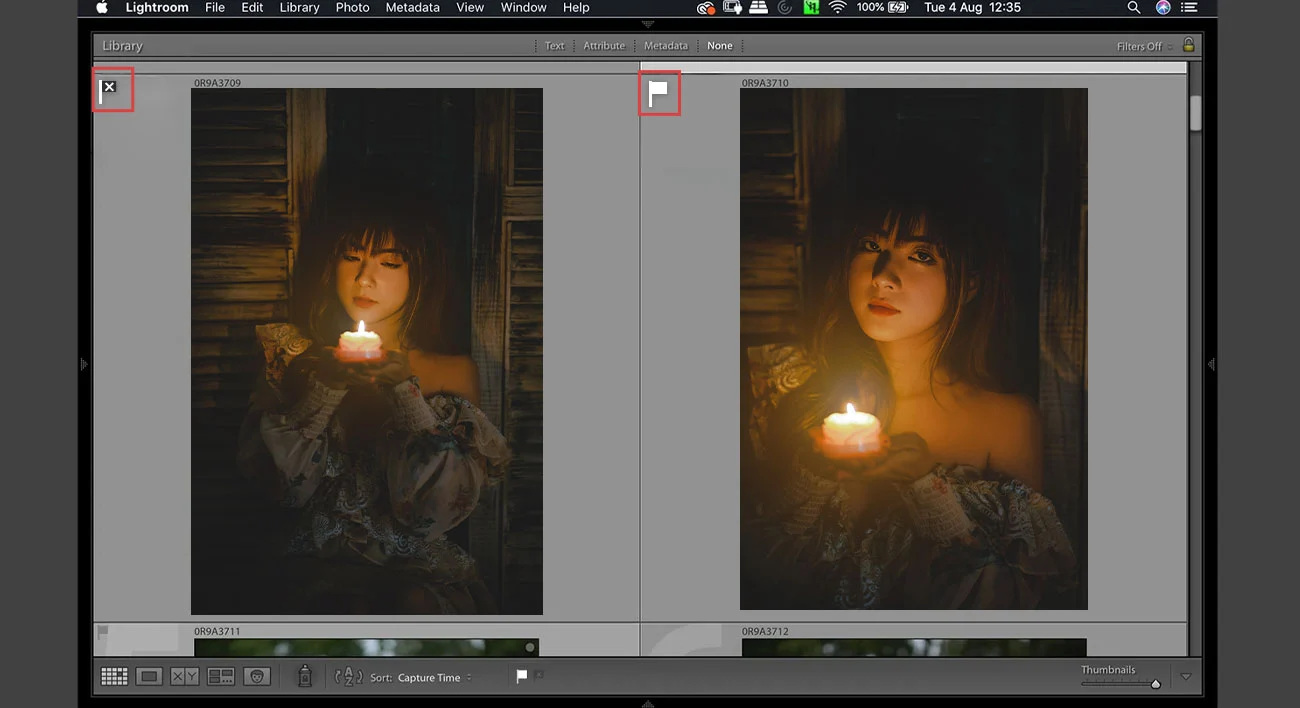
Flagging
In this system, you will be assigning a flag to each picture. While starting off, each picture will remain unflagged but as you proceed, you will either assign them a “pick” or a “rejected” flag.
You may also use keyboard shortcuts to make the flagging process faster. The letter P is for “pick”, X is for “rejected”, and U is for “unflag”. With this process, the selection process can be faster and the pictures with the rejected flag can be deleted altogether.
-
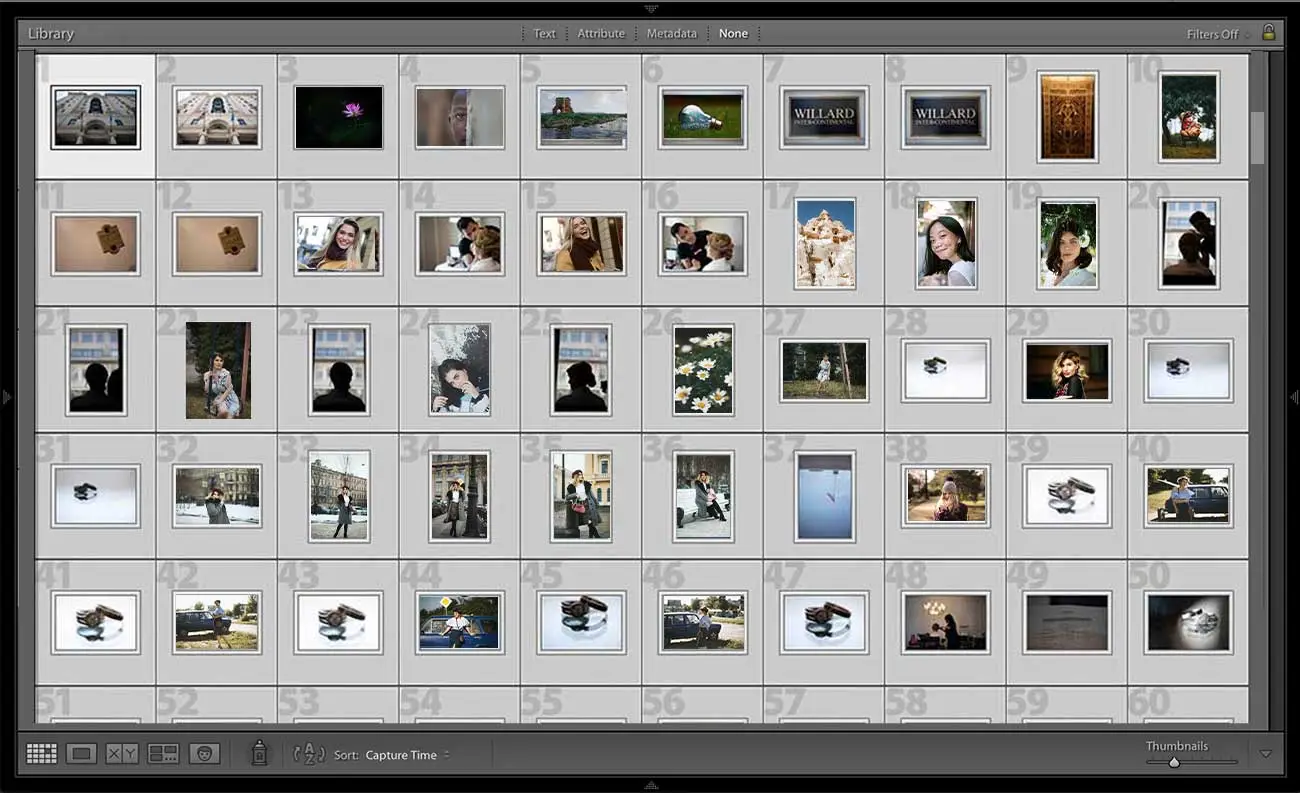
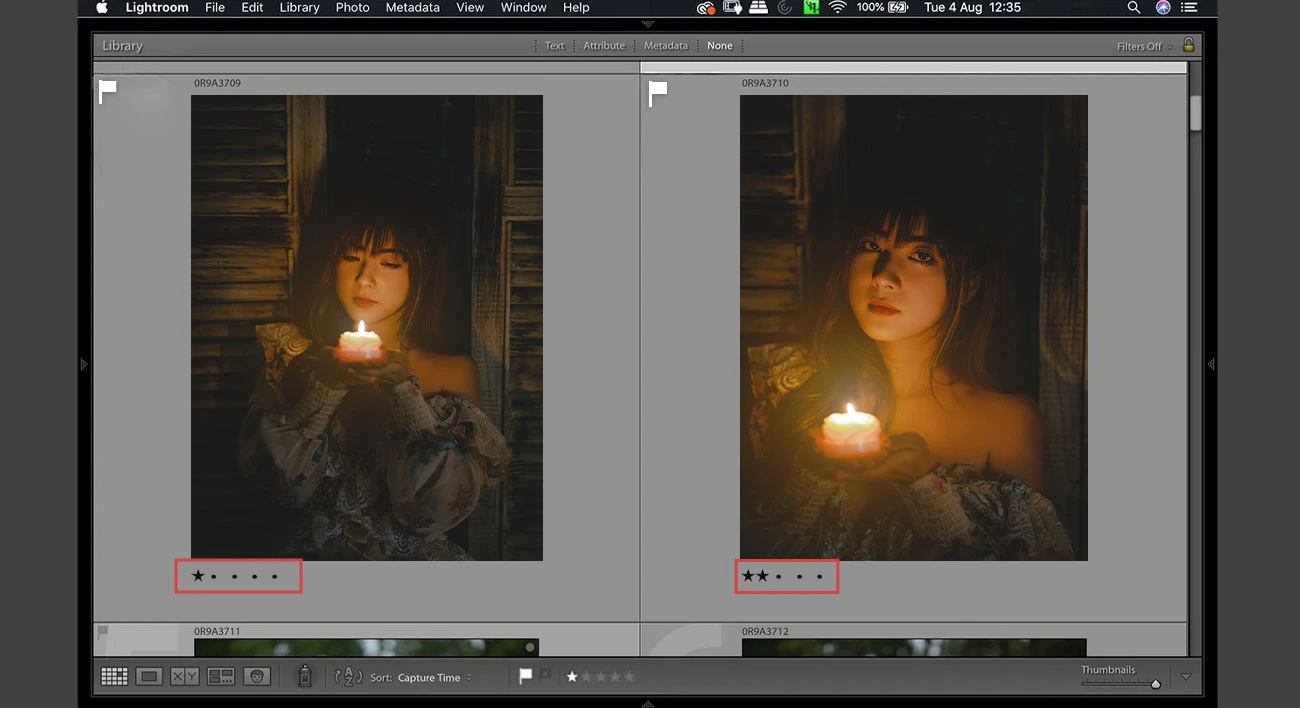
Star Rating
Here, you will assign a particular number of stars to each photograph. The star rating has a numbering from 0 to 5. You may also use keyboard shortcuts for the same. The shortcut for one star is 1, two stars is 2, three stars is 3, and so on.
It totally depends on you on how to define the rating system. Usually, 1 star means bad and 5 stars mean good. But you may do it the other way. You can choose 1 star for good and 5 stars for bad. Some people also assign the numbering as 1 star for the blog, 3 stars for the social media, and 5 stars for the portfolio.
-
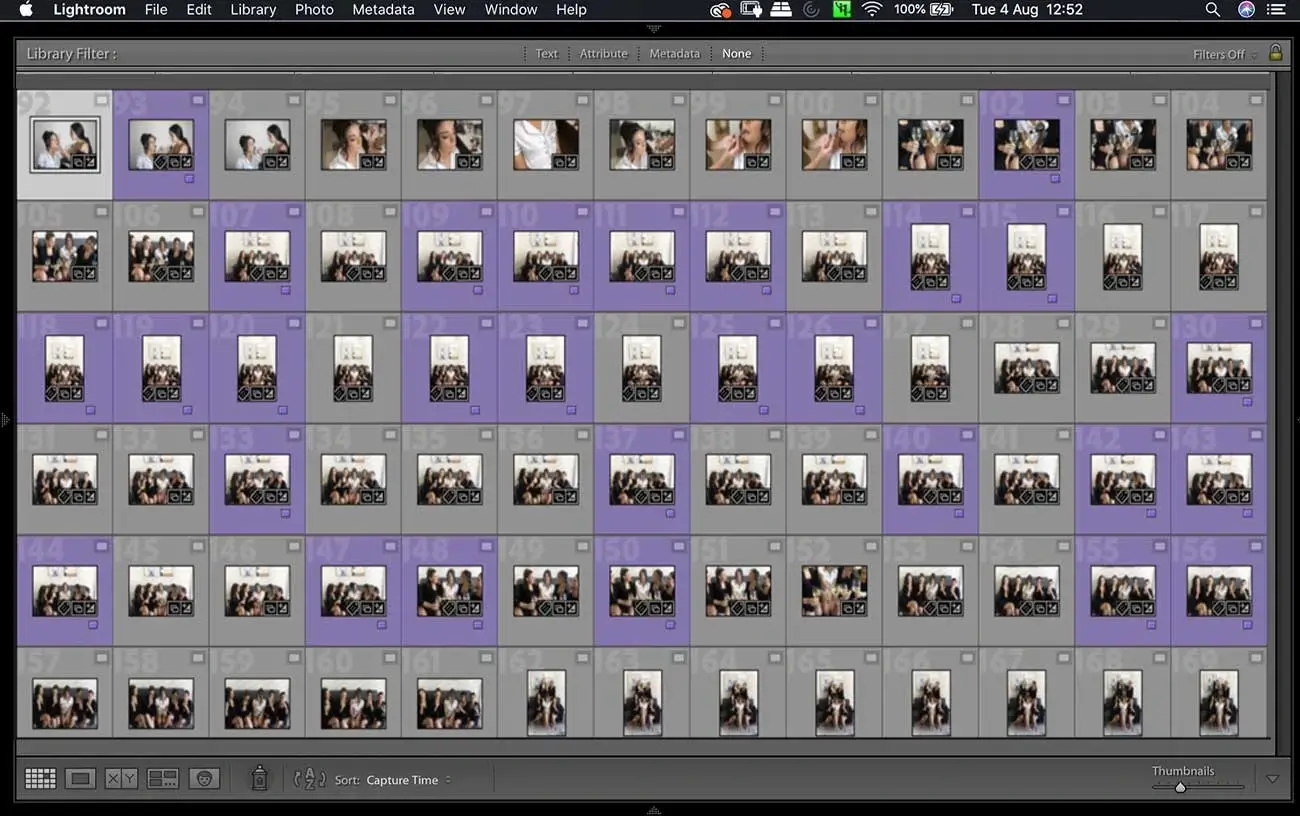
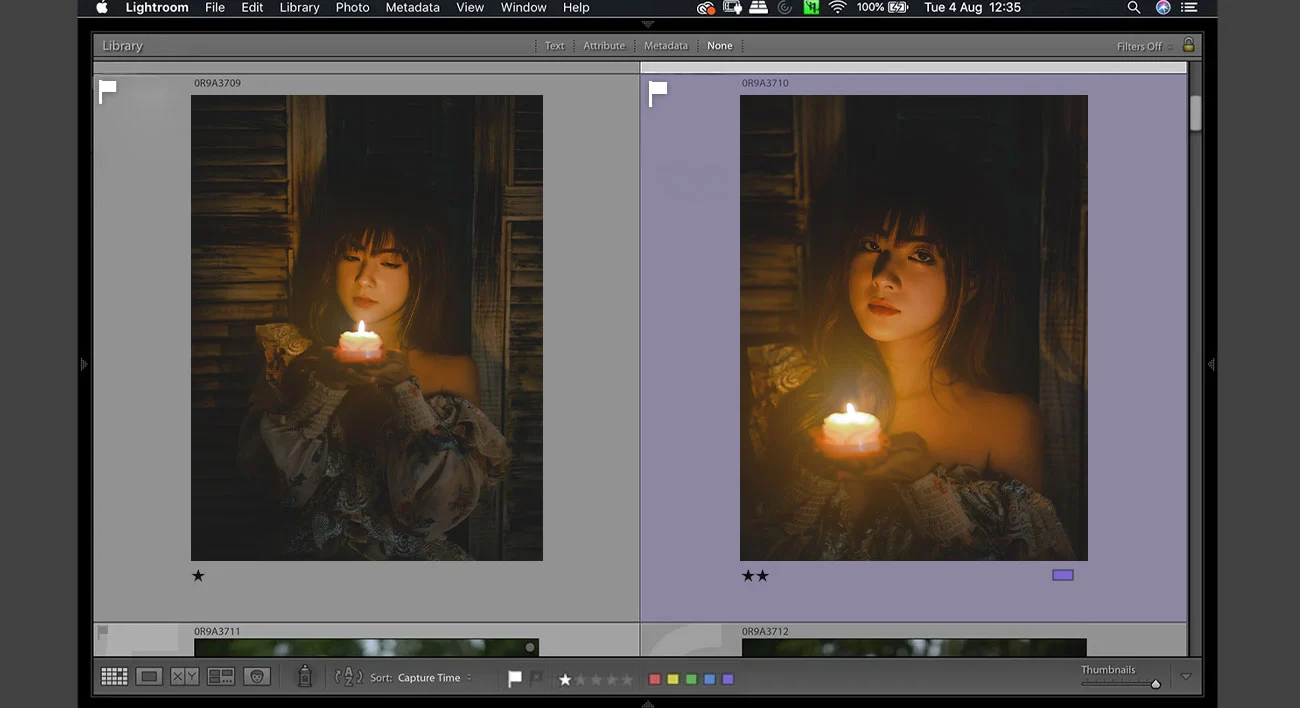
Color label
Another type of culling system is color labels. The different options for using the same are red, blue, yellow, and green. This system is similar to star labeling as it’s up to you to decide what each color will represent.
For example, you can choose red for “reject” and “blue” for editing. The keyboard shortcut for the color label red is 6, yellow is 7, green is 8, and blue is 9.
Culling is a simple process and can be easily figured out with a bit of practice. However, it is an undeniable fact that it does take a lot of time and can be a little boring too.
If you are someone who is too busy with photo shoots and can’t spare time for the same, then it is better to look out for alternatives. One such alternative could be to outsource photo culling services.
When is the right time to outsource?
If you’re new to the world of outsourcing and haven’t done it before, then this section will be quite helpful to you. These are a few things you need to know before you think about outsourcing.
First, you don’t need to outsource every single session. If it is something you can handle yourself, then you should be probably doing it on your own.
Just like we said earlier, if you think you won’t be able to spare the time, then you should outsource. If you think that your time can be better spent on other things that could be more beneficial, then outsourcing is the right thing to do.
You should be retaining some kind of profit by sending out your pictures for culling, be it time or money. If not, then you should take care of it yourself.
If you’re wondering whether it is worth outsourcing image culling or not, then we would say yes. It’s totally worth the time and money you could be saving by outsourcing.
Conclusion
If you have read the article so far, we believe that you have enjoyed reading it and found it to be helpful. If you have decided to outsource and already have a trusted photo editor or expert photo editing company in mind, then we wish you all the best!