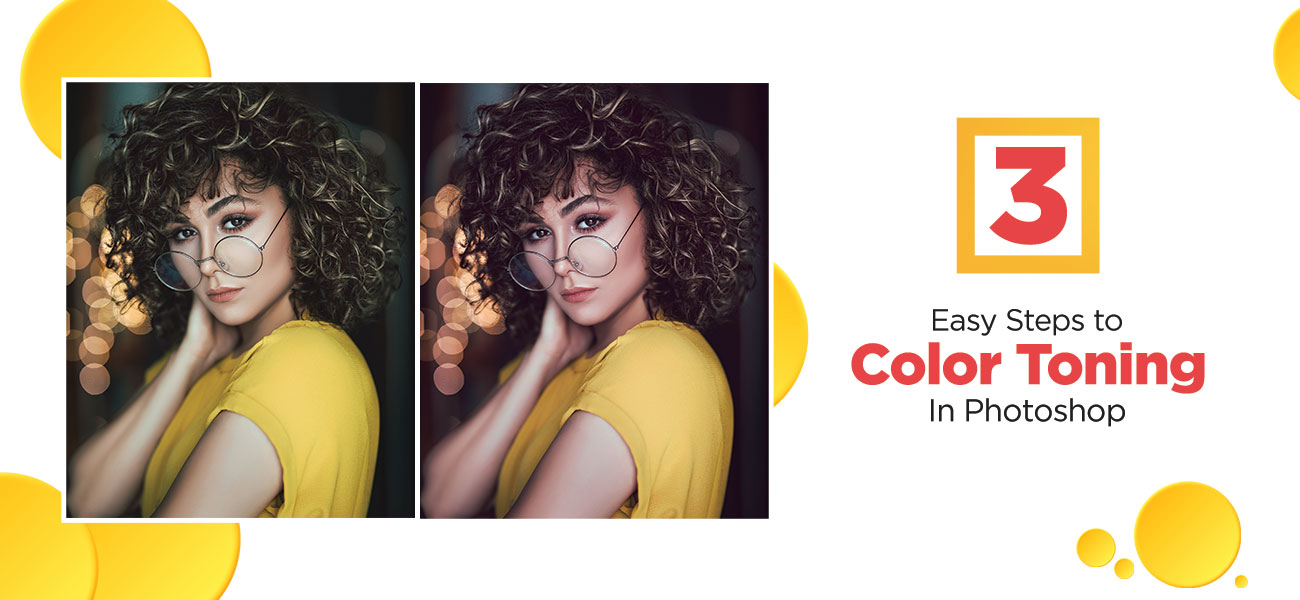
Photoshop is the buzz word in the fashion industry when it comes to image editing and enhancing. Photography has significantly changed a lot with cameras equipped with retina challenging lenses snapping almost any real life scenes. However, it is up to the expert to enhance the images to make them clean and impactful. Here is an effective 3 step fashion color toning Photoshop guide highly beneficial for amateurs and professional service providers alike.

Easy Steps to Enhance Your Photos with Color Toning in Photoshop
-
Choose the file and set it up
Like any photo enhancement tool, Photoshop requires you to load the file. Open the file and go to Layers panel. The Create New Adjustment Layer icon when clicked will create a new layer. Choose color lookup from the pop up menu and choose a required tone from the pop ups. Stacking two layers will also help to improve the shades.
-
Choosing the preferred tone setting
From the pop up menu, a toning selection can be made. Different selections reveal beautiful perspectives, so each one is worth a try. If the effect is intense, try using the opacity and soften it. Blending is also a unique way to control color intensity. Once you are fine with the color, invert the layer mask and paint over the necessary areas with a white background selected brush tool. The tool will paint the effect just where you want.
-
Properties panel for a finishing look
The properties panel has a full set of selections when clicked on the pop up menu to its right. Choose an appropriate choice from the list. Go through the several selections until you are confident with your selection. There are a few buttons at the bottom of the properties panel. A simple tip for amateur freelance service providers and companies; don’t overdo color tones. Sensitive eyes will catch the contrast sooner or later.
Photo color correction dos and don’ts
Photo color correction is an integral part of photo retouching. Here are a few points that you should make a note of:
- Make use of the gray cards: With this option, you will select an 18 percent gray portion. You will generate a gray target that can be applied with Photoshop’s white balance tool.
- Opt for monitor calibration: Different monitors may portray the same color tones in different ways. You should calibrate your monitor so that you are able to understand the actual color tones.
- Do this task in the morning: In the morning, both your eyes and mind would remain fresh, so you would be easily able to detect issues.
- Get a friend to review your work: Sometimes, your own eyes will fail to notice a color issue. In that case, you may consider getting a friend or a fellow photographer to review your work. You can use constructive criticism and specific inputs to improve your work.
- Eliminate color casts in the levels channel: When you use a levels correction layer, you will not only be able to control the color, but you would also be able to perform non-destructive editing.
- Refine the work areas: Opt for curve adjustments as adjustment layers are mask-based and would allow you to refine the portions where light reflections cause color casts.
Photo editing using Photoshop may seem to be complicated in the beginning. Go ahead and try a few examples before working on the actual sample; this is what professionals in a photo editing company actually do. Professionals availing photo editing services are well benefited by following these photoshop tips for toning.
