Do you want to learn how to turn green grass using Photoshop and build a complete, healthy lawn for your real estate photos?
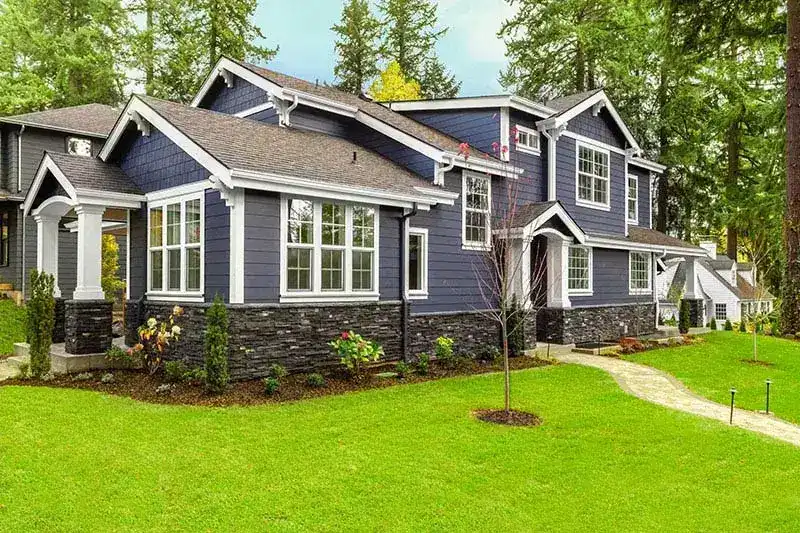
Well, green grass can be a very effective way to show off your property – even if there's no green grass on the property at all. The green lawn will make your photo look more lively and vibrant. In addition, real estate photo editing will give the picture a more realistic and genuine look.
If you want your property to stand out from the rest, it needs photos that are as eye-catching and engaging as possible. If this sounds like something up your alley, then take advantage of our real estate photo editing services or learn how to create an appealing green lawn with Photoshop!
So, what are some of the steps involved in creating a green lawn using Photoshop? We've got four easy methods for you to follow
-
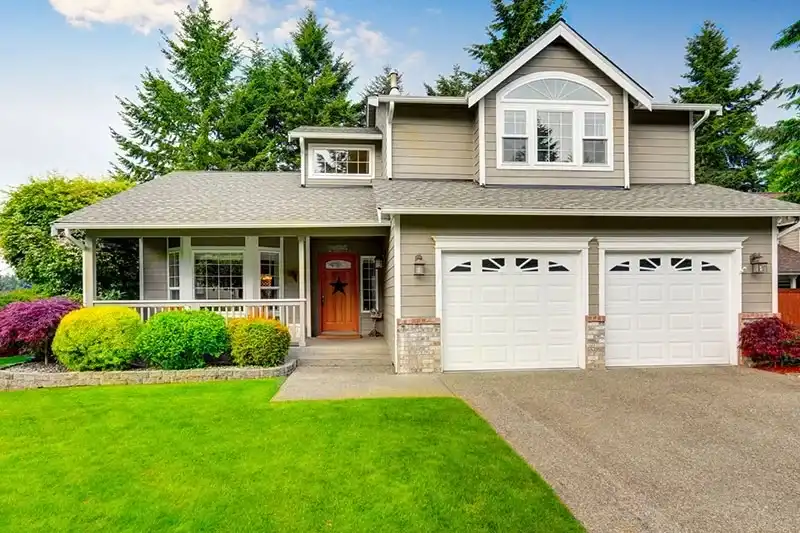
Method 1: Use Hue and Saturation to Get the Green Grass Just Right
The first method of creating the perfect green grass is an easy way to change the colors in your photo while still maintaining definition and color variations.
- Step 1: Open your image in Photoshop.
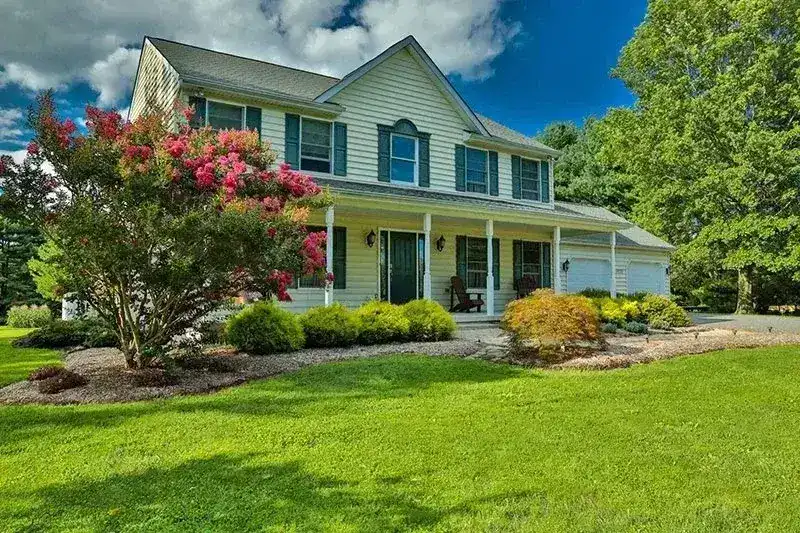
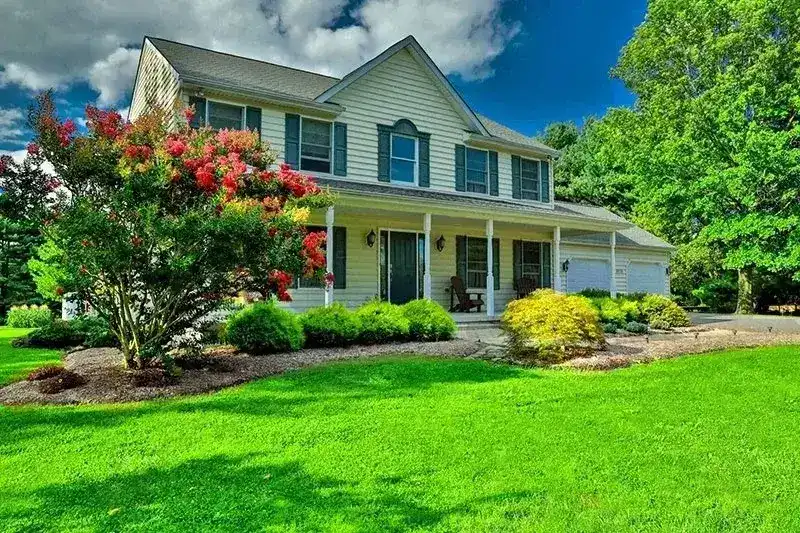 BEFOREAFTER
 - Step 2: Copy and paste the background layer into a new layer by going to "Layer" > "Duplicate Layer."
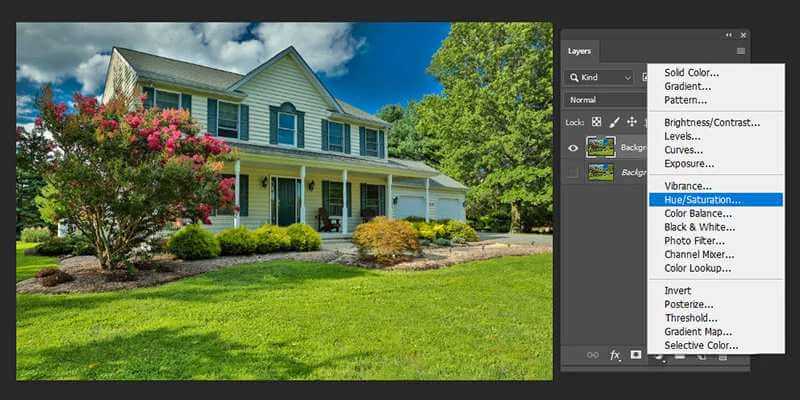
- Step 3: Right-click on the duplicated layer and go to Blending Options.
- Step 4: From the drop-down menu, select Hue/Saturation.

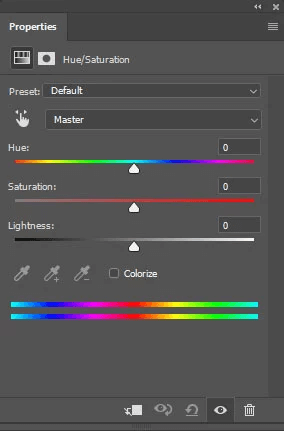
- Step 5: Slide the Saturation bar to the left to make the colors in the image monotone.
- Step 6: Adjust your Hue slider to change the color of the grass to green. You can choose a color from the color picker or adjust the slider until you get a shade of green that matches your image.
- Step 7: Set the Layer Blending to "Color" and lower the Opacity according to your preference.
- Step 8: Click OK and then merge the layers by going to "Layer" > "Flatten Image" and saving your file.
If you're unsure about your editing abilities, you can always seek guidance from our experts.
- Step 1: Open your image in Photoshop.
-
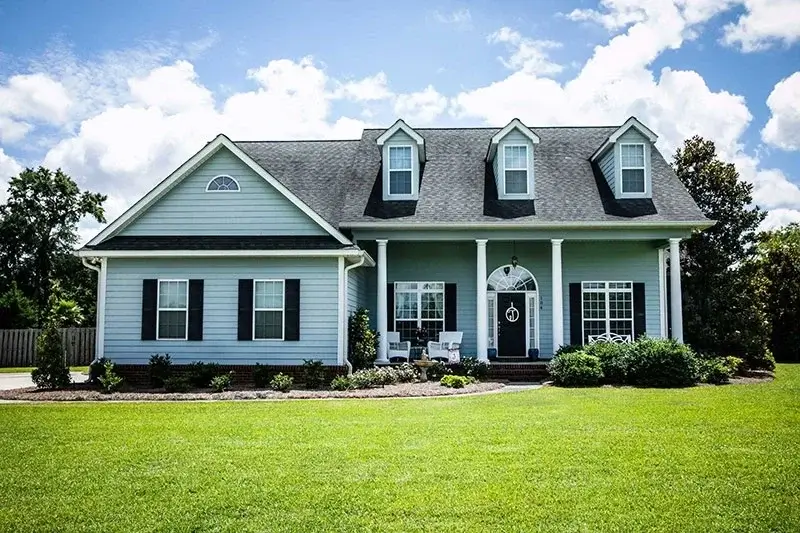
Method 2: Paint a New Green Patch of Grass
Real estate photos don't always show the entire property. Sometimes you may want to add a patch of green grass to an unplanted section of the yard or an exposed patch of dirt to give your photo a more finished and realistic look. This will make the property seem like it's been well-maintained and not neglected.
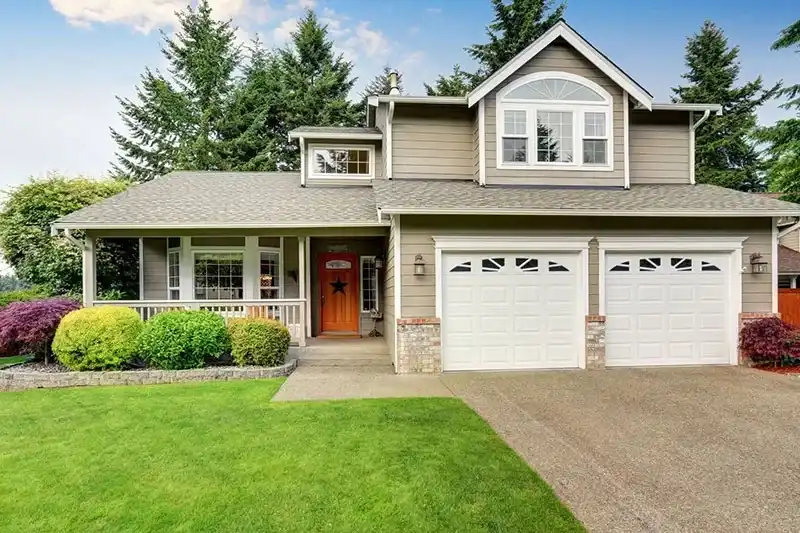
 BEFOREAFTER
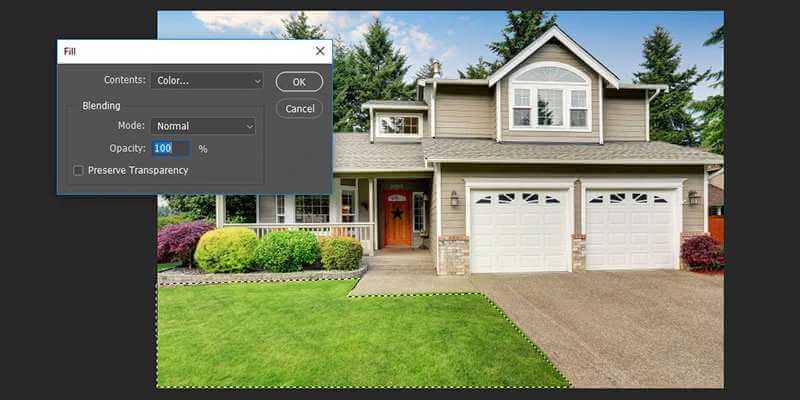
- Step 1: Clone out the area where you want the green grass to appear. You can do this in Photoshop by going to "Edit" > "Fill" and filling the selected area with green. Make sure you use a high-contrasting color so your patch of grass stands out more.
- Step 2: Once you've filled in the space with green, go to "Edit" > "Transform Selection" and adjust your selection until you're satisfied with the patch of grass.
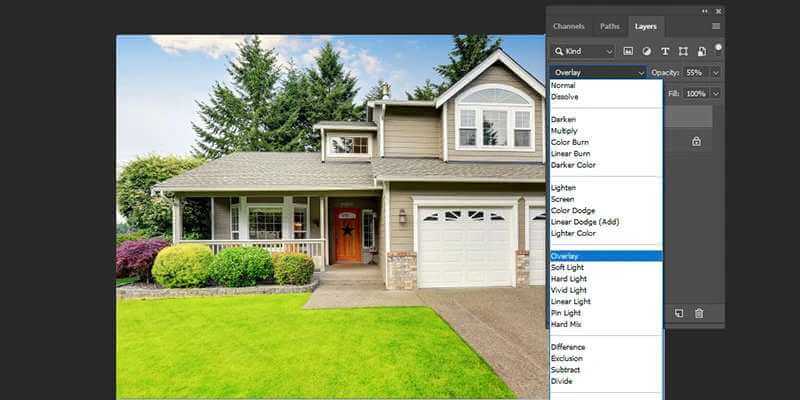
- Step 3: Use a soft-edged Photoshop grass brush to paint in the blades of green grass on your selection.
- Step 4: Set the Layer Blending Mode to "Overlay" and adjust the Opacity according to your preference. You can also use a low-opacity, soft-edged brush to make the grass blend better with your background.
- Step 5: Save your file, and you're done!
- Step 1: Clone out the area where you want the green grass to appear. You can do this in Photoshop by going to "Edit" > "Fill" and filling the selected area with green. Make sure you use a high-contrasting color so your patch of grass stands out more.
-
Method 3: Utilize a Green Screen to Create the Perfect Lawn
Do you want to replace grass in Photoshop without adding anything to the existing image? Try this method to create a beautiful green lawn in just minutes.
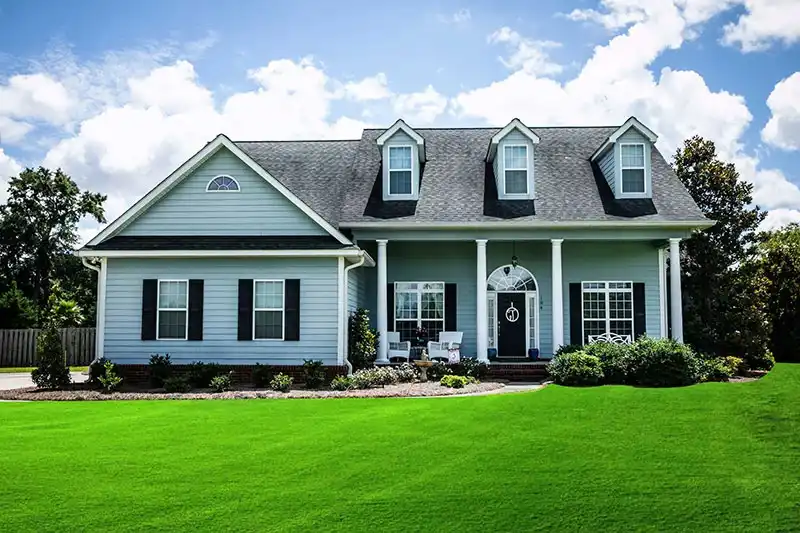 BEFOREAFTER
- Step 1: Find an area of your photo with enough green to act as the foundation for your new lawn.
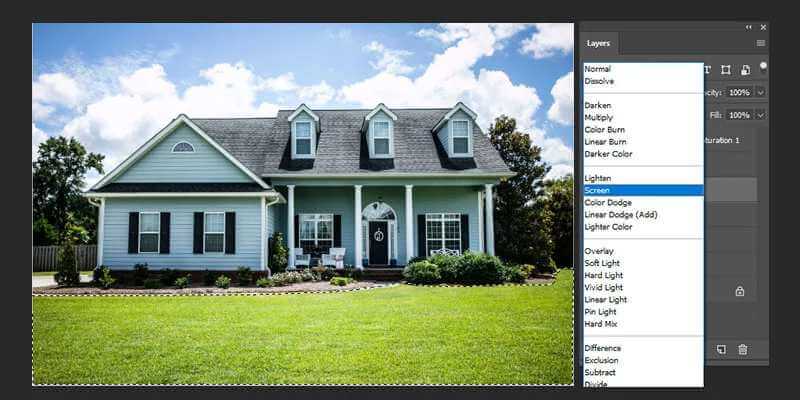
- Step 2: Make a selection according to your preference and use the color picker to choose a green shade.
- Step 3: Slim your selection and feather it slightly (10-15 pixels).
- Step 4: Fill your selection with the color you chose.
- Step 5: Set your Layer Blending Mode to "Screen" and adjust the Opacity according to your preference.
- Step 6: Flatten your image and save!
Once you fix the grass using Photoshop, you can transform a bland space into a beautiful garden!
Method 4: Green Your Lawn Using Camera Filter
Do you want to get that perfect summertime lawn without adding any extra grass on top of your existing image? Try adding a subtle green filter. This will make your lawn stand out without adding anything new to the shot.
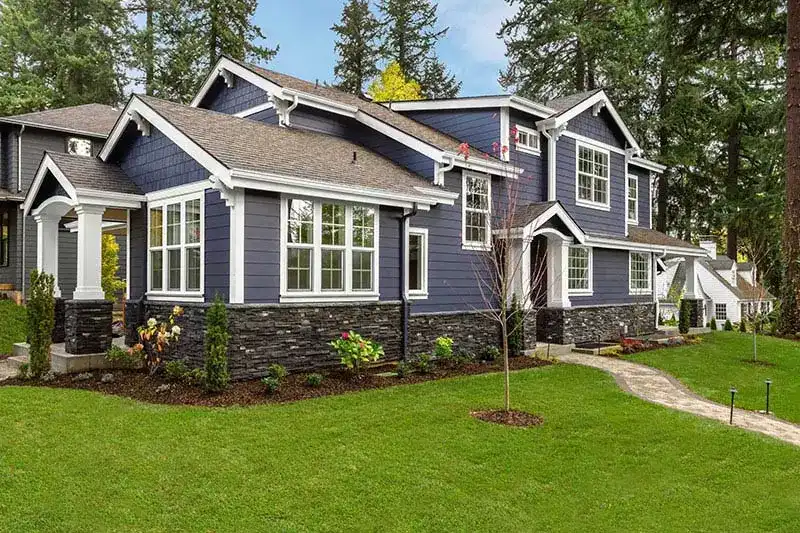
 BEFOREAFTER
- Step 1: Find a good underexposed photo you can use as a base.
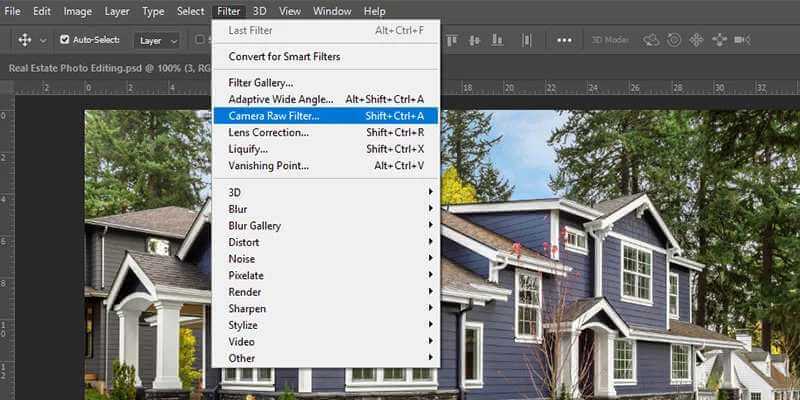
- Step 2: Open your photo in Photoshop and go to Filter > Camera Raw Filter.
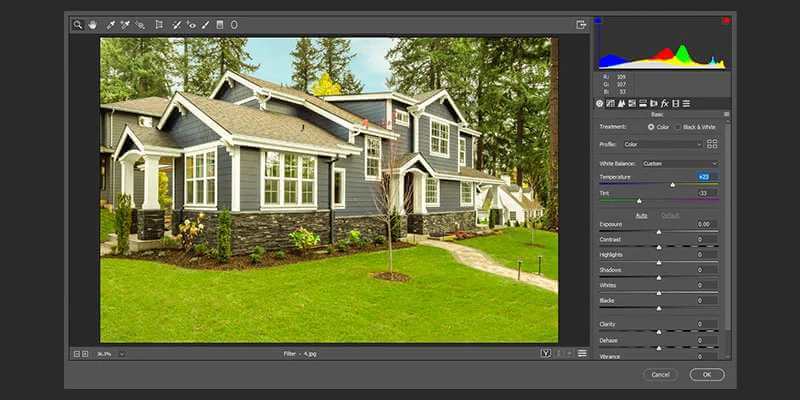
- Step 3: Make sure the Preset is set to "Camera Landscape."
- Step 4: Adjust the Temperature and Tint sliders until you get a green hue. Also, adjust the Exposure, Contrast, Highlights, and Shadows sliders to suit your preference.
- Step 5: Once you're satisfied with how your image looks, click OK.
- Step 6: Flatten your image, and you're done!
Once you change the grass in Photoshop, adding a green filter is perfect to add a splash of color to an otherwise bleak landscape.
To make your photo look as realistic as possible, it's best to choose a professional Photoshop service for your real estate photos.
Conclusion
In conclusion, transforming your grass to a vibrant green in Photoshop is a simple yet powerful technique that can greatly enhance your photos. By following the steps outlined in this guide, you can easily improve the overall appearance of your landscapes or outdoor scenes. With practice and the right techniques and best real estate photo editing companies you’ll be able to master photo editing and create stunning real estate visuals that make your images truly stand out for listings.