“When is a video said to be finished? Is it after the shoot?” “Definitely not!”
Video creation has three different stages: pre-production, production, and post production.
While the discussions about the storyline, shot sequence, etc., are held during the first or pre-processing stage, the actual filming happens during the second or production stage.
The third stage is the real game-changer, as it turns all the video footage into a cohesive, structured, and polished final product. Without post production, viewers will have only raw video clips to watch. In this stage, the unwanted shots and other visual disturbances are removed. Even attractive transition effects, complementing audio, and other video editing processes are included in this stage.
Want to know more? Scroll down to have all the answers.
What is video post-production?
Video post-production is the final stage in the video making process where raw footage is fine-tuned and organized into a final attractive video.
It’s not only about editing the video clips through color grading, transition effects, and so on. It's also about complimenting them with suitable background music or voice-over.
The top 6 video post-production steps to follow
-
Know the objective to plan the editing process
![Know the objective to plan the editing process]()
Understand the video's purpose before you start the process. Whether the final video output is displayed, whether it is a movie, social media video, YouTube video, event video, etc. This will help make the right choices in terms of the order of clips, color tone, visual effects to be added, etc.
-
Creating a rough cut
![Creating a rough cut]()
In this stage, you decide what shots to keep or remove. Gather all the clips to check their quality and content. Label and categorize them into different sections like flashbacks, action scenes, long shots, etc., for easy editing. Finally, sort these into a natural flow based on the storyboard, called the rough cut.
-
Analyze and finalize visuals
![Analyze and finalize visuals]()
When you’re 100% satisfied with the flow, ensure that the shots used fit right in and that the order is intact. This is an important stage because it is where you finalize how your video will move, as the latter stages are only about beautifying the clips. If you need to make any changes, you'll have to return to this step even if you're already at the end. So, review cautiously!
-
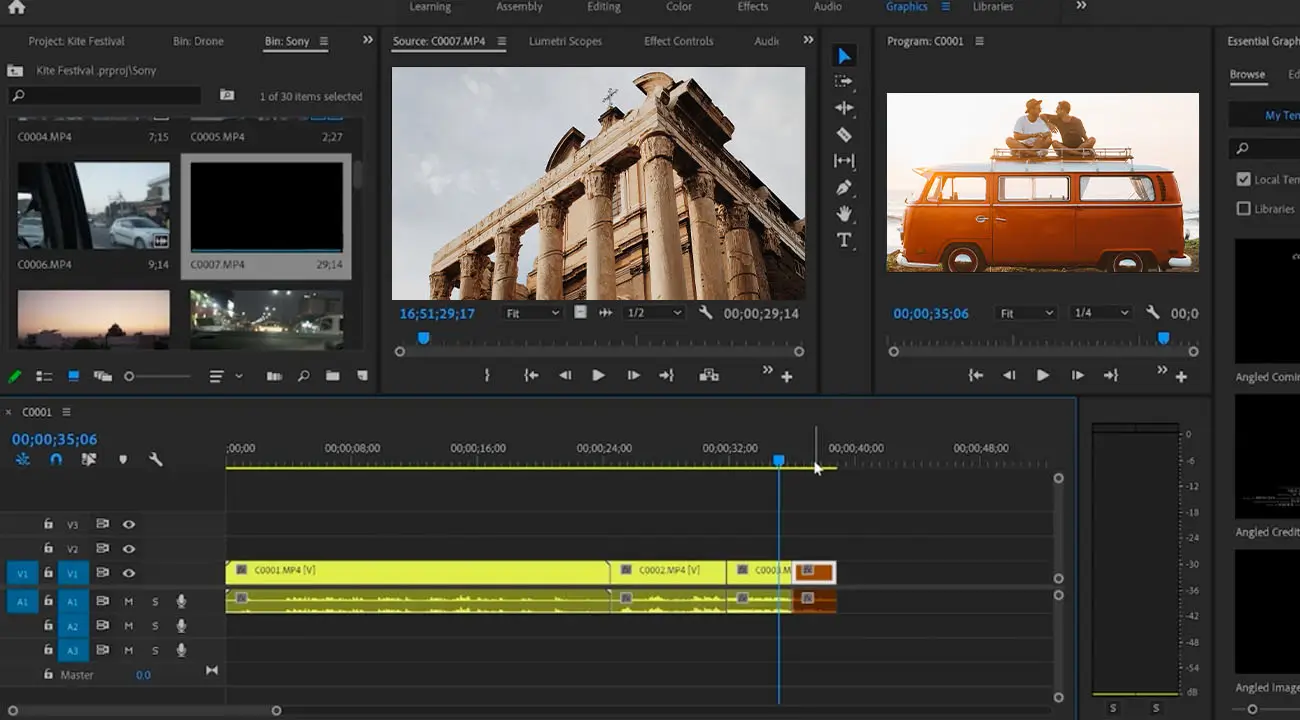
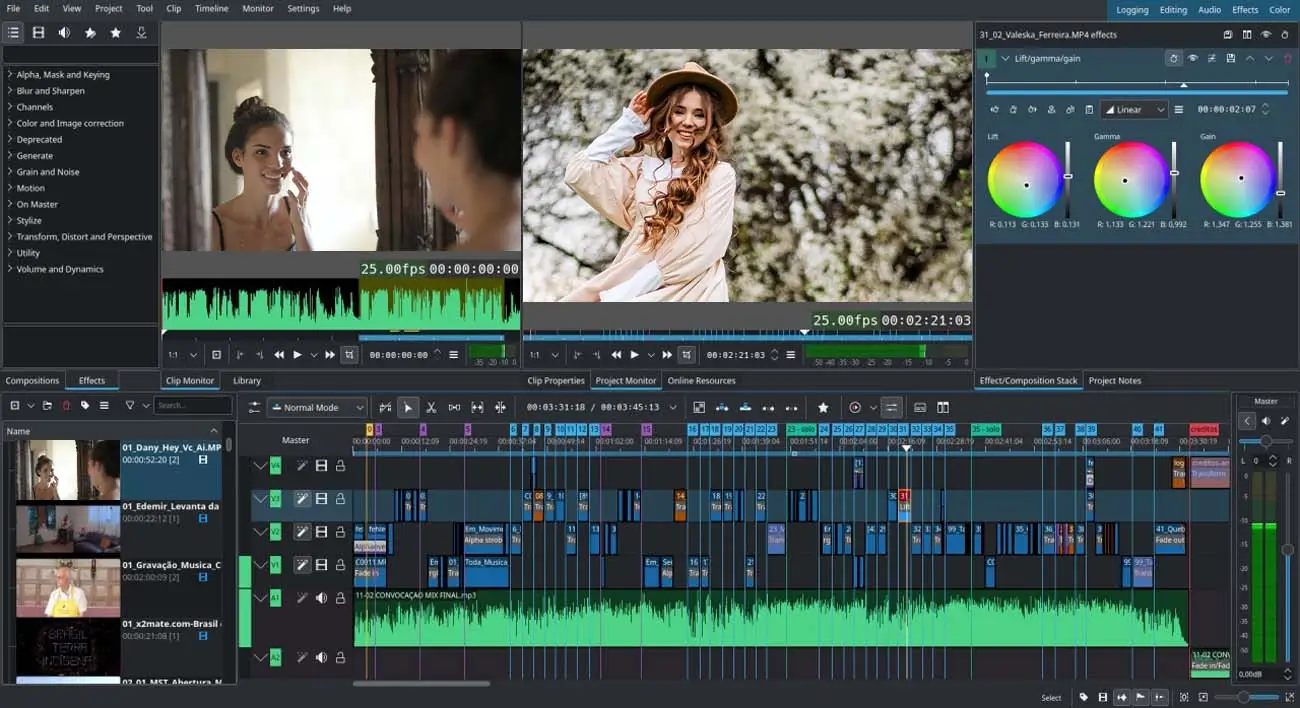
Video editing
![Video editing]()
It’s time to use post production techniques like video cropping, trimming, clipping, compositing, and also add title and end cards because they explain what the video is about and acknowledge the ones who’ve worked on the production. Other services under this category are:
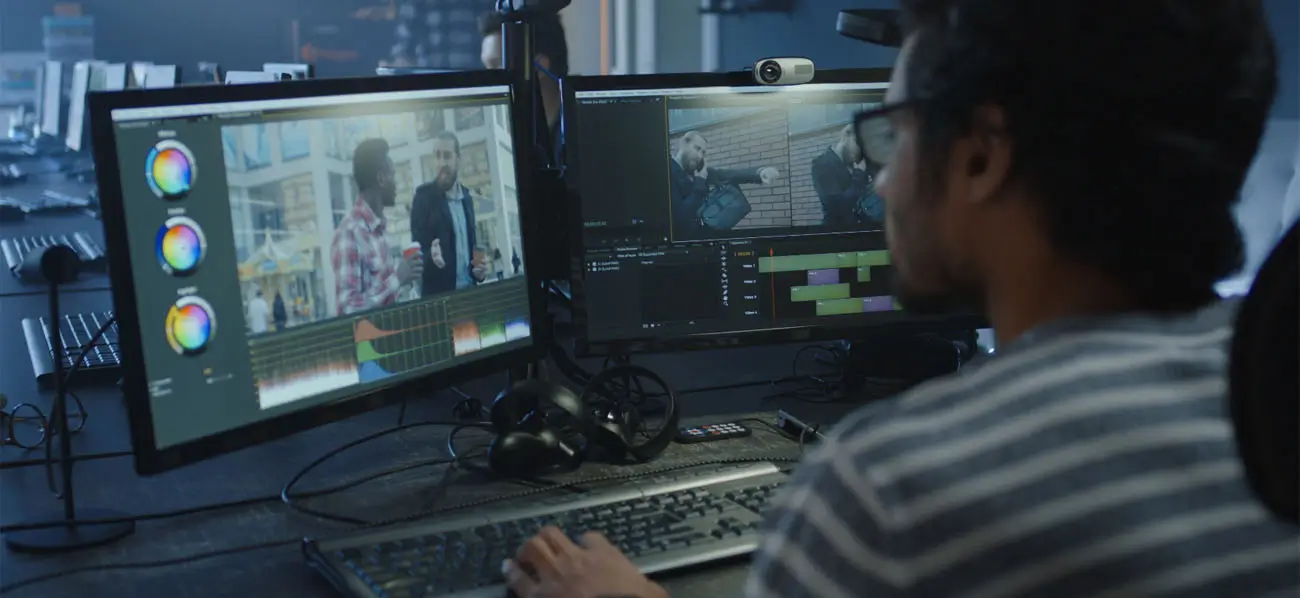
- Color Correction:
During filming, technical issues or weather conditions can distort the colors in the footage. To rectify the issues, you need a process called color correction, where all the hues in the clips are made to look natural. If you skip this step, the colors all across your video will look uneven and mismatched. - Color Adjustments:
Though you use various colors in the video, color grading helps ensure a uniform tone and feel. You can use this feature to change the contrast and add other visual effects. This helps to highlight important elements in the frame, show variation between scenes, and remove the color imbalance in the clips. - Special Effects:
Technological developments have promoted the use of CG, VFX, miniatures, and other visual effects on a larger scale. This helps overcome the practical difficulty of showcasing imaginary worlds in videos, as these can’t be included during the production stage. Even if you are a YouTuber, you can use various 3D effects and transition techniques like blur, wipe, slide, etc., to enhance the visual appeal of your videos. - Subtitles and closed captions:
Subtitles and closed captions (CC) are important additions to videos as it makes it easier for people to follow what is happening. Subtitles are transcriptions of the spoken dialog, whereas CC transcribes everything, including mentions of the changes in the background music and speakers. CC are especially important for the deaf or those with hearing impairments.
- Color Correction:
-
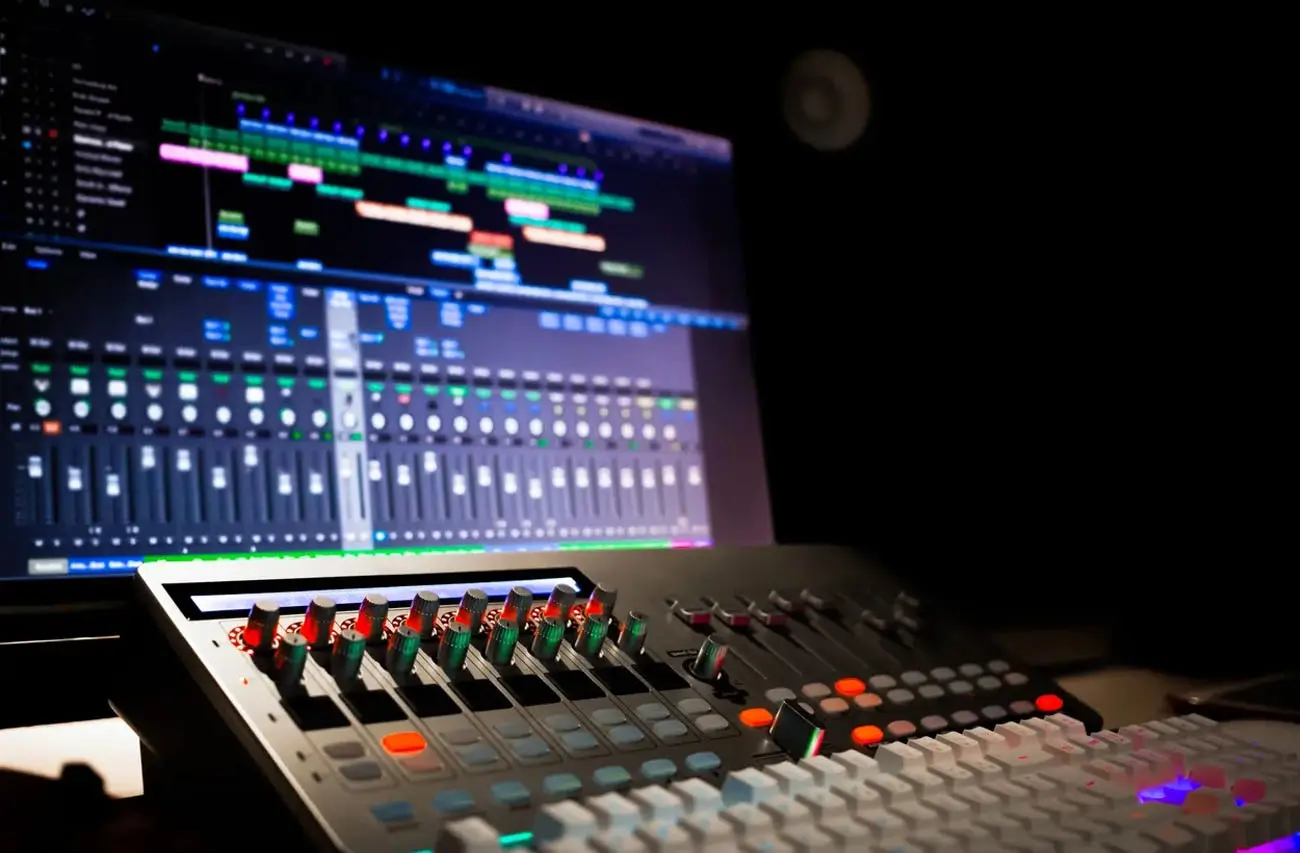
Add audio effects
![Add audio effects]()
Once the visuals are set, they have to be complemented by music and voiceovers. Sound professionals use procedures like sound recording, mixing, and editing to add dialogue, background music, and sound effects. Foley recording and script sound recording help remove noise and enhance the overall quality of audio.
Many vloggers have now shifted to using recorded audio rather than live audio for reduced disturbance and better quality. It also facilitates retakes, unlike live recordings.
In movies, live audio like the sound of a running car, a bell ringing, etc., is captured and retained for a realistic feel. The dialogues, however, are entirely dubbed for a better rendition.
-
Review the final cut and render
![Review and render]()
Ah! You’ve finally arrived at the last step where you can see how your hours or days of video editing have paid off. Check everything in the final cut from the angles to the flow until you're sure the video doesn't need any more work.
Meanwhile, you can’t forget the minute details, mainly in terms of the sequence and the video quality.
To explain, if you’re editing a movie, then look for the actors’ accessories, clothing, etc., and check if there’s continuity in the edited clips. Also assure that there are no problems related to resolution, transition, etc.
This is not where the process ends. If it’s a personal video, then it’s always best to share the final output with your friends or family for review. For professional videos or high-budget projects like films, it’s ideal to get feedback from all the stakeholders.
Wait for their feedback and work on it before you start exporting because it's difficult to go back and make changes.
When it’s all green flags from everyone, then you’re good to go! Render the videos in the highest possible quality using professional software. Or, set the resolution and file size according to the platform where the video will be shown.
Your video is now ready to be shared!

What’s the importance of post-production?
During filming, there will be many times when the actors make mistakes or forget their dialogs, something/someone accidentally comes into frame, the shot doesn’t look good, etc. Also, filming doesn’t always occur in order according to the script. You can’t post or share the video as it is after filming. You have to edit things out, reorder the clips, exclude bad takes, and add things like music, voiceovers, graphics, etc. All of this fine-tuning happens in the post production stage using some of the best video editing software.
No matter whether you are filming a vlog or a movie, a video is never considered "finished" unless it has been post-produced. Speaking of which, let’s discuss how the process works.
The video post-production checklist
Before we part, we’ve compiled some major dos and don’ts for you to tick while editing videos.
- Ensure consistency in the minor details, audio, and graphics like fonts, motion effects, etc.
- Use transitions that blend smoothly.
- Research, learn, and use modern techniques for professional output.
- Always edit for the audience, not for you. This means being ready to remove shots if it’s evident that they won’t interest the viewers.
- Export videos in the highest quality, with large file sizes, for movies. For online posting, try the smaller sizes.
- Never use a blank screen longer than the previous clip for transitions, as it disrupts the flow.
- Avoid including private information in the videos, especially while you’re sharing them for public view.
- Leave no room for unwanted spaces in the frame.
Produce quality videos with effective post-production
Video editing can be a bumpy and exciting ride as, it’s a time-consuming yet creative process that involves various elements, aspects, and specifications. Even if it’s a 5-second reel or a 3-hour-long documentary, video post-production is the key to creating viewer-friendly media.
This is why it’s always best to depend on a pro for effective and error-free video editing services.
If you’re a professional yourself or an enterprise looking for a skilled hand to edit your videos, then outsource to expert video editing services companies. This helps save time and money, and also promises top-notch outputs.
What are you waiting for?