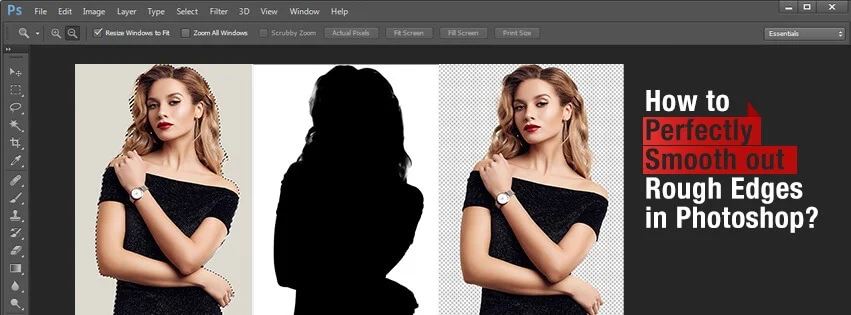
Achieving smooth edges in Photoshop may be an easy task for professional photo editors. However, people who have just started their journey in photo editing or are still learning may find it difficult.
If you belong to the first category, then maybe you don’t need this article. But, if you are a beginner, I would advise you to through it as it contains some of the tips that might be useful to you.
Now coming to the topic, smoothing rough edges play an important role in image editing. It can dramatically enhance an image and make it look a hundred times more beautiful. People who are related to the photography domain are well-aware of its importance.
Photoshop Tools needed for Creating Smooth Edges
- Quick Selection Tool
- Level
- Refine Edges Brush Tool
- Gaussian Blur
- Dodge Tool
- Burn Tool
How to Smooth Rough Edges using Photoshop?
Here’s how to edit smooth edges in Photoshop. The steps will also help you to make the perfect cutouts.
-
Step 1: Making the Selection

Go to the Toolbar. You will see the Quick Selection Tool to the left. Click it and select the desired subject in the image.
-
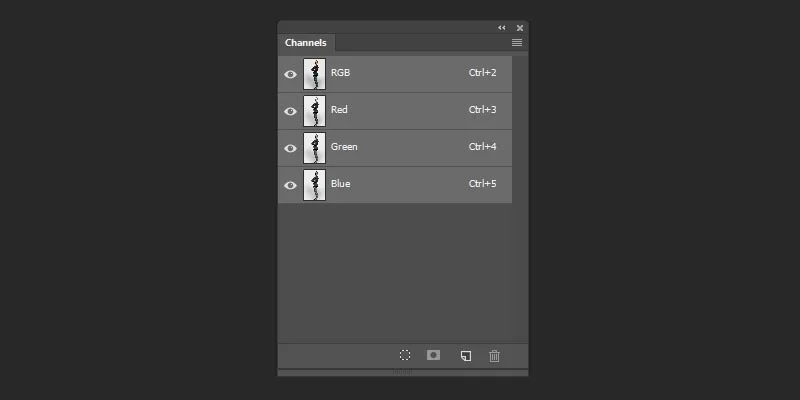
Step 2: Selecting the Channels Panel
Go to the bottom and check the right side to find the Channels option. Click on it and you will see the new window appear. It will showcase the percentage of color contrast in your images. Choose the channel having the highest contrast.
-
Step 3: Creating the new Channel
Place your mouse on the most contrasting channel and drag the pointer to the bottom to create the new channel. The icon for creating the new channel will be shown as “+”.
-
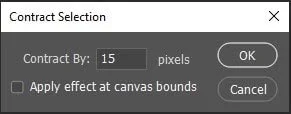
Step 4: Selecting the Contract
Go to the Options bar and at the top, click on Select> Modify> Contract. Now, enter the desired number of pixels within 12 to 16 and then, click OK. This will make your selection bump into the photo.
-
Step 5: Filling up the Selection
Use black color to fill up the selection. There are two methods to do the same. The first one is to directly pick the foreground color from the Toolbar. Another way is to make a selection and click on D for changing the color. Now, to fill it up, click on Option/Alt +Delete.
-
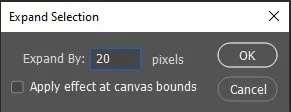
Step 6: Expanding the Selection
Go to the Options bar and click on Select and then, Modify. Now, set the Expand by within 20 to 35 pixels depending on the picture resolution.
-
Step 7: Inversing the Selection
Inversing can make the cutouts more precise. For this, you only need to press Cmd/Ctrl+ Shift+I
-
Step 8: Replacing the Fill Color
To replace the fill color and change it to white, click on Ctrl/Cmd + Delete. After that, you can deselect the inverse by pressing Ctrl/Cmd+ D.
-
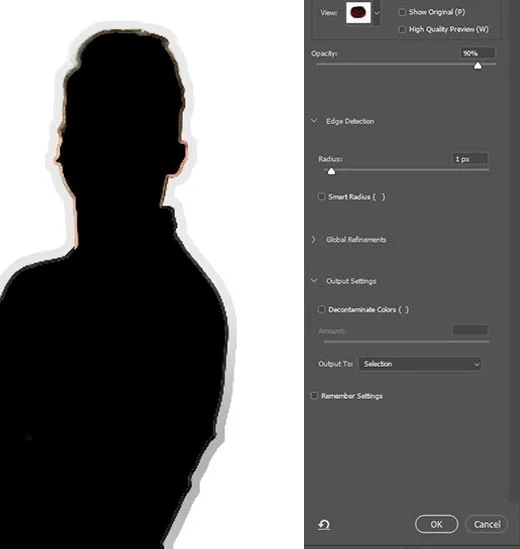
Step 9: Detecting the Edges
Now, zoom in to see if the image still contains any rough edges. If it does, go to the Edge Detection Window and look for the Radius Slider and Smart Radius checkbox. Now, set it to a low value.
-
Step 10: Using the Refine Edges Brush Tool
You can use this in your pictures if they contain either hair or fur. This tool is best for removing fuzzy, flyaway hair or fur. Now, go to the Toolbar’s left and select Brush and then, the second Refine Edge Brush.
Zoom in and out to get a better view of the edges. Besides, it would best if you start with a small size brush first.
-
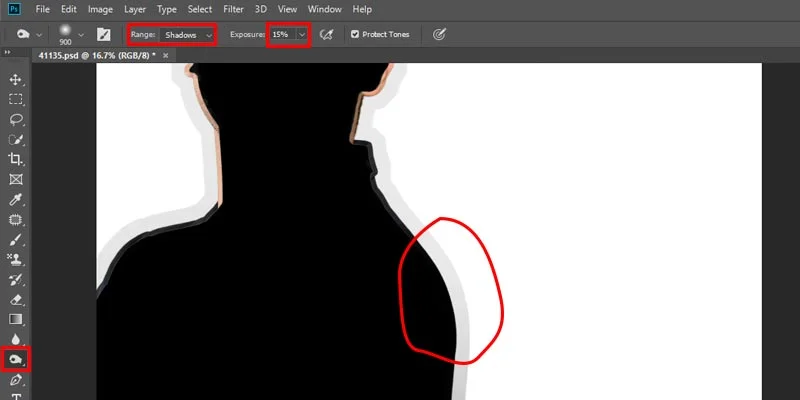
Step 11: Using the Burn Tool
Select the Burn tool from the toolbar’s left. Now, check the Options bar and change the range to 15% for shadows and exposure. After that, you can use your mouse to paint over the jagged edges.
-
Step 12: Using the Dodge Tool
The next step is to find the dark edges and highlight them. You can use the Dodge tool for the same and create natural and soft edges. In case you are still not happy with the results, you can move on to applying Gaussian Blur and using Levels.


Conclusion
Creating the perfect image cutouts with smooth edges is time-consuming. Some may also find it difficult. However, with all the steps mentioned here, you can easily eliminate the jarred or ragged edges from your images.
But, keep in mind that these techniques can only work if you are doing it with undivided attention and dedication. If not willing to put in the effort, you can always look for assistance. You will find a lot of digital photo editing companies offering Photoshop services to smooth edges in Photoshop. Choose the best photo editing companies when your outsourcing.