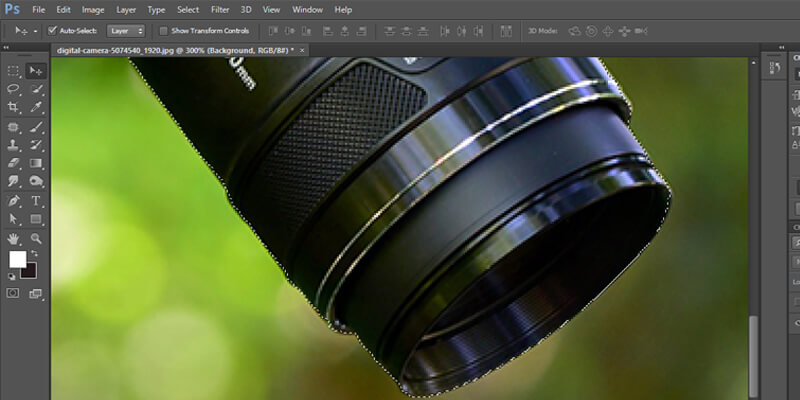
Creating a selection in Photoshop seems like a simple process as there are a variety of tools available that can help you with the task. However, editing and improving the exact part of an image can be only achieved if you are using the best tool.
This tutorial will guide you in making selections using Photoshop’s standard lasso tool and the most effective ways of using it.
What is a Photoshop Lasso Tool?
The Photoshop Lasso Tool is a selection tool that is primarily used for creating selections. Furthermore, these selections can be used for editing, incorporating effects, or ignoring the edits made in a specific area. The main reason behind using it is that you can draw around the image area with a wide range of controls that can help you bring the exactness in the selection. It is also possible to change the workings of the tool in case you need the selection to be less or more exact
What are the types of Lasso Tool?
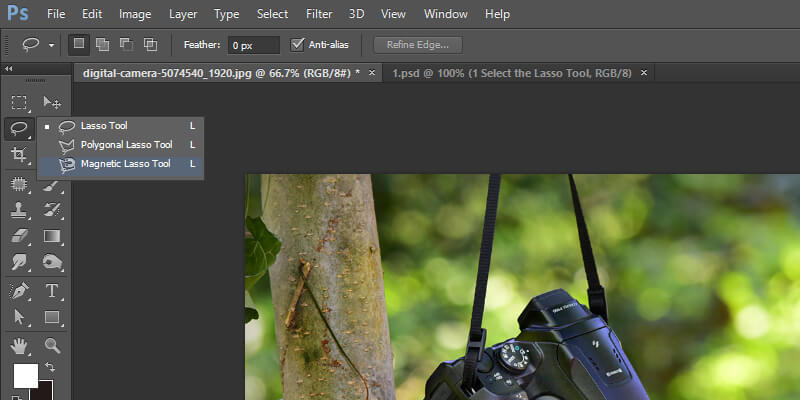
There are three variations of the Photoshop Lasso Tool where each of them has slightly different workings. In a nutshell, we can say that the standard Lasso Tool is the foundation whereas the other two tools, i.e., polygonal lasso tool and magnetic lasso tool, work as an extension of its base.
How to make Selections using the Lasso Tool in Photoshop?
Using the Lasso Tool photoshop without understanding its parameters or doing research might not provide you with the best results. This section will give you a detailed idea of using it to make a desired selection in the image.
-
Select the Lasso Tool
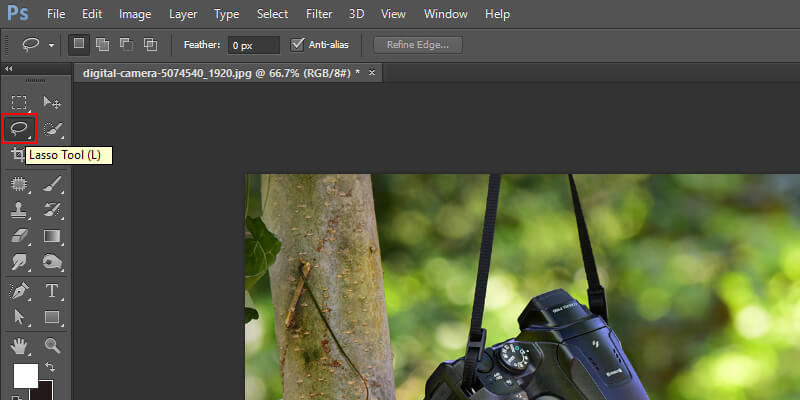
The Lasso Tool can be accessed easily by clicking on its icon present in the Tools panel. The icons look somewhat like a rope. Another way to select the Lasso Tool is by pressing the letter L on the keyboard.

-
Choose the desired tool for drawing selections
Depending on your Photoshop preferences, you have to identify the keyboard shortcut for selecting the desired tool. The reason why you have to identify it is that all three lasso tools can be selected by pressing the letter L on the keyboard. So, keep pressing the key repeatedly to see if you can select the standard tool. If not, then try pressing Shift+L.

-
Draw a selection outline with the tool
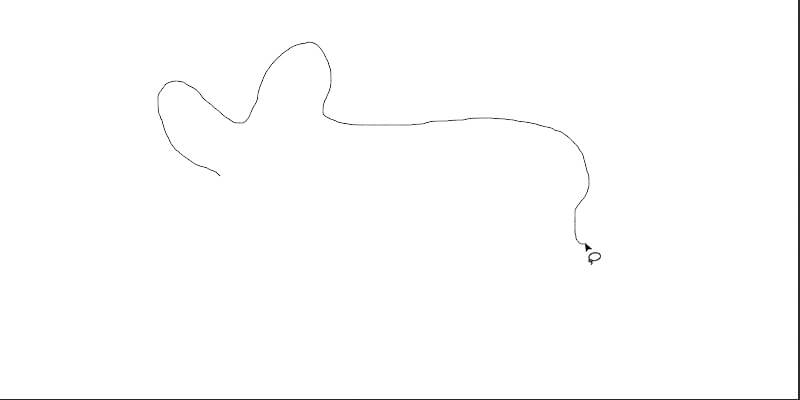
Drag a freehand selection around the desired area or object. It is as simple as outlining on a piece of paper with the help of a pencil or pen. Because of the selected Lasso Tool, your cursor will look like a small Lasso icon. In that case, you just need to click at the spot in the document where you want the selection to start. After that, you can continue to hold the mouse button down and drag it to draw a selection outline.

-
Complete the selection
Return to the spot where you first began and release the mouse button. It is okay if you do not reach the exact spot where you first started. This is a very important step, because if you don’t return back, then Photoshop will automatically close the selection. It will draw a straight line from the point where you released the mouse button to the beginning point.

-
Select a freeform object
Grab the Lasso Tool from the Tools panel to begin the selection. Then, click somewhere on the object. Once you have clicked on its starting point, draw an outline around the area of the image. If you did some mistake, then you can ignore it as you can fix it later.

-
Scroll the image if needed
For scrolling an image inside the document window, hold down the spacebar and scroll the picture as needed. It will temporarily switch to Photoshop’s Hand Tool. Now, release the spacebar and continue drawing the selection.

-
Select all the pixels you need
Press the letter F on the keyboard to switch the Full-Screen Mode to the Menu Bar and drag the selection outline into the pasteboard area surrounding the image. With this, you can select the desired pixels along the photo’s edge. Besides, the pasteboard area will be gray in color.

-
Complete the initial selection
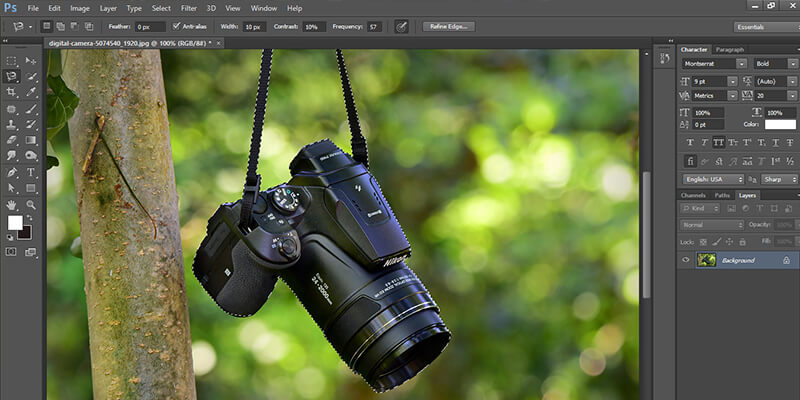
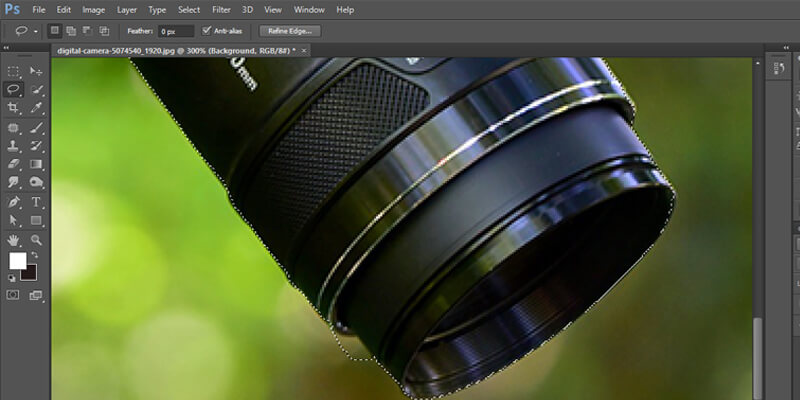
Drag around the area you need to select and release the mouse button to complete the initial selection. An animated outline called the marching ants will around the selected area. If you wish to go back to the document window view mode, then press the letter F twice to go back through the Photoshop’s screen modes.

-
Identify the problem areas
Zoom in on the image to check for any problem areas that might be present in the selection outline. You can do that by pressing and holding the Ctrl+ spacebar in Windows or Command+ spacebar in Mac. It will temporarily get switched to Photoshop’s Zoom Tool. Now, you can click inside the document window once or twice for zooming in. Later, you can press and hold Alt+ spacebar in Windows or Option- spacebar in Mac inside the document window to zoom out. However, if you wish to temporarily switch to the Hand Tool once you have zoomed in, then hold down the spacebar. Now, click and drag the photo along the selection outline to look for issues.

-
Fix the problem areas
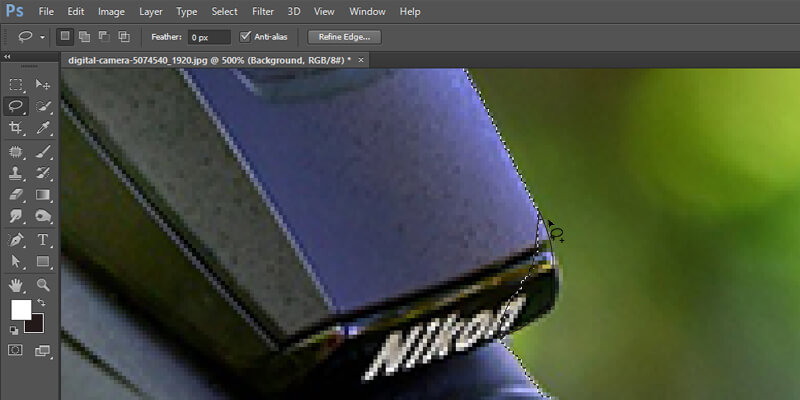
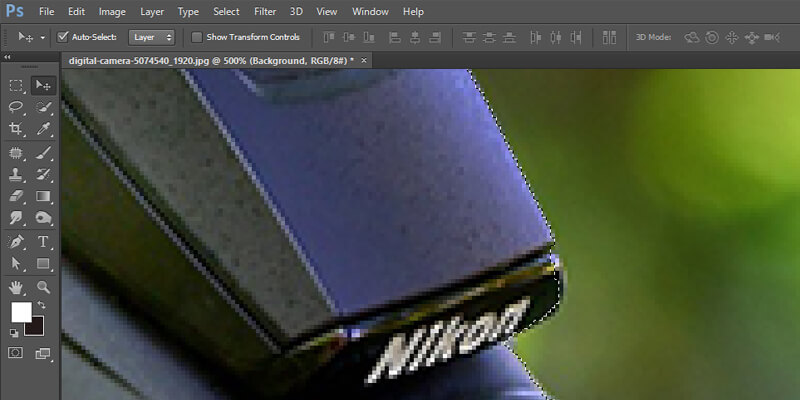
One good advantage of using the Lasso Tool is that there is no need to start all over again if you identify any mistakes. You can easily fix it by adding to the existing selection. For doing this, check if the Lasso Tool is still selected. Now, add to the selection and hold down the Shift key. A small plus sign (+) will appear at the bottom right of the cursor icon. You will be now in the Add to Selection mode. Now, hold down the Shift key and click somewhere inside the existing selection. Drag outside it and along the area’s edge you want to add. After you are done adding the new area, then drag back inside the existing selection.

-
Add area to an initial selection
Hold the Shift key and drag around the area where you want to add to the existing selection. Now, drag back the place where you clicked initially and release the mouse button to finish. The area you missed before will now be added.

-
Add area to an existing selection
Currently, you will see that more of the image is added to the initial selection, and the new area is added to the existing selection. Now, there will be no need for continuously holding down the Shift key while adding to a selection. You can safely release the Shift key once you have started dragging the mouse. It will, by default, keep you in the Add to Selection mode unless you release the mouse button.

-
Remove unwanted area from the initial selection
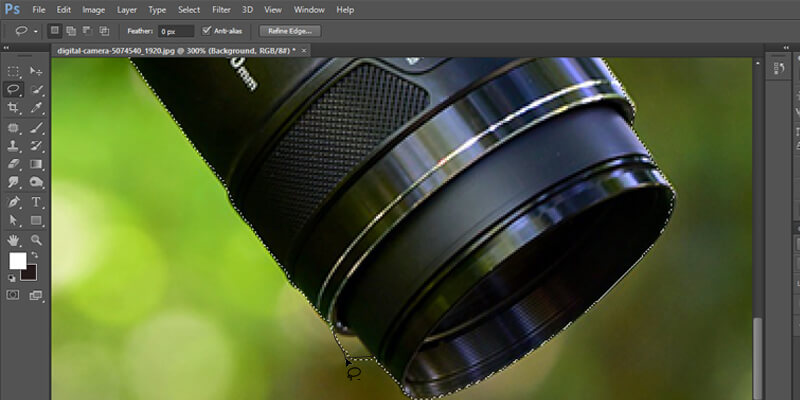
If you need to remove an unnecessary area from the selection, hold down the Option key in Mac or Alt key in Windows. It will take you to the Subtract from Selection mode. Now, a small minus sign (-) will appear in the bottom right corner of the cursor icon. By holding down the Alt or Option key, click anywhere outside the existing selection to set the starting point. Drag inside the selection and along the area’s edge where you want to remove. After that, drag back outside the existing selection and to the place where you first clicked. Now, release the mouse button to finish, and the unwanted area will be removed.
Again, there will be no need of holding the Alt or Option key for the entire time. Once you have started dragging, safely release the key. You will remain in Subtract from Selection mode until the mouse button is released. Once you have scrolled all around the selection outline by fixing the problem, i.e., by adding or removing parts, your final selection with the Lasso Tool will be completed.


-
Paste the object into a new image
Select the desired object and press Ctrl + C in Windows or Command + C in Mac. It will quickly open the selected area. Now, open a new image in Photoshop and press Ctrl + V in Windows or Command + C in Mac for pasting the object in the new image. Reposition it if needed.

-
Finally, remove the selection
When you're done with the selection, remove it by going to the Select menu at the top of the screen and choose Deselect. Otherwise, another way is to press Ctrl+ D in Windows or Command + D in Mac.


Conclusion
Even though the Lasso Tool does not qualify as a professional tool, it is still considered as an easy to use selection tool as it enables you to go back to the initial selection and address the problems. It helps a great deal in improving the results and getting high-quality images.
There are other great tools in Photoshop, like Quick selection and refine edge tool that allows you to create selections in a more refined way.
If you don’t have the time or patience to edit the photo seeking help from a expert photo editing services company is an alternative option.
You can also browse similar topics related to Photoshop by visiting our website and enhance your knowledge regarding the software.

