Imagine you are traveling by train or car, and suddenly, something unique strikes your eye. You take your smartphone out and record the moment. However, when you see it later, you find the video too shaky and blurry. Well, this is something that happens to big video production companies, too. Any video shot without a tripod or something that supports the hand of the videographer will produce an outcome that is jerky or blurry.
Video stabilization is a wonderful technology that can save these videos and make them look professional to the viewers. The technology adjusts sudden hand or camera movements and jerks and also enhances blurry footage. This article will talk about the video stabilizing process, why it is important, and how to stabilize video footage with some simple techniques. Give this interesting article a read, and make your video perfect and jitter-free.
What is video stabilization?
Video stabilization is a software-generated post-production process that eliminates shakiness from video footage. The stabilizing technique also enhances the video quality for smooth playback. Videos with intentional pan movements, recorded from handheld camcorders or smartphones, are prone to several jerks. By digitally stabilizing the footage through specialized software, a video editor fixes all kinds of image distortion in the footage and removes distractions.
The importance of video stabilization lies in the fact that jerky and blurry videos not only look unprofessional but also take away the focus or interest from the core subject. If it is a product video, any irregular movement can make the audience lose interest in the product they are looking at. Moreover, for movies and documentaries where several cameras are used, making each frame appear aesthetically stable is imperative. Thus, the effects of video stabilization are rewarding for any content creator at any point in time.
11 simple and easy techniques of stabilizing video footage
If a video appears to have unnecessary camera jitters, it is frustrating for a videographer, a movie director, or anyone responsible for the recording. Fortunately enough, there have been quite a few simple and easy techniques to solve this issue. With these techniques in place, one can focus on what they are filming instead of deviating their concentration from the camera.
So, whether you shoot from a DSLR, a smartphone, or an action camera, leverage these techniques for great, stabilized, and smooth shots.
-
Shoot with a tripod

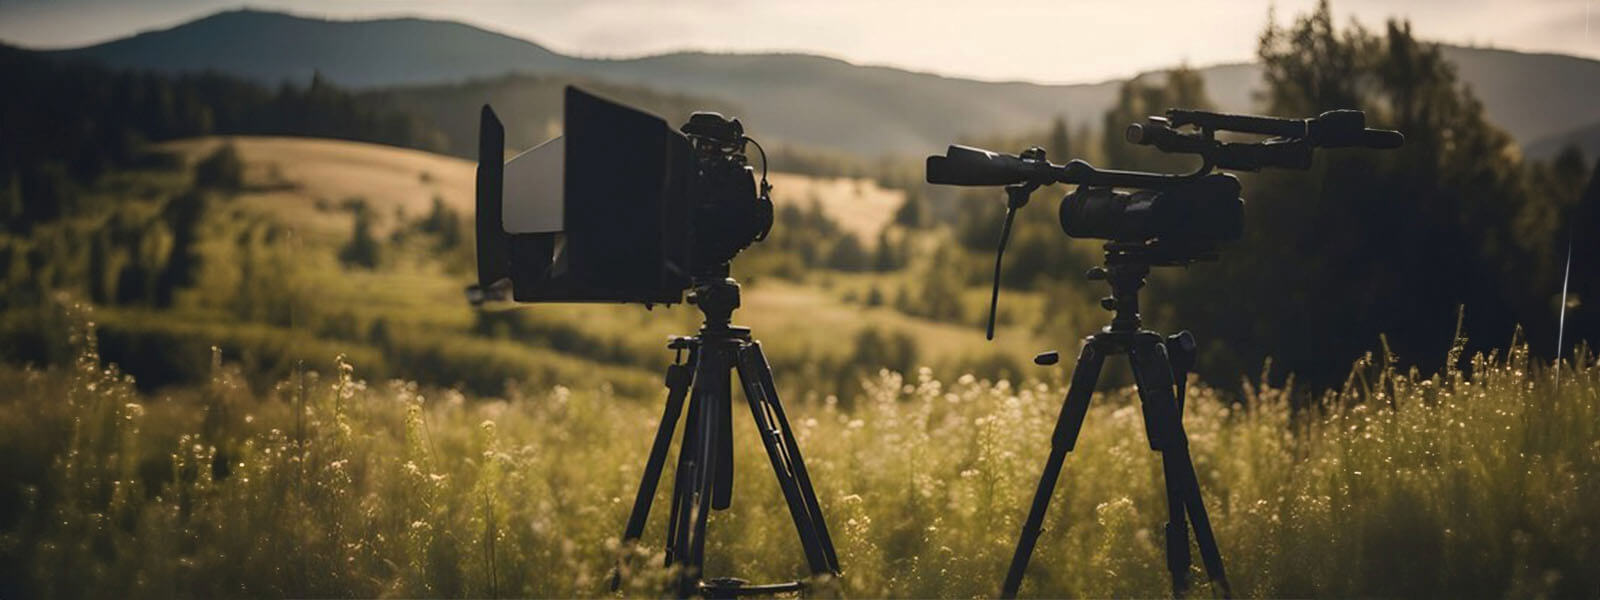
Always keep a tripod handy and shoot the video with it. This is the easiest way to ensure stability throughout the recording. Not only for DSLRs, you can also use a tripod for shooting with a smartphone. If you are a beginner in videography, learn the nitty-gritty of using a tripod and how to tighten or loosen a screw while panning.
A standard tripod can hold the camera steady and will enable horizontal or vertical panning, tilting, zooming in or out, and more.
-
Find the right position

If you are shooting hands-free, make sure you sit or stand in an ideal position so that no unwanted camera motion happens with every breath you take. Any unnatural position will create some sort of discomfort or imbalance, which will ultimately reflect on the footage. Ideally, use a support like a wall or pillar to get interesting perspectives as well as ensure minimal camera movement.
A rule of thumb is that if you are shooting a long film or video, such as a wedding video, prefer sitting. However, if you have a lot of movements to do, standing will help.
-
Gimbal: a must-have accessory

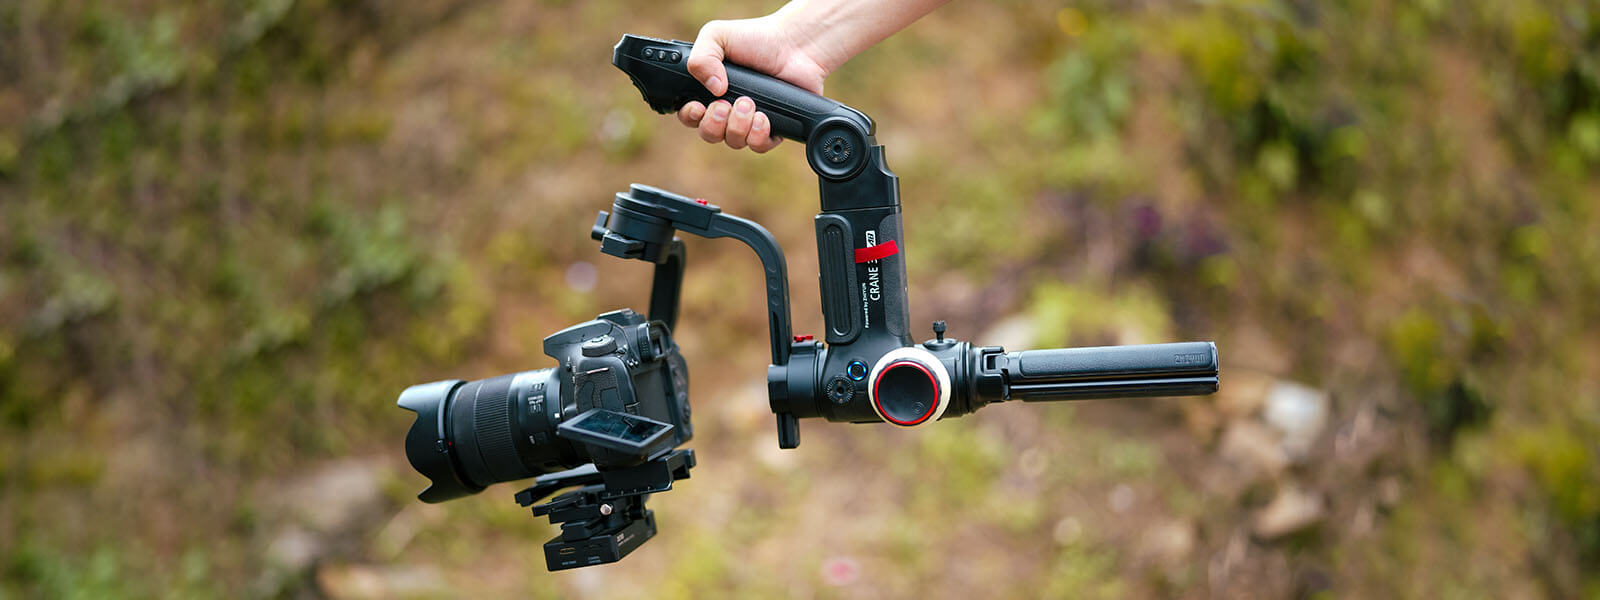
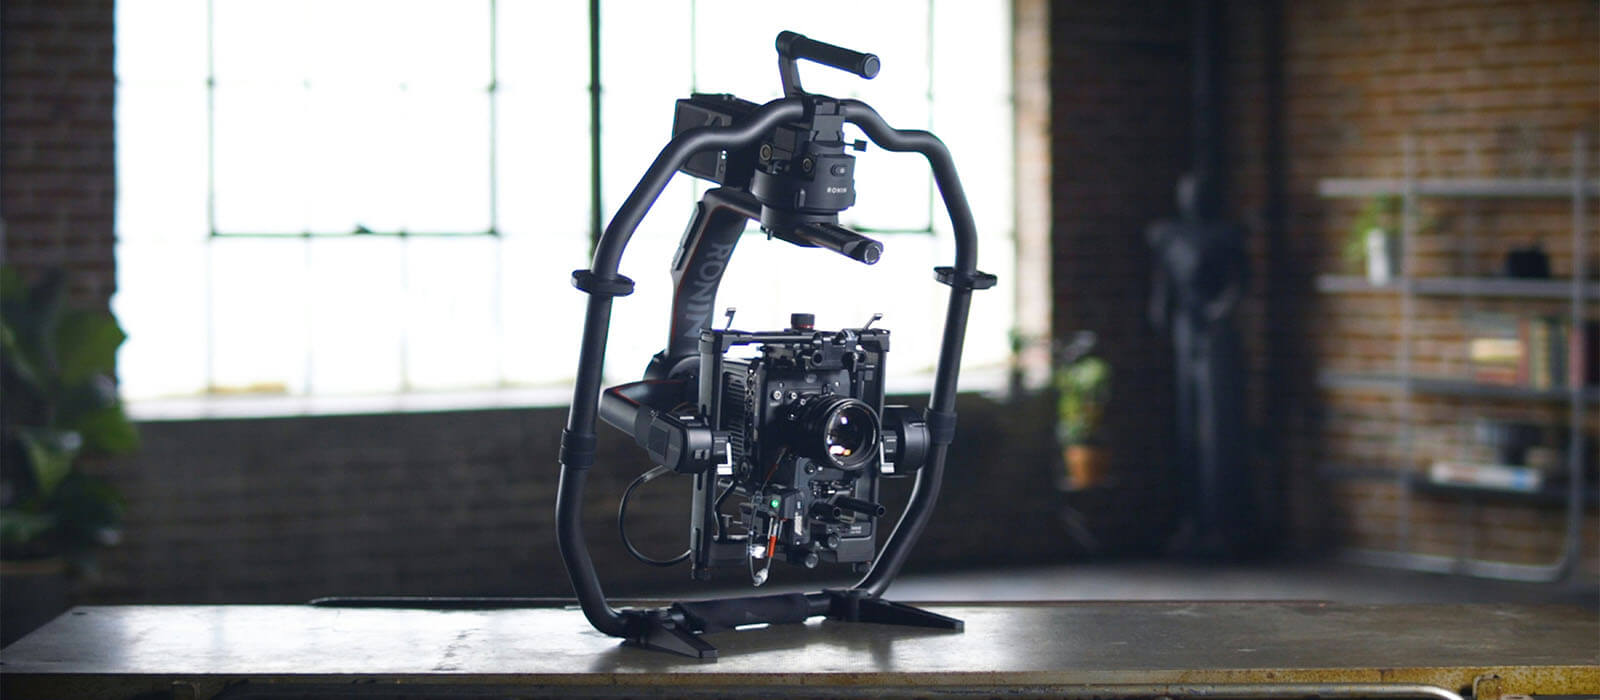
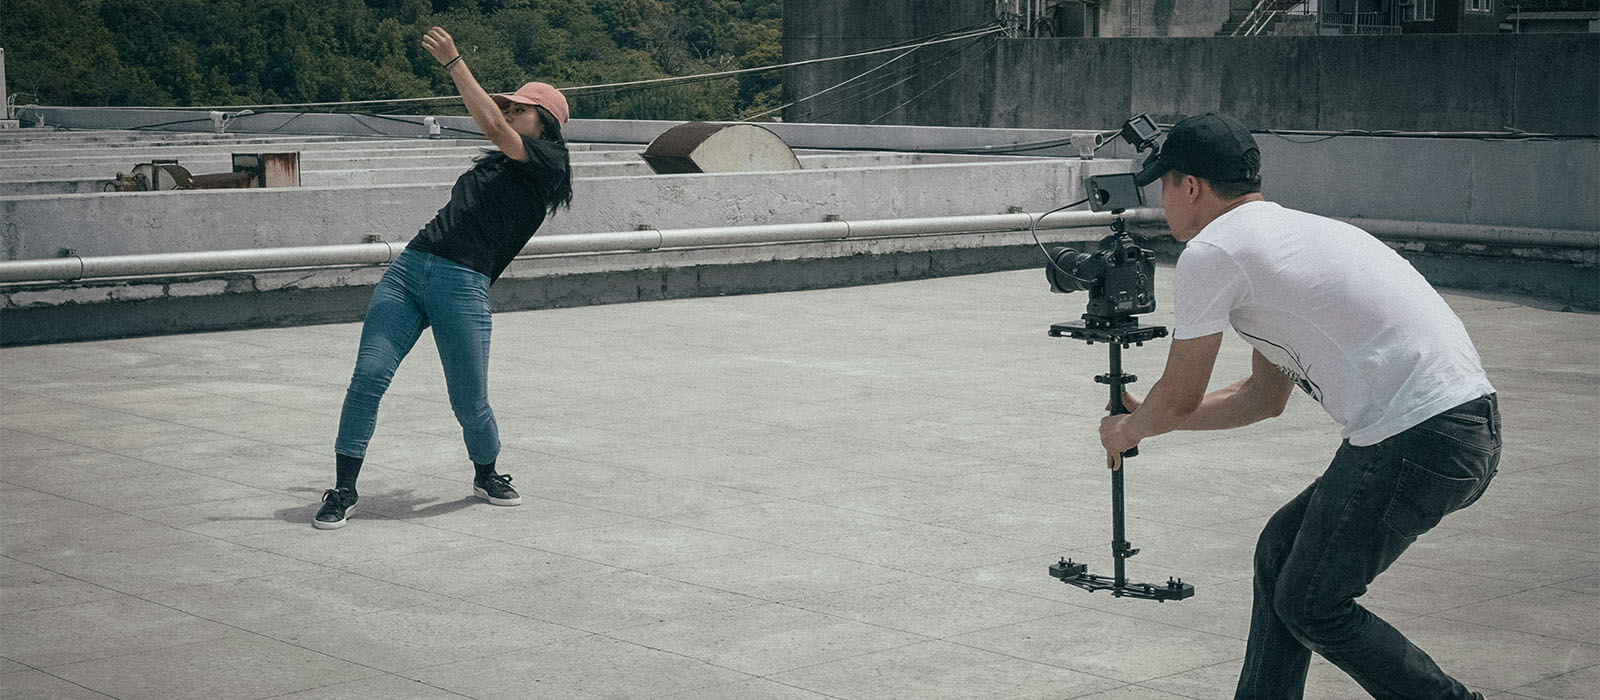
A gimbal is a tool or accessory that prevents unwanted camera movements. For videos with movements and motion, a normal tripod won’t suffice; as a result, jerks and jitters will happen. For such cases, using a gimbal is the best idea.
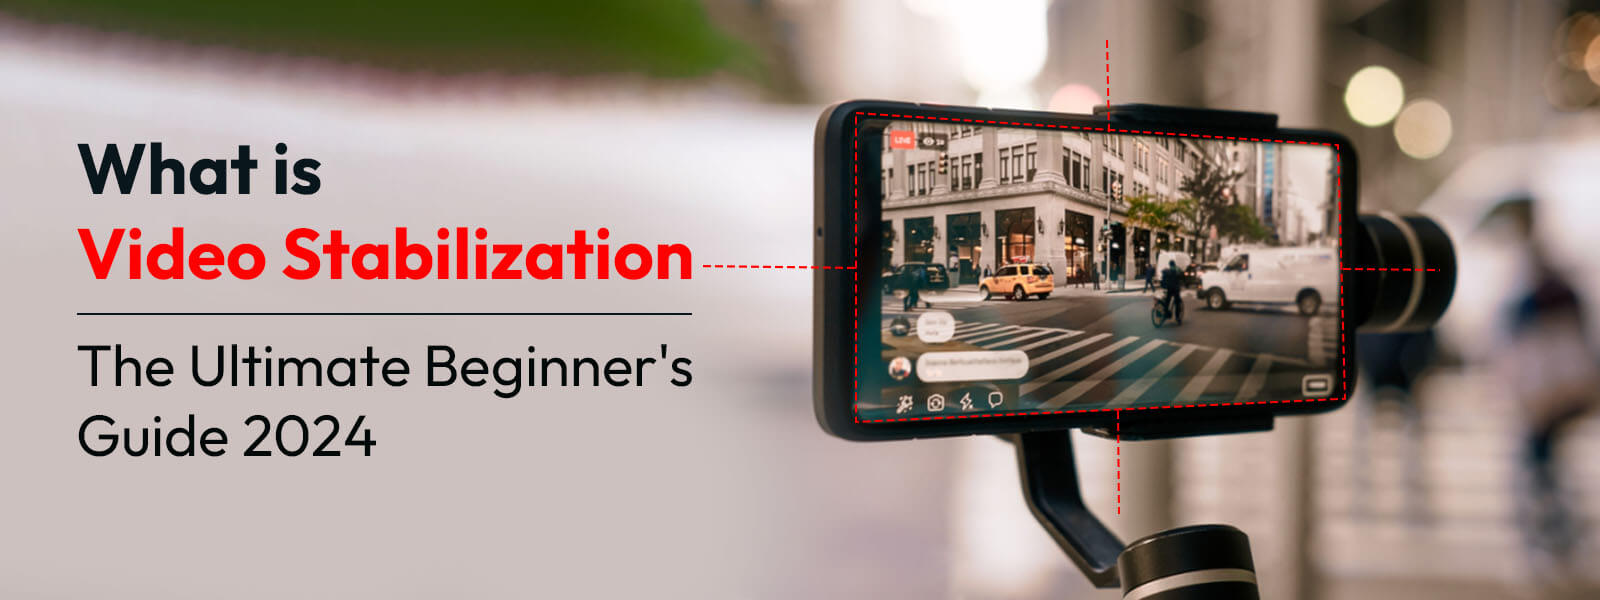
Gimbals have sensors and motors that prevent sudden camera motions. Usually, gimbals are used for videos shot from smartphones, but any professional videographer using a DSLR can also use the tool. Creative effects like 360° rotation, tracking shots, low-angle shots, etc., can all be done using a gimbal attached to the camera.
-
Hold the camera close

Keep the camera close to your body while filming a shot. This reduces the chance of any unwanted jerks or camera movements and keeps the camera stable. Hold the camera with a firm grip and close to your body to keep it as stable as possible. If your arm is stretched out, it is likely your hand will start shaking after some time of moving the camera.
-
Try using a traditional stabilizer device

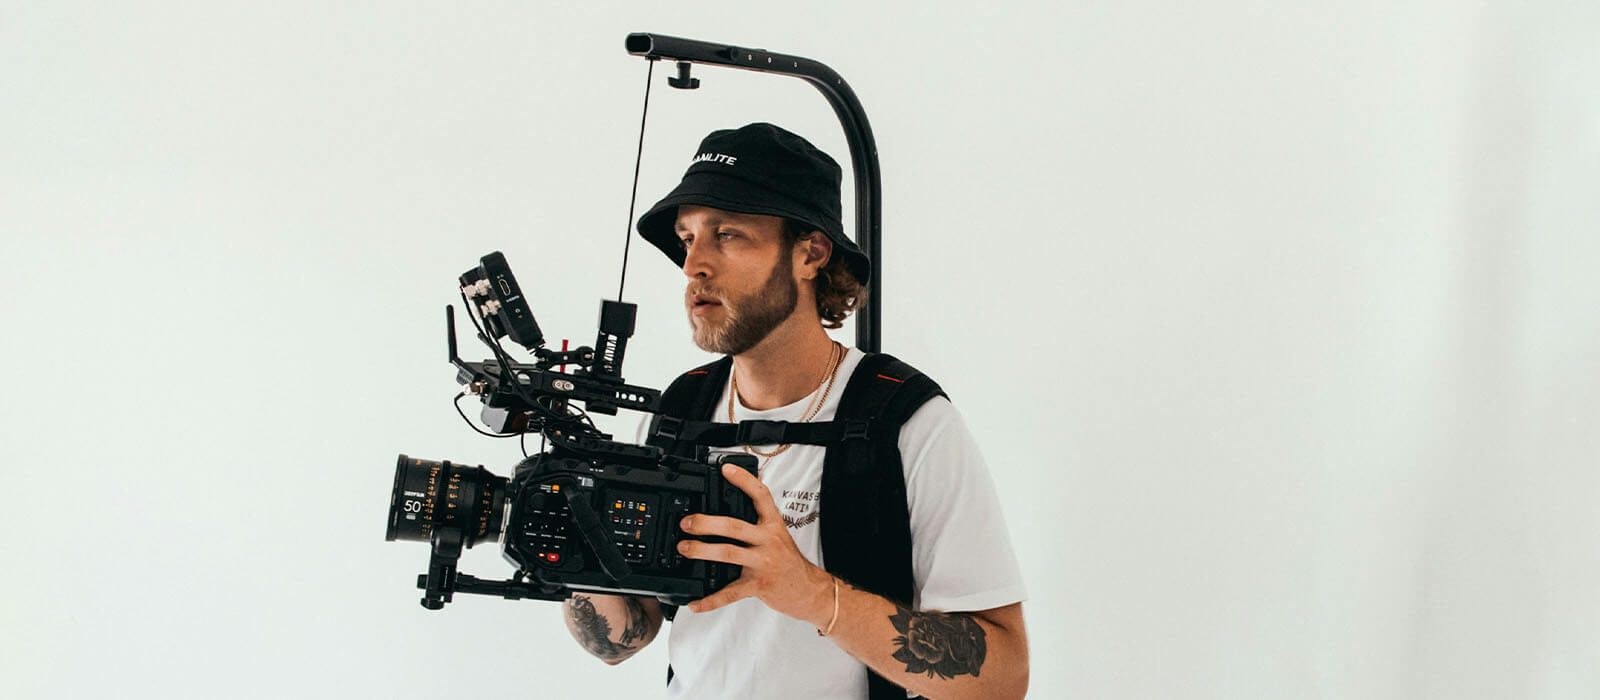
As much as video footage can be stabilized with the help of stabilizing software programs, professional filmmakers also use a hardware device called a video stabilizer. A traditional stabilizer cage mounted as a vest reduces any vibration and helps the user hold the camera with a firm grip.
Since gimbals are more expensive than these mounted stabilizers, indie filmmakers and amateur videographers can start by using them.
-
Move your body while panning

This is a simple trick to minimize the chance of unsteady shots. Rotate your body, especially the upper part, during a pan shot while facing directly at the spot where the shot will end. This trick can save you from any camera motions while creating perfect shots. Practice this technique with dedication, and try to move your body and the camera in unison.
-
Fasten the camera with a handle or strap

A simple strap or handle can be of great help if you are shooting on-the-go. You can attach these to your camera and hold it more securely, reducing any vibration that usually occurs while shooting with bare hands. This way, the camera weight gets distributed, preventing any strain from happening.
This is the best and easiest technique to stabilize video shots. Straps and handles can also be used with other accessories, like gimbals and tripods.
-
Minimize zooming during free-hand filming

This is another reason why most beginner documentary makers face blurry and shaky footage. Due to their inexperience and shoe-string budget, they often do not have access to the various tools that reduce camera movements. However, this technique is very basic and doesn’t cost anything.
Simply remember to minimize zooming as much as possible when you are shooting free-hand. A zoom-in or zoom-out creates a certain amount of vibration in the image that later turns into significant shaking.
-
Optical stabilization is a life-saver
Optical stabilization, also called digital stabilization, is an amazing feature that some DSLRs have to make up for the unavoidable camera movements while filming. While shooting free-hand or on-the-go, motion blur can happen for several reasons; low-light conditions are one of them.
This advanced camera feature uses a sensor or lens that moves in the opposite direction of the camera movement, reducing motion blur.
-
Shoot with shorter focal lengths
Why? Because filming with shorter focal lengths ensures wider angles and, eventually, less camera movement and shaking. Less camera motion implies a perfect, smooth shot that requires minimal editing.
Just remember to select the correct lens and set the right angle width. Preferably go for the widest angle; most cameras have this configurable settings menu.
-
Stabilize the footage with video editing software
Ultimately, the best way to enhance and stabilize your video shot is to leverage the latest video editing tools. Several such video retouching tools are available online that one can use to correct the motion blur in the footage. These software programs are developed using cutting-edge technology stacks. They can analyze each frame, crop or reframe, rotate, smoothen the jerks, and improve the alignment. Therefore, the software-generated video stabilization process ensures properly stable footage with high visual quality, even when the video is shot in compromised situations.
However, neither online software can fix everything, nor does everyone have the expertise to use them. Moreover, professional videographers, who usually have bulk editing projects in hand, often find it challenging to meet editing deadlines. For all these situations, it is best to hire an external video editing agency with professional video post-production experts.
So, these are a few simple yet practical techniques for ensuring stability in each video shot. Apart from utilizing advanced software tools for video stability, implementing these simple tips and tricks also helps. The following section discusses the adoption of AI in stabilizing video footage and what can be expected in the future.
The future of video stabilization through AI technology
AI, or artificial intelligence, is a technological wonder that has touched upon several aspects of the modern world. Thankfully, for video post-processing and editing, too, we can see the impact of AI. AI-based video stabilization is the future now. Let’s take a quick look at it and how it has revolutionized video creation.
- Advanced AI algorithms can analyze, understand, and fix camera motions
- Harnesses the power of ML (machine learning) and DL (deep learning)
- Leverages pattern recognition technology going beyond basic motion tracking
- Can Identify and edit faulty camera movements from numerous pieces of footage
- Facilitates stable footage in drones and action cameras
- Reduces dependency on expensive software programs and extensive video editing processes
- AI stabilization ensures an optimum and immersive viewing experience with AR-VR content.
As technology progresses, we can expect to see further instances of AI simplifying and augmenting video editing. In the coming years, more and more DSLRs will have built-in AI technology to stabilize each frame flawlessly in real-time. The continuous R&D in that field will soon make shaky video clips obsolete. Whether you are a filmmaker, online video content creator, professional videographer, or video retoucher, AI-driven video stabilization technology will take your video production to a new level.
Some of the best online video stabilization software programs
Now, it’s time to check out a few software tools available online that can help stabilize video during post-production. As we know, the movement of the subject is unavoidable, as is the shaking of hands. Though regulating the shutter speed can somewhat control capturing the movement, it cannot fix already blurry or shaken footage. For that, we need some special tools. Check them out below.
-
Windows Movie Maker: The software comes with three types of stabilization features – Anti-shake, Anti-shake and wobble correction low, and Anti-shake and wobble correction high. (Windows only).
Cost: Free

-
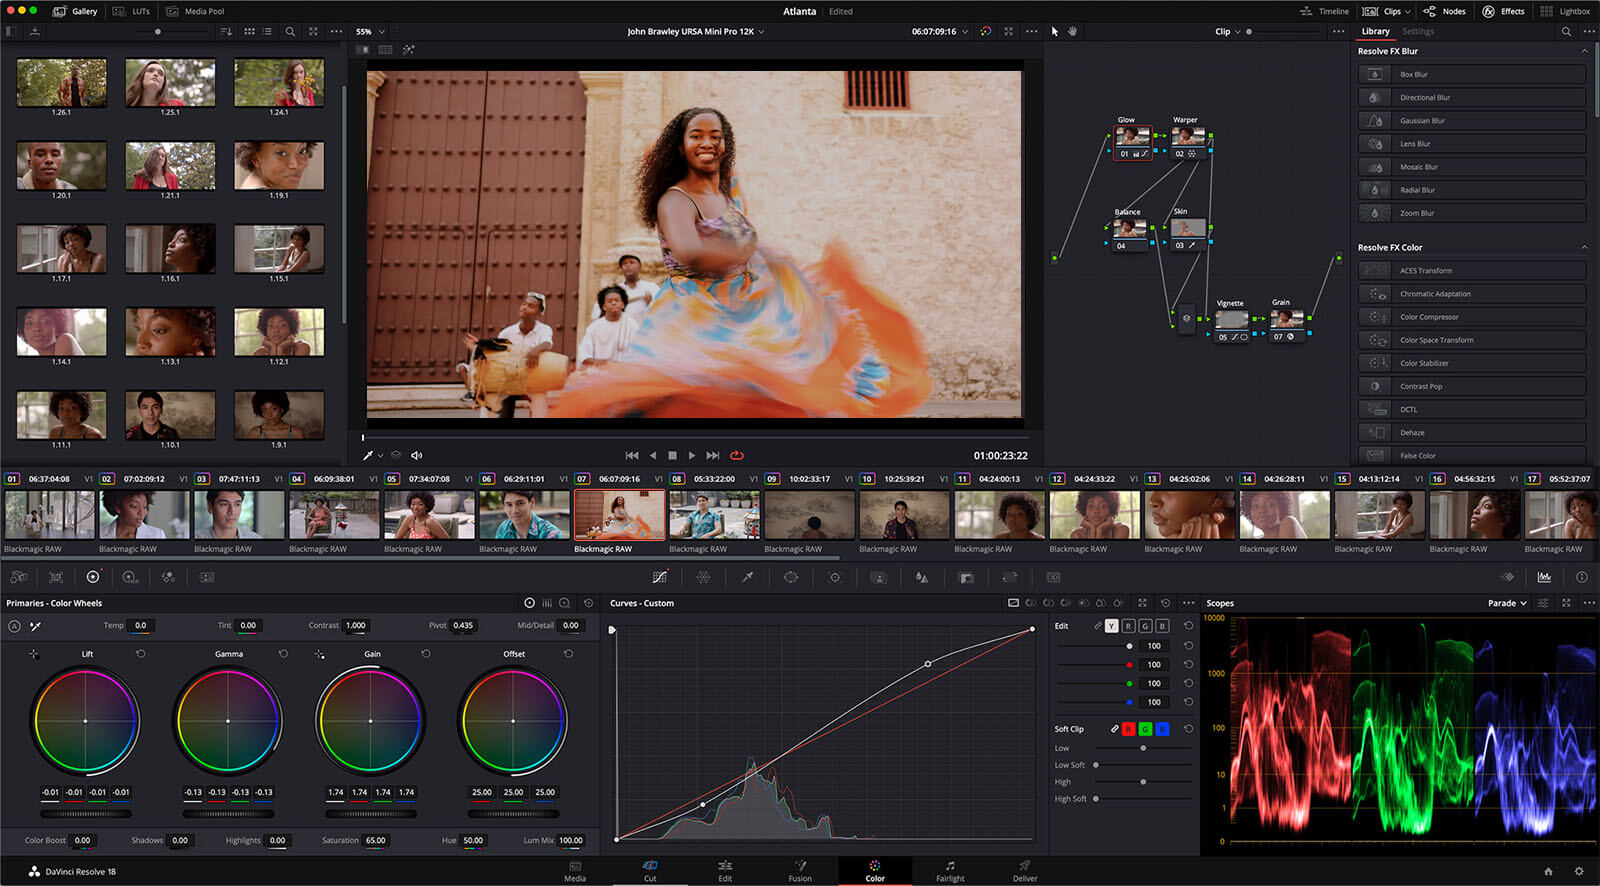
DaVinci Resolve: Full-fledged advanced video editing tool for video color grading, video stabilization, adding special effects, audio post-production, and more. (Windows, macOS, and Linux).
Cost: $295.

-
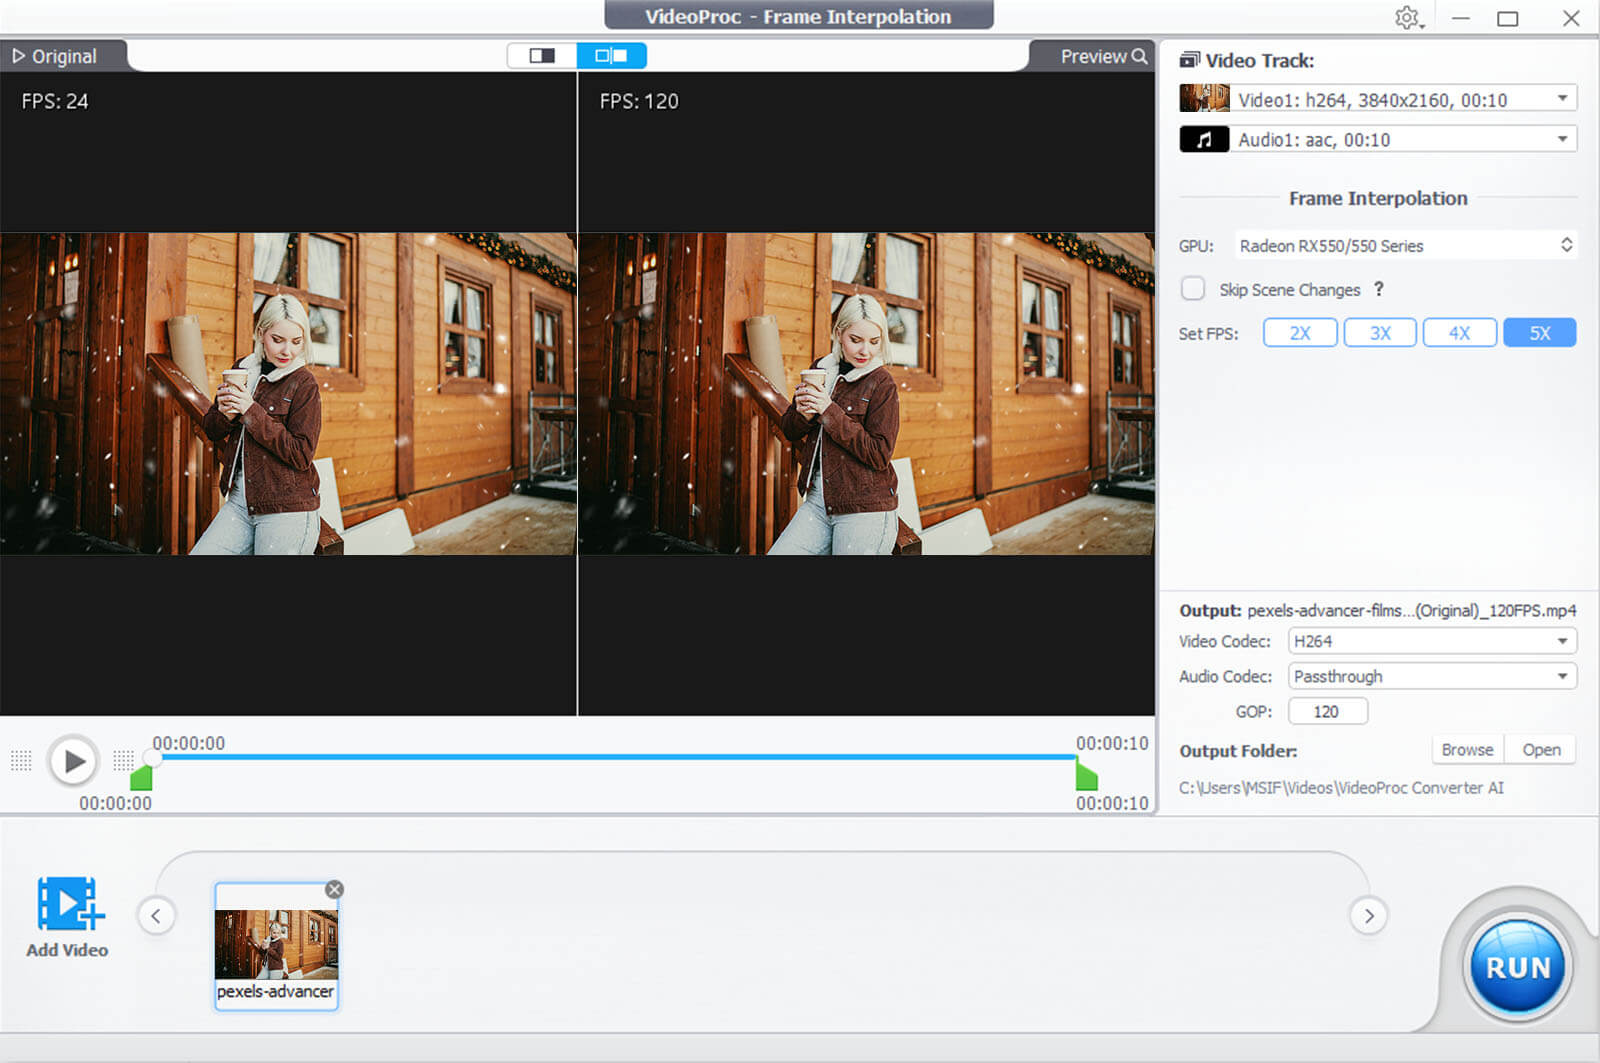
VideoProc Converter AI: An AI-powered video stabilization software, offers stabilizing walking shots, GoPro clips, drone footage, etc. All-in-one software for editing videos. (Windows and macOS).
Cost: : $25.95.

-
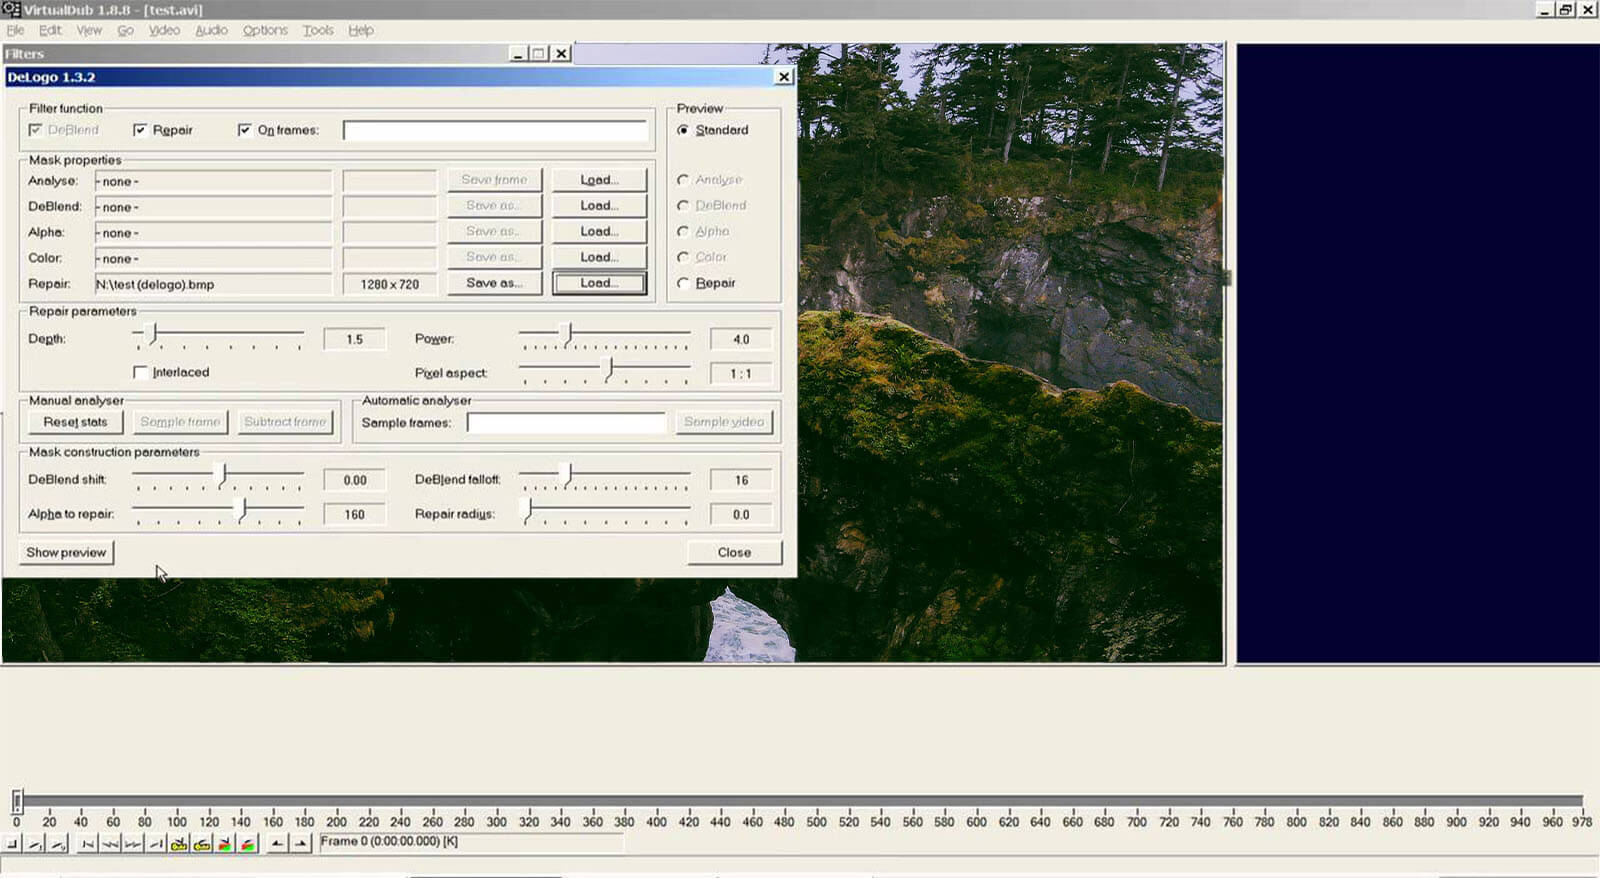
Virtualdub Deshaker: Robust video editing tool with extensible editing features. Users can split, compress videos, add audio tracks, and more. Footage can be imported from numerous devices like GoPro, smartphones, DSLRs, etc. (Windows only).
Cost: Free

-
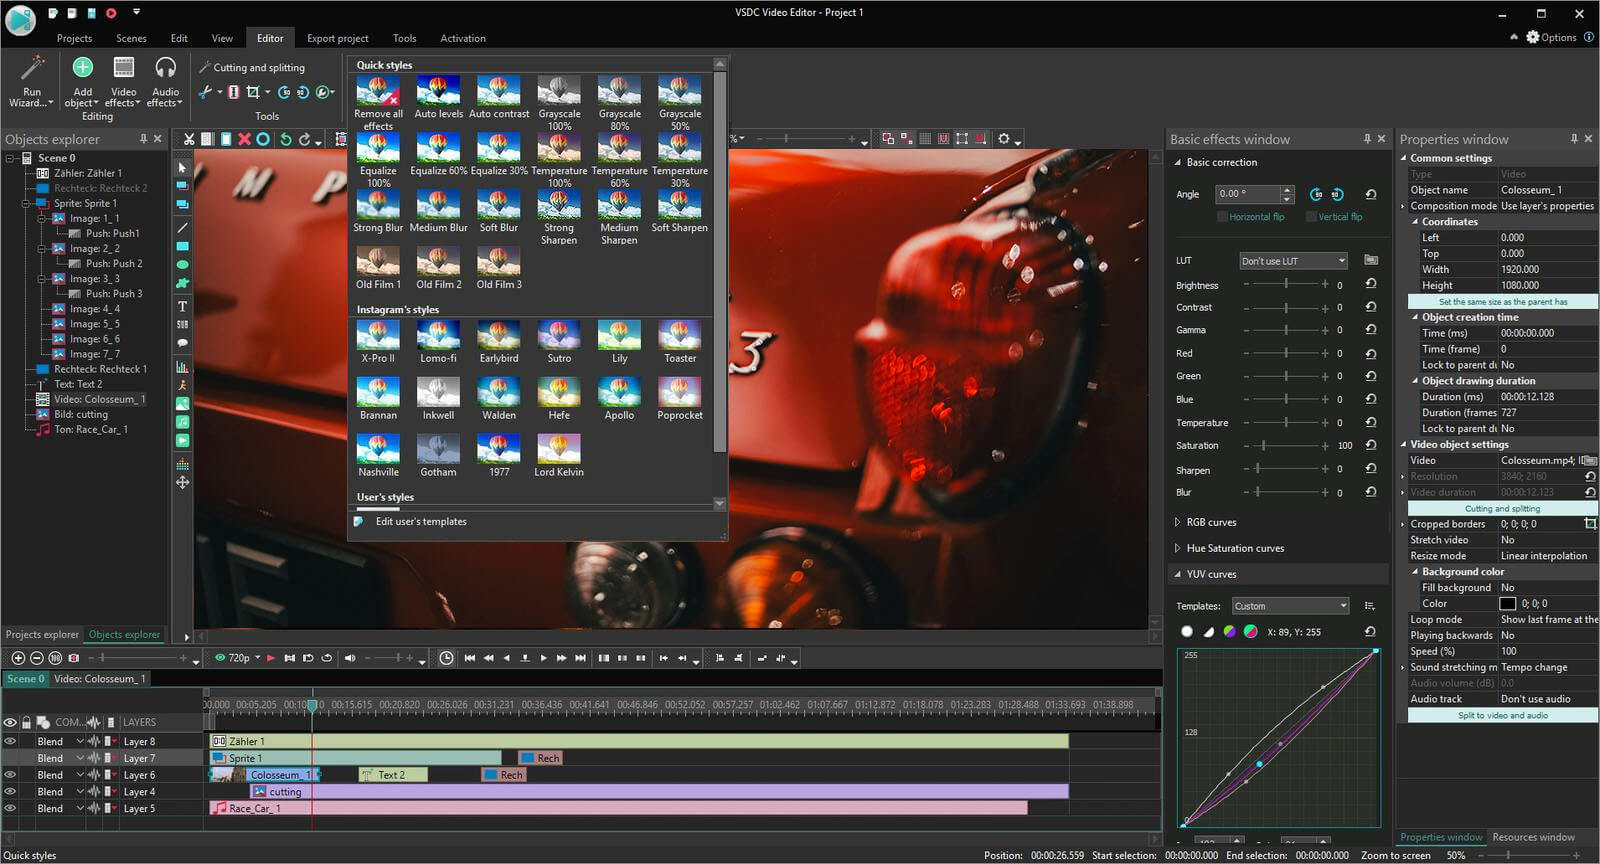
VSDC: This is a fantastic tool for video stabilization, resizing, speed change, adding text effects, merging, trimming, and more. Instagram-like filters can also be applied through VSDC. (Windows only).
Cost: Free

-
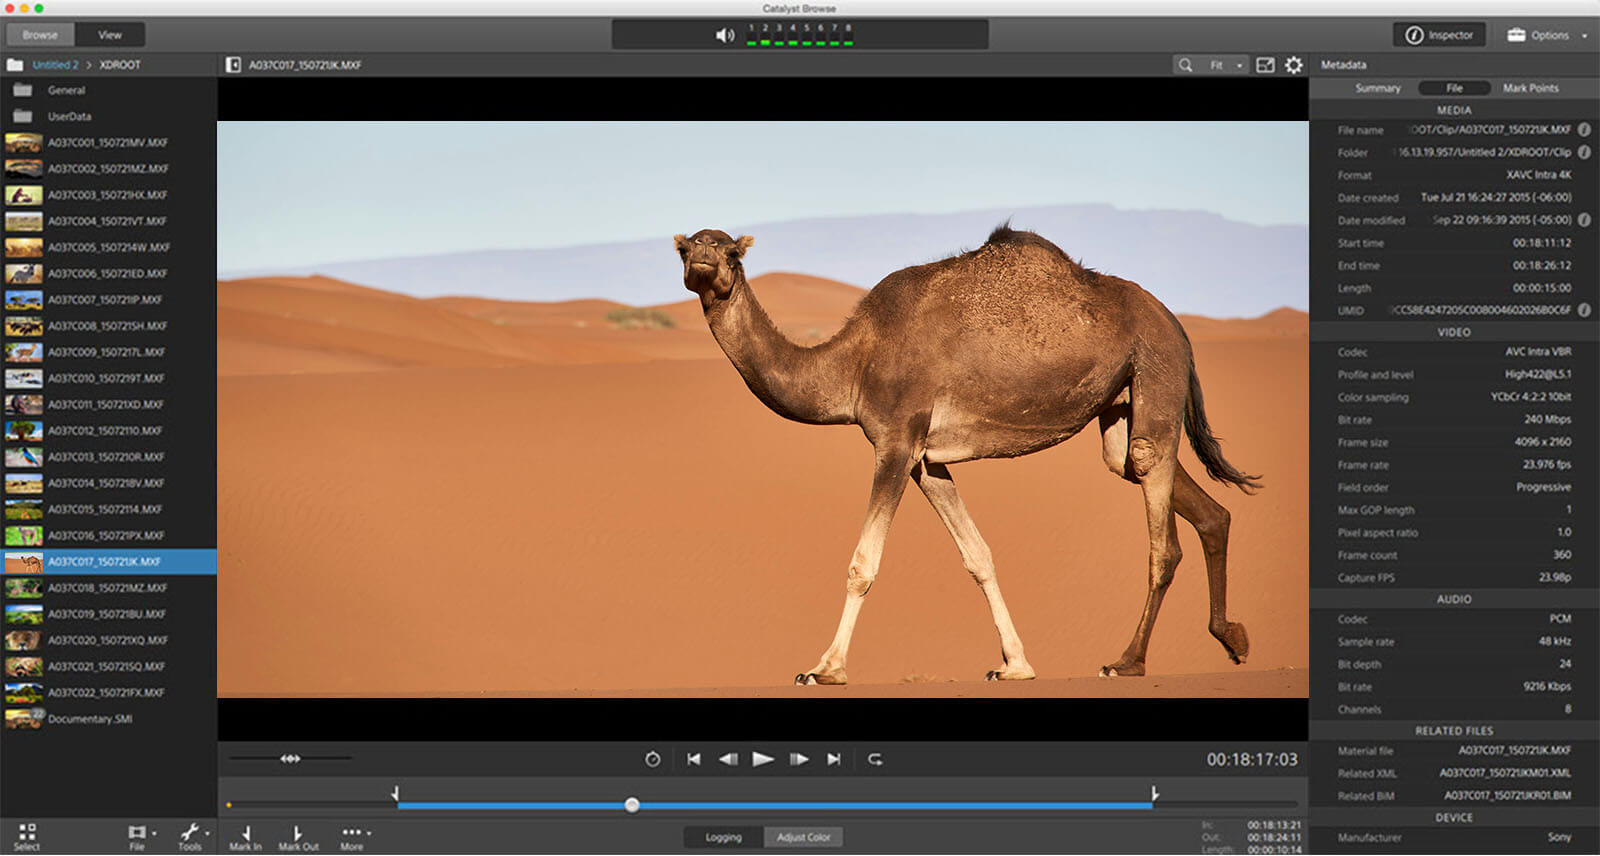
Catalyst Browse: Free. A powerful footage management tool for all Sony cameras and formats. Apart from managing the footage, checking file metadata, browsing, and playing media files, Catalyst Browse can also be used for stabilizing blurry video footage and doing color correction. (Windows and macOS).
Cost: Free

-
iMovie: Free. It can be ideally used for shaky video clips, making them steady. Also, users can fix rolling shutter distortion with iMovie promptly. A cost-effective yet handy solution for beginners. (macOS only)
Cost: Free

-
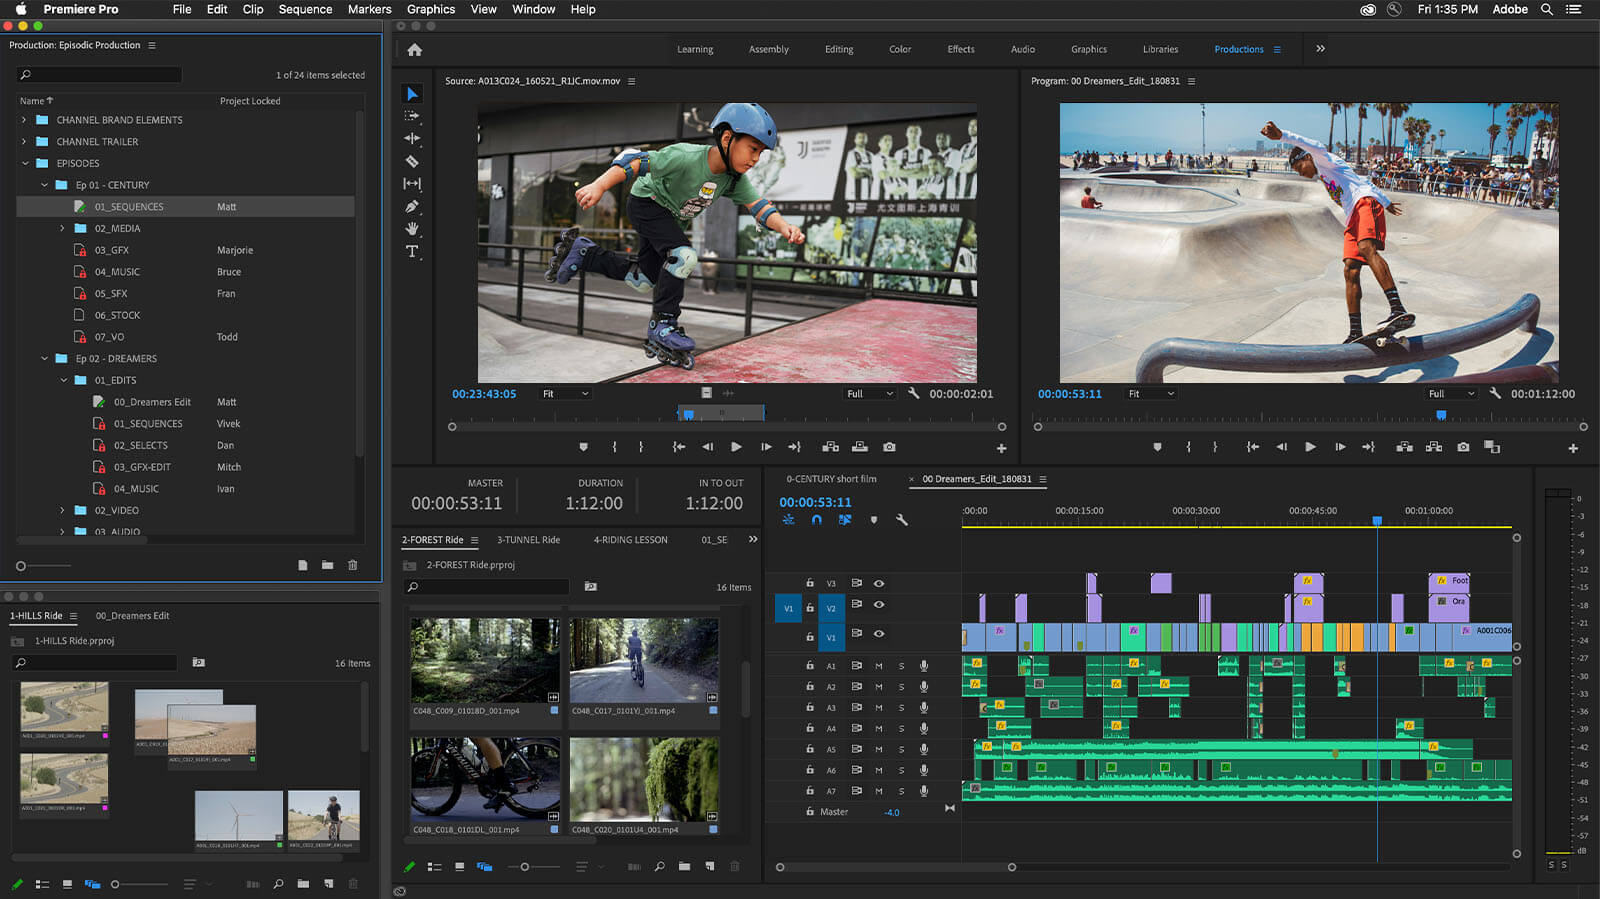
Adobe Premiere Pro: One of the most reliable video post-processing software used by professionals worldwide. The Warp Stabilizer effect helps to eliminate all camera motion and movement from shaky footage. (Windows and macOS)
Cost: $22.99/month

-
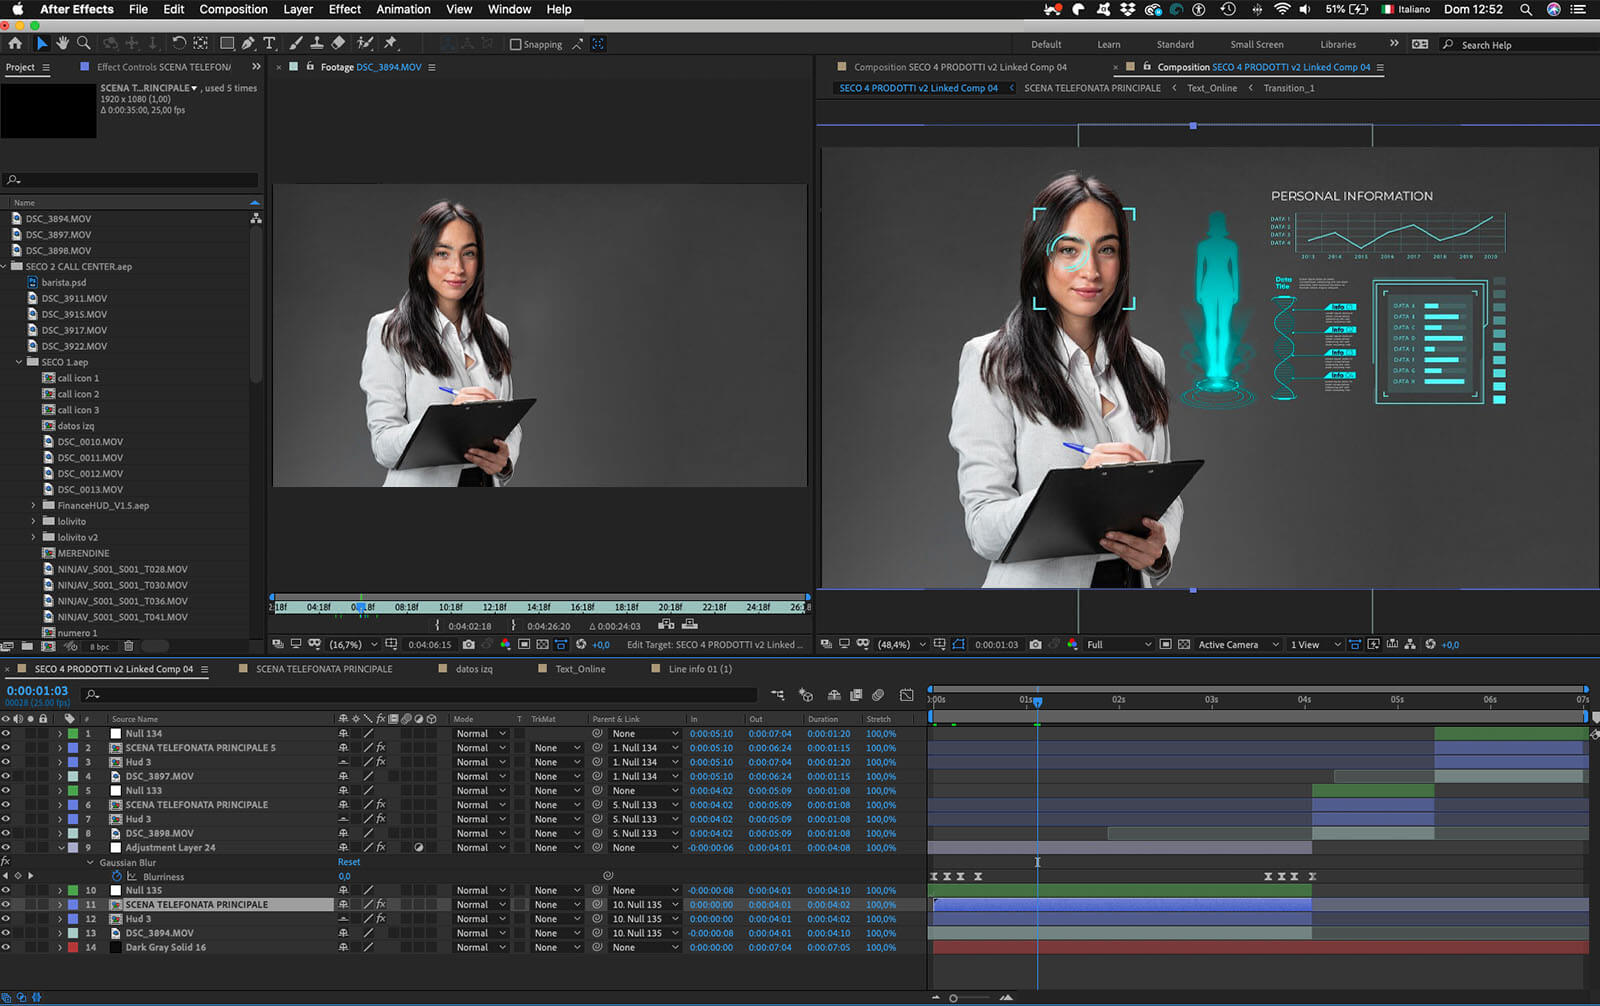
After Effects: For all aspiring video editors and retouchers, Adobe After Effects is the best motion graphics editing software. From stabilizing each frame without a single distortion to producing amazing visual effects, After Effects is the best tool to master motion design. (Windows and macOS)
Cost: $22.99/month

-
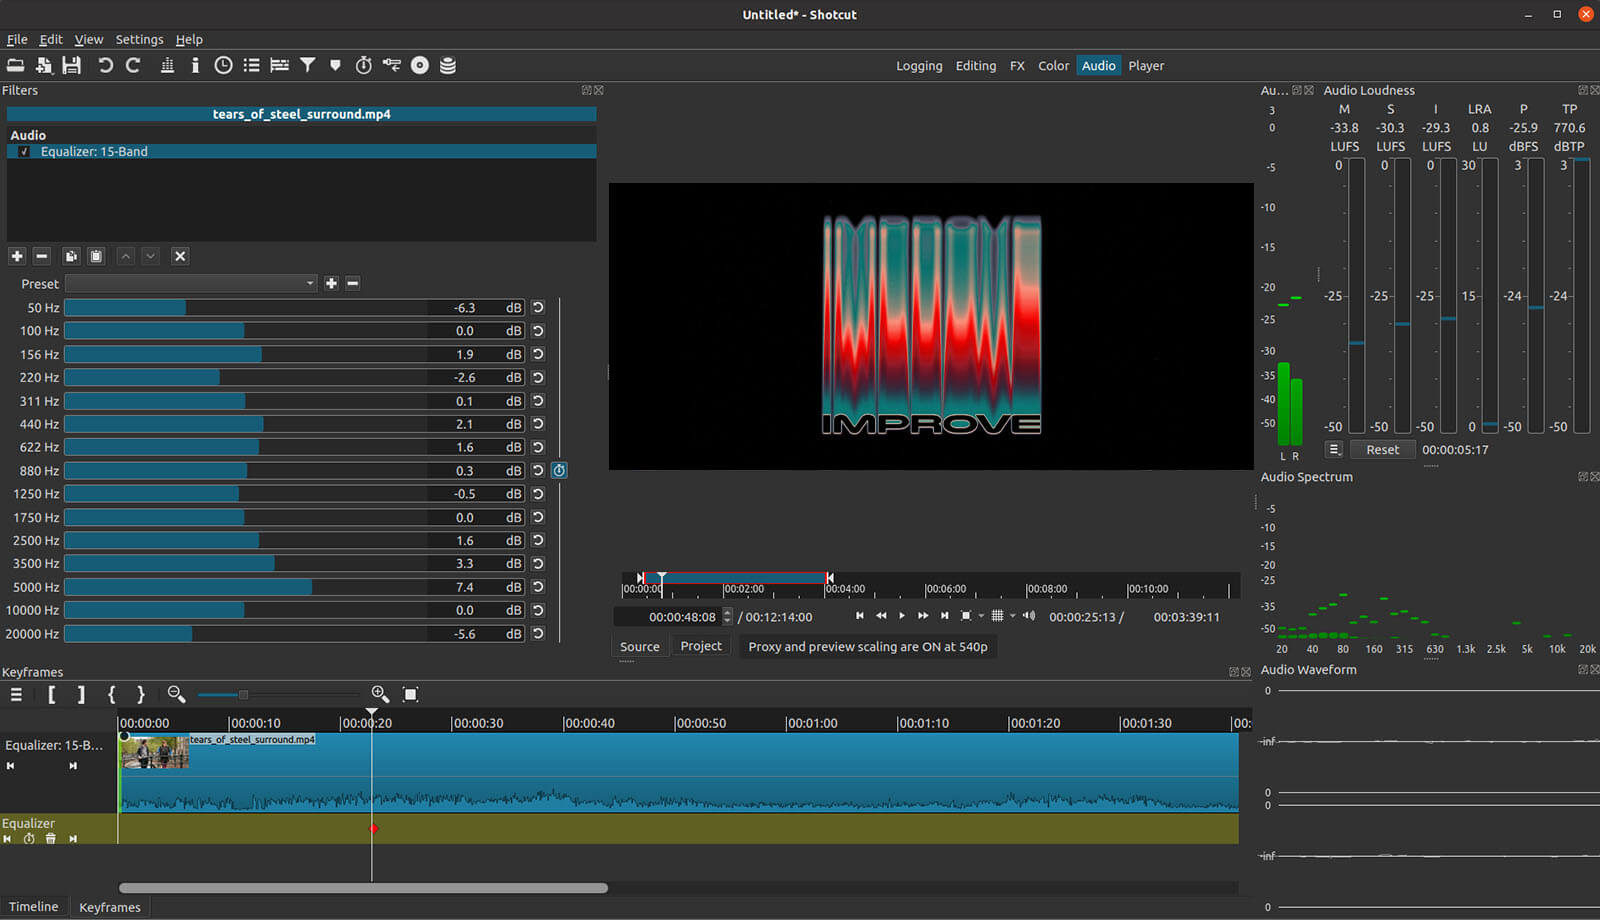
Shotcut: Free. An open-source video enhancing and retouching tool that makes blurry shots appear perfectly smooth. The tool has four advanced footage stabilizing options – Shakiness, Zoom, Smoothing, and Accuracy. (Windows, macOS, and Linux)
Cost: Free

Wrapping up
Hope it was an enjoyable read. Whether you are an amateur photographer and videographer or a professional, you will need to ensure the shots you take are perfectly stable. Shaky videos not only create an unpleasant viewing experience but are also detrimental to a brand’s image and a videographer’s career. This is an era of high-quality video content where smooth and stable footage is a mandate.
By implementing the above-mentioned tips and techniques in the video editing workflow, one can surely make a visible difference in the final outcomes, impressing the target audience. Keep trying and experimenting with new video stabilization methods, as well as acquaint yourself with futuristic AI-based devices. Alternatively, you can also seek the help of an experienced video editing companies offering top-notch video stabilizing services.

